Vorder Grauspitz is a sharp peak in the alpine mountains Rätikon and you can experience there one of the most exciting hikes in Europe. The ascent to the summit via the most common route is unique as you have to pass a tunnel. In addition, you can expect a climb in a very steep terrain and there is no marked path to the top. Even though Vorder Grauspitz is only 2,599 meters high it caused me big difficulties. It became the only mountain of the entire expedition European Peaks, where I had to give up during my summit day. I had to return again under more favorable conditions. What happened? Read on not only for general tips of Vorder Grauspitz but also for my personal experience and tips how to reach the peak.
Important information for climbing Vorder Grauspitz via the normal route from Switzerland
Short description of the ascent from Malans, Switzerland: Demanding hike with scrambling, the last part of the hike is very steep and unmarked.
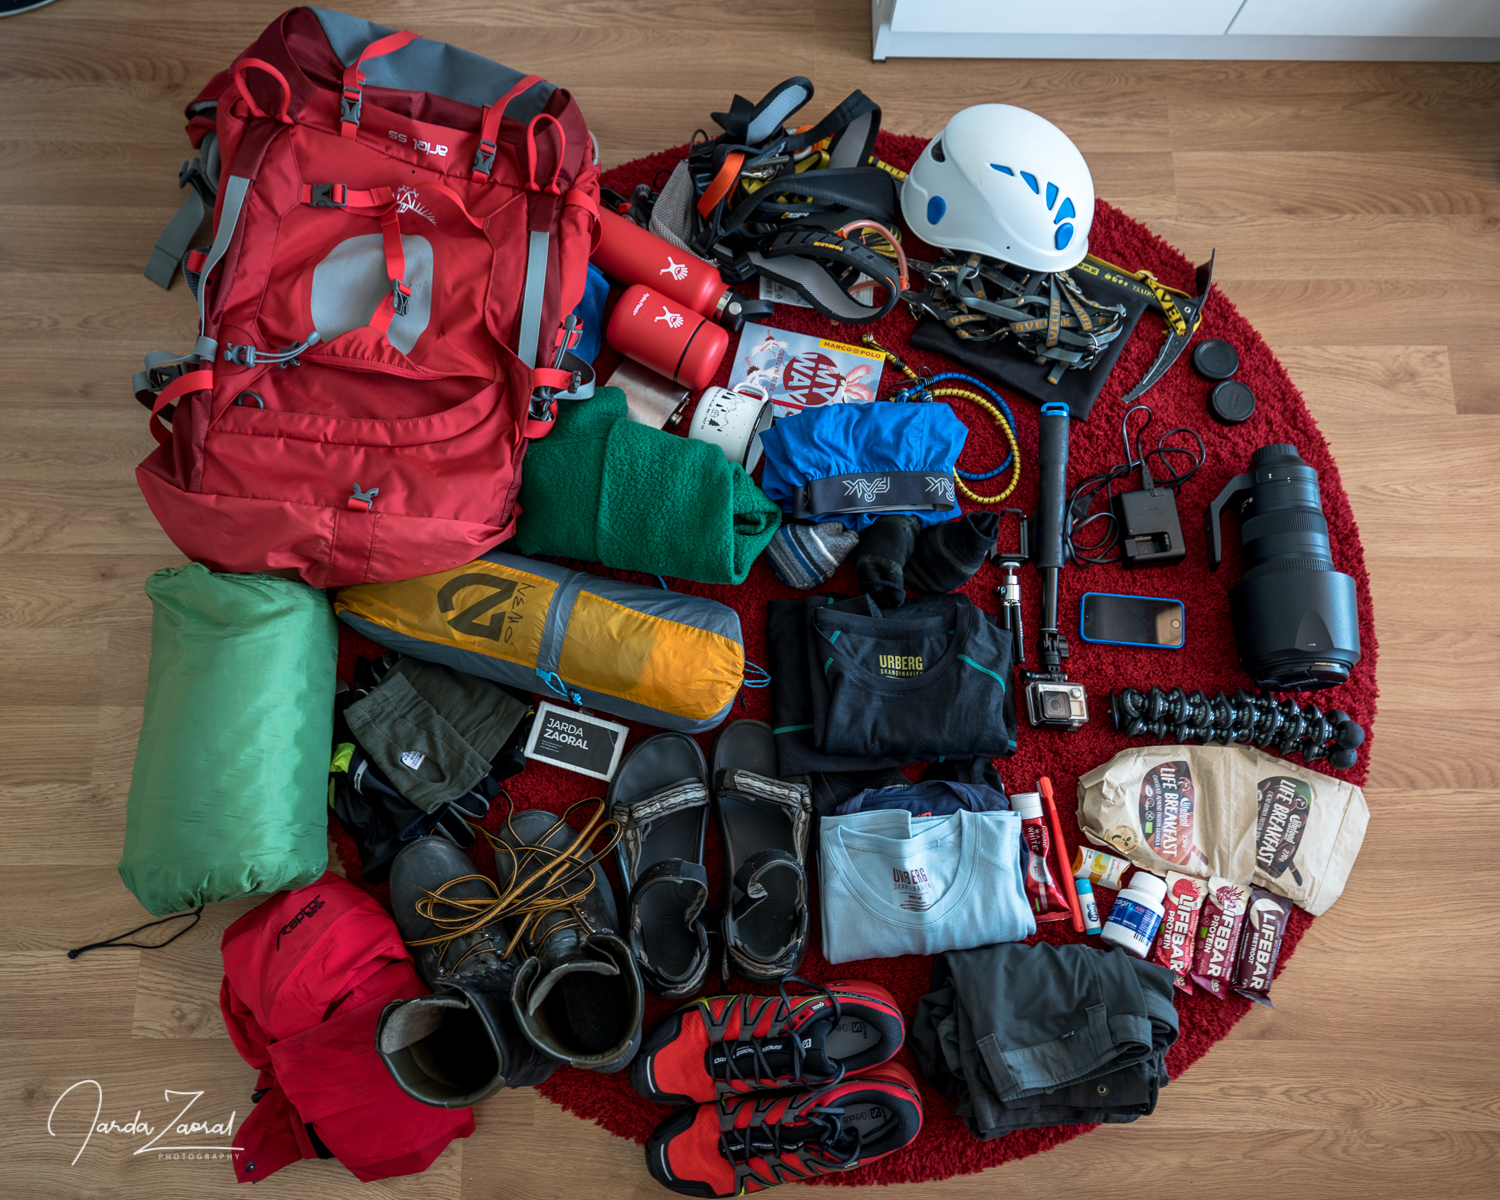
Essential equipment: General hiking gear, hiking poles and stable hiking shoes recommended for great stability in the steep parts.
Best time to visit: June - September
Fees or restrictions: No
Camping allowed: Yes, above the tree line
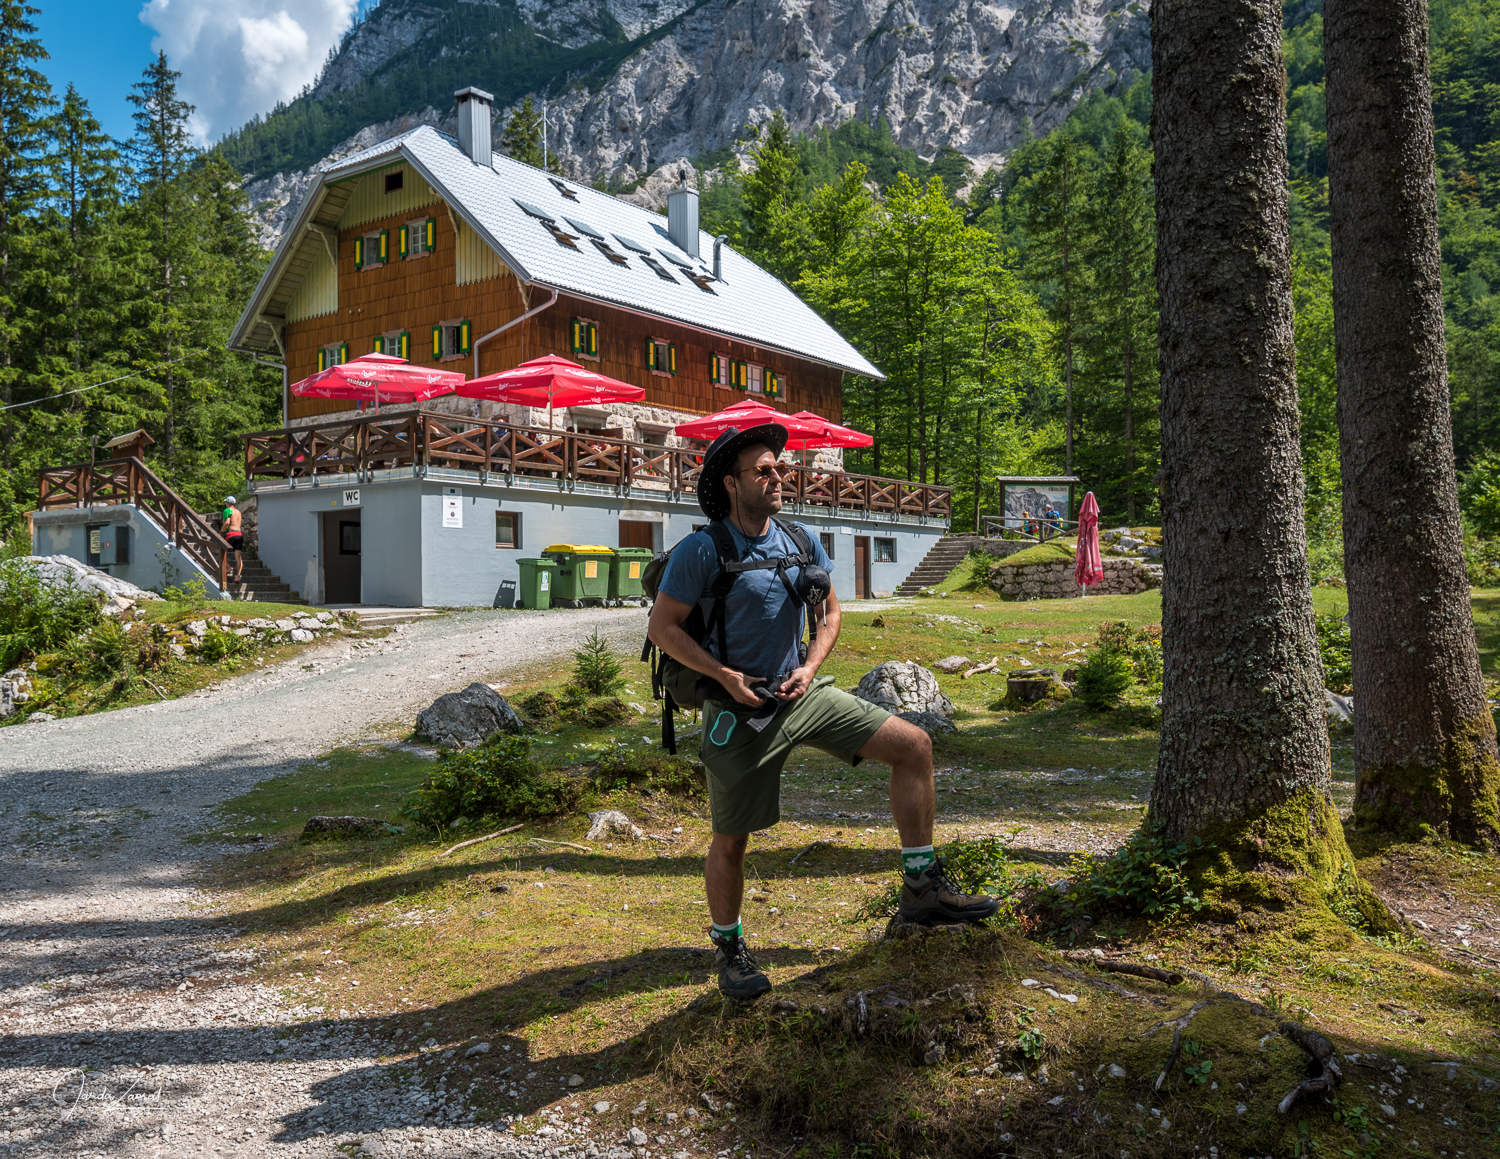
Nearest accommodation/food supply: Haus Meierhüsli in village Malans
Height of the peak: 2,599 m
Distance to the top: 9 km (one way)
Time to ascend from the top of cable car to Vorder Grauspitz: 4-6 hours up, 3-5 hours back
Elevation climbed: 1,210 m (on the way up), 301 m (on the way back)
Water availability on the mountain: Yes, last time at the farm Alp Ijes.
Difficulty level: **** (6 stars maximum)
Personal rating of the mountain: ***** (6 stars maximum)
Beer on the peak: Club Bier 06 Summer Ale *** (6 stars maximum)
Two possible routes to Vorder Grauspitz
The two routes below describe the ways to Hinter Grauspitz. The route between Hinter Grauspitz and Vorder Grauspitz is the same for both routes. The routes are easy to follow but I recommend to bring GPS navigation as they are not clearly marked and there are many crossroads on the way.
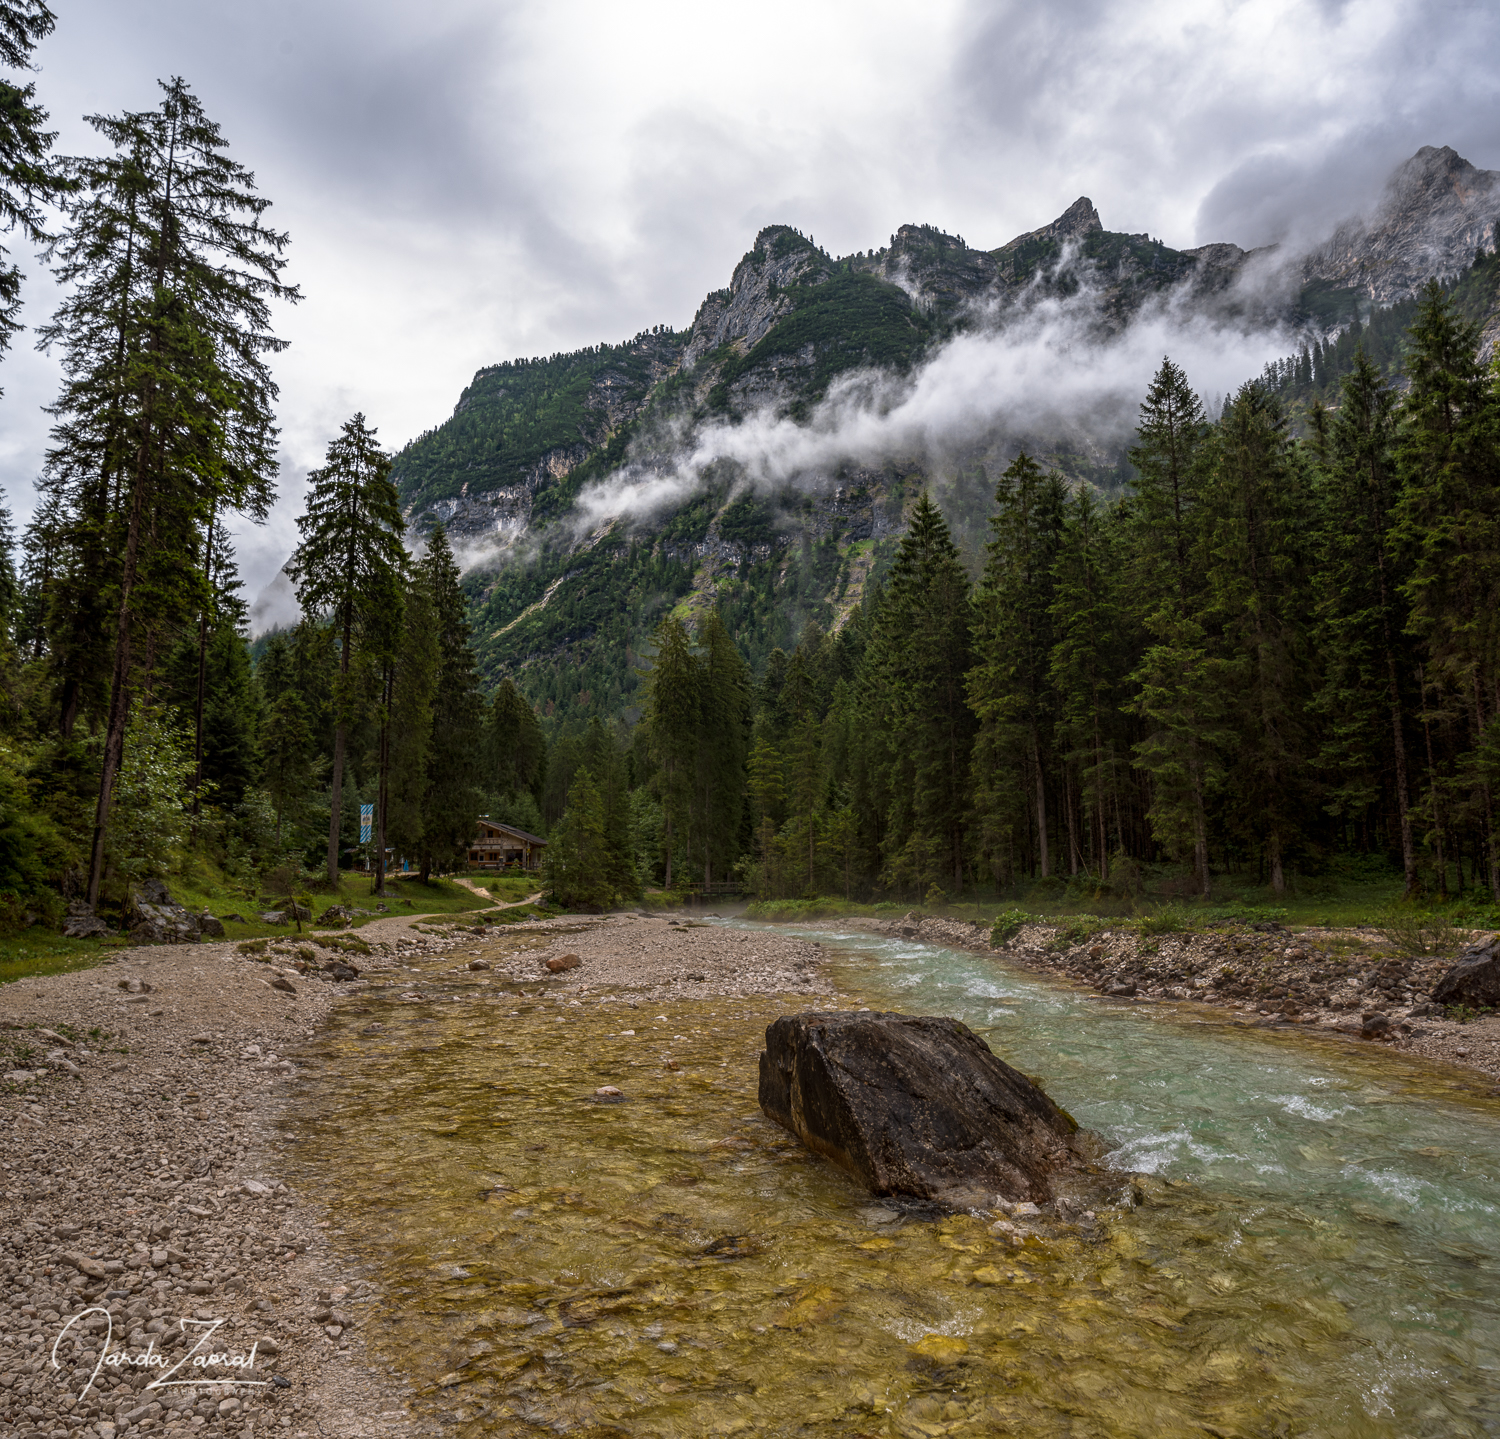
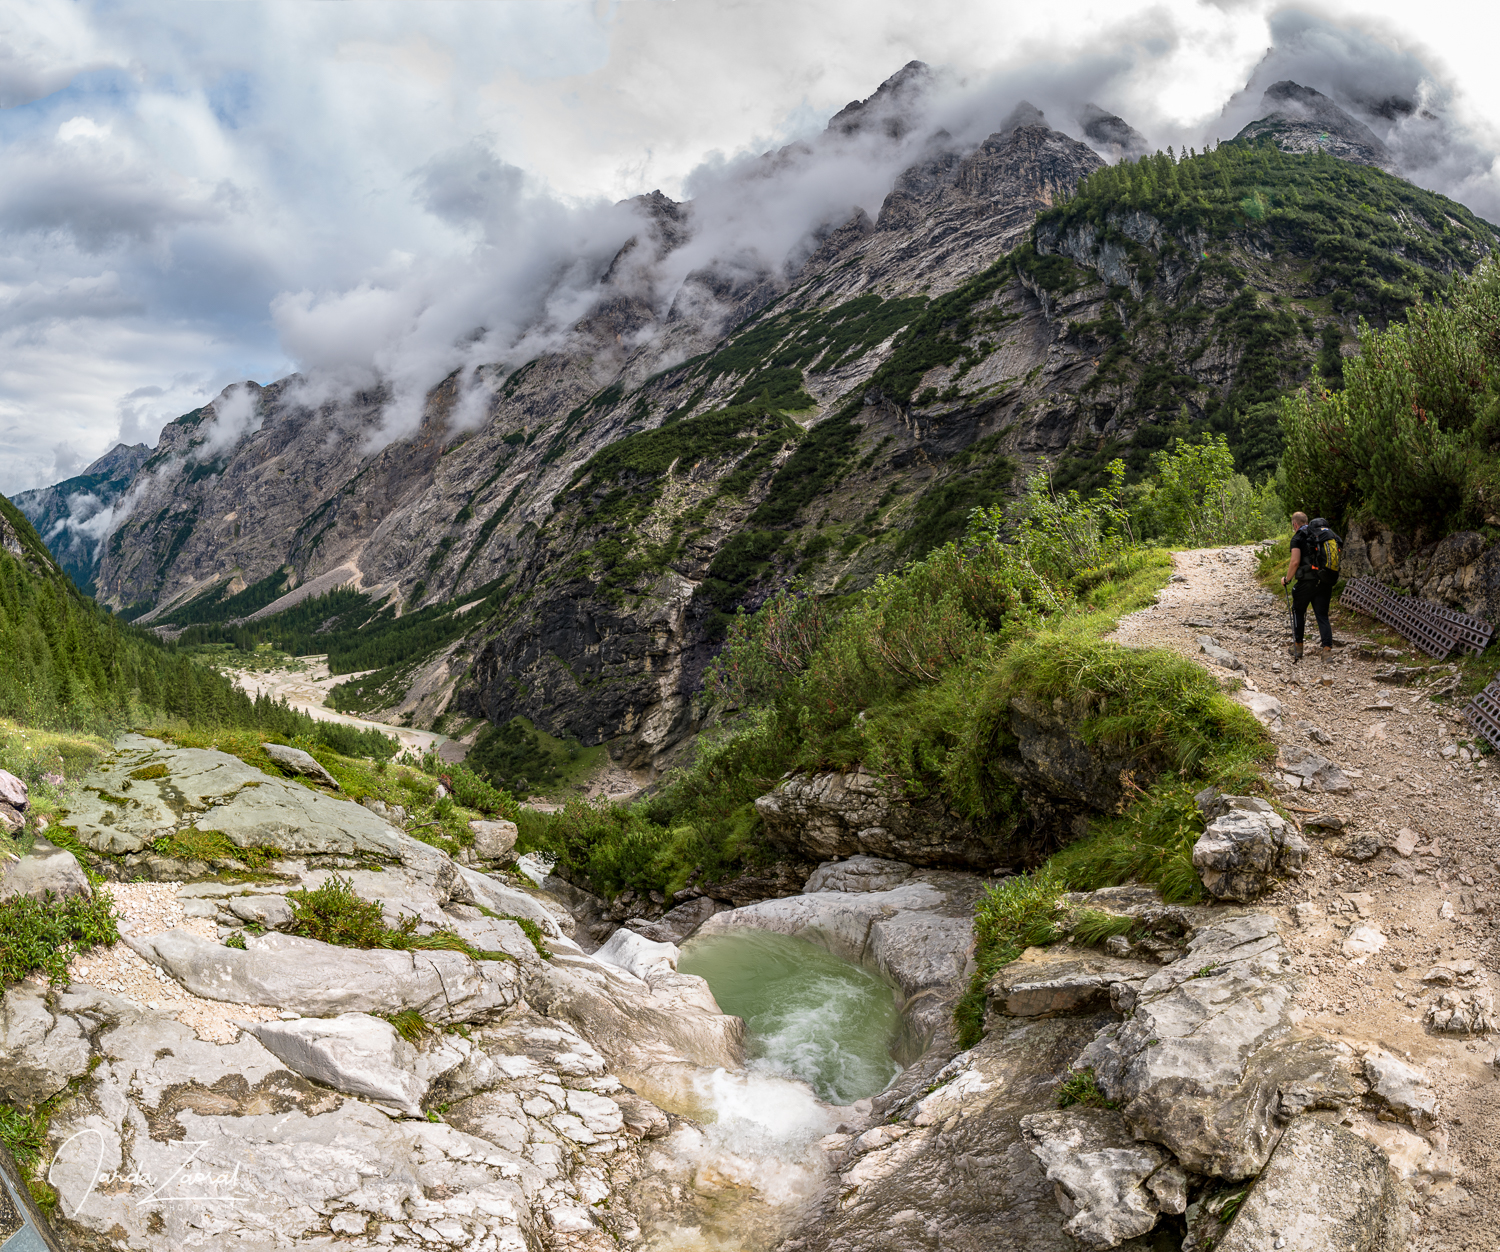
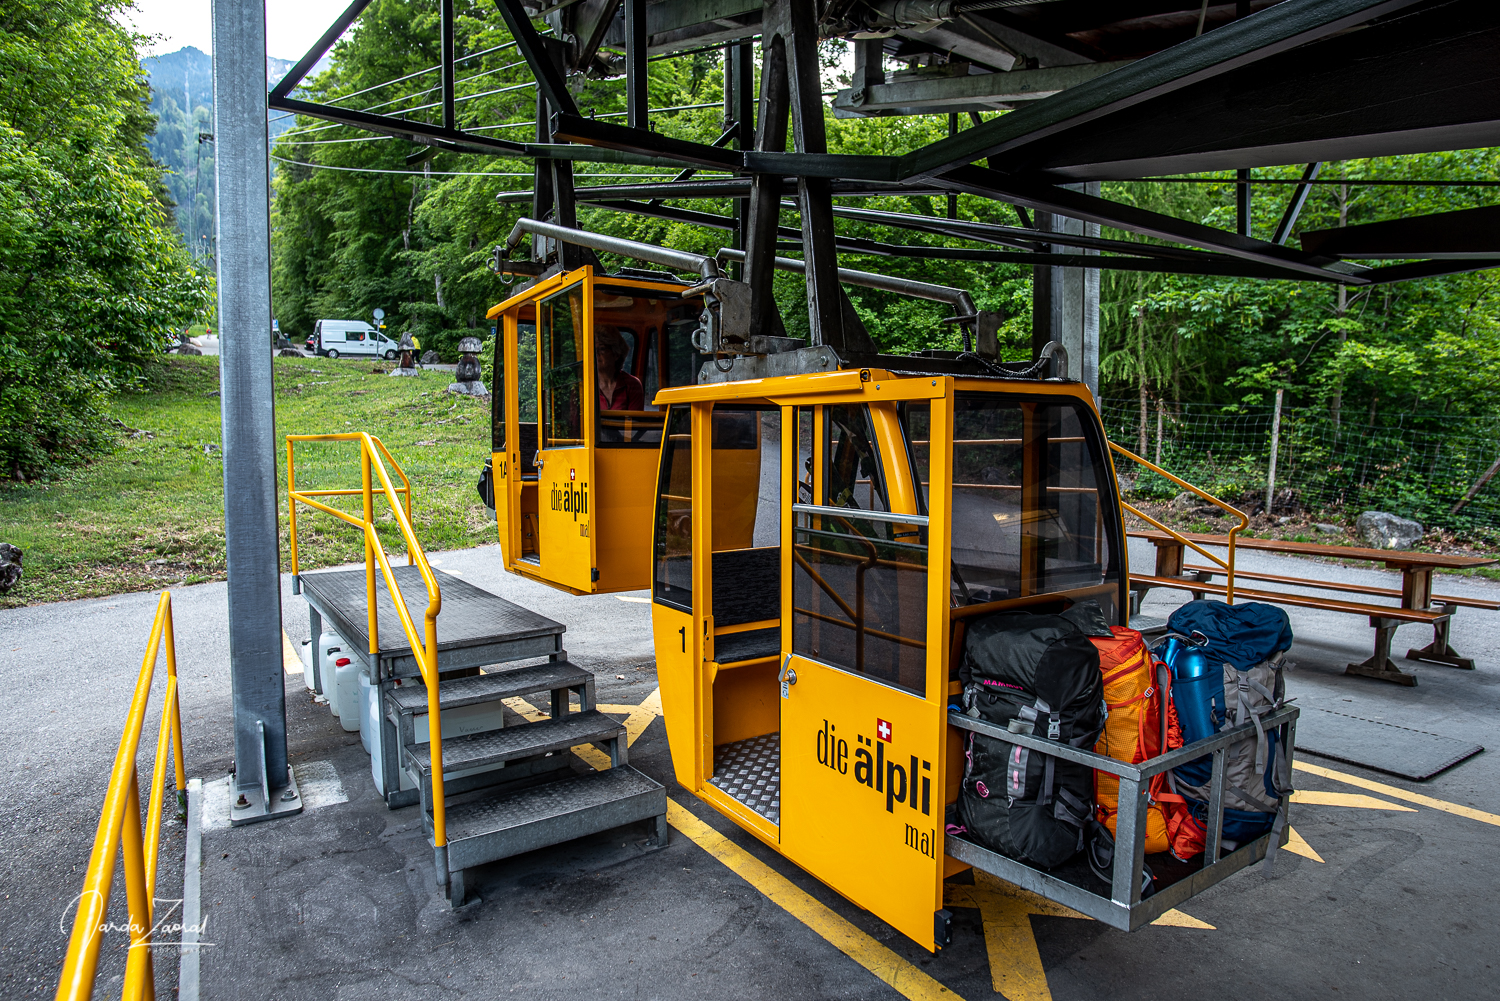
- Normal route from Malans, Switzerland: This route is most often used to reach Vorder Grauspitz because you can save hundreds of elevation meters via a cable car called Älplibahn. You will find it in the village Malans in Switzerland. If you are looking for accommodation at the starting point, book in advance because there aren’t many options. I recommend Haus Meierhüsli. From the top of the cable car you will walk through wonderful nature offering amazing views. The best views are coming at a pass at 2,050 m. From there, you can see Vorder Grauspitz for the first time. On the way, you will pass multiple farms and also a tunnel which is used to transport sheep even these days. After the tunnel you reach a small farm called Alp Ijes. From there, the route goes sharply up until you reach a ridge. Follow the ridge to Hinter Grauspitz. Note that the map (see also below) of the route ends at the ridge to Hinter Grauspitz, but you can continue up without problems (blue arrow in picture below). I explain the last part of the route between Hinter Grauspitz and Vorder Grauspitz below.
- Route from Liechtenstein: This route starts at a parking lot nearby the village Steg in Liechtenstein. This route is more demanding because you will need to pass much higher elevation and the path isn’t marked from approximately 1,750 m. Therefore, a GPS is a must. Scrambling is necessary too on some parts of this route.
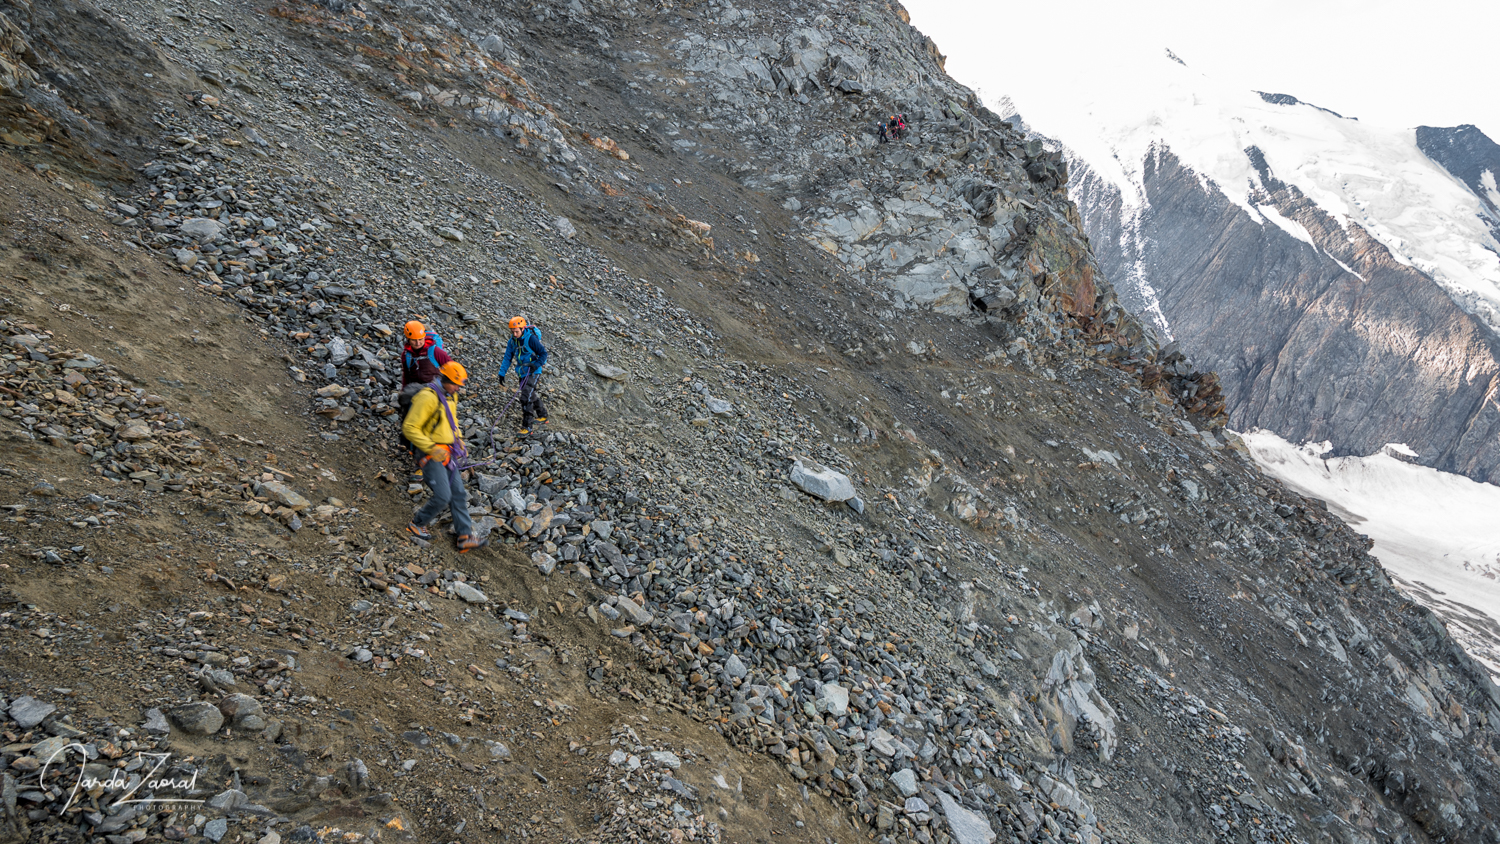
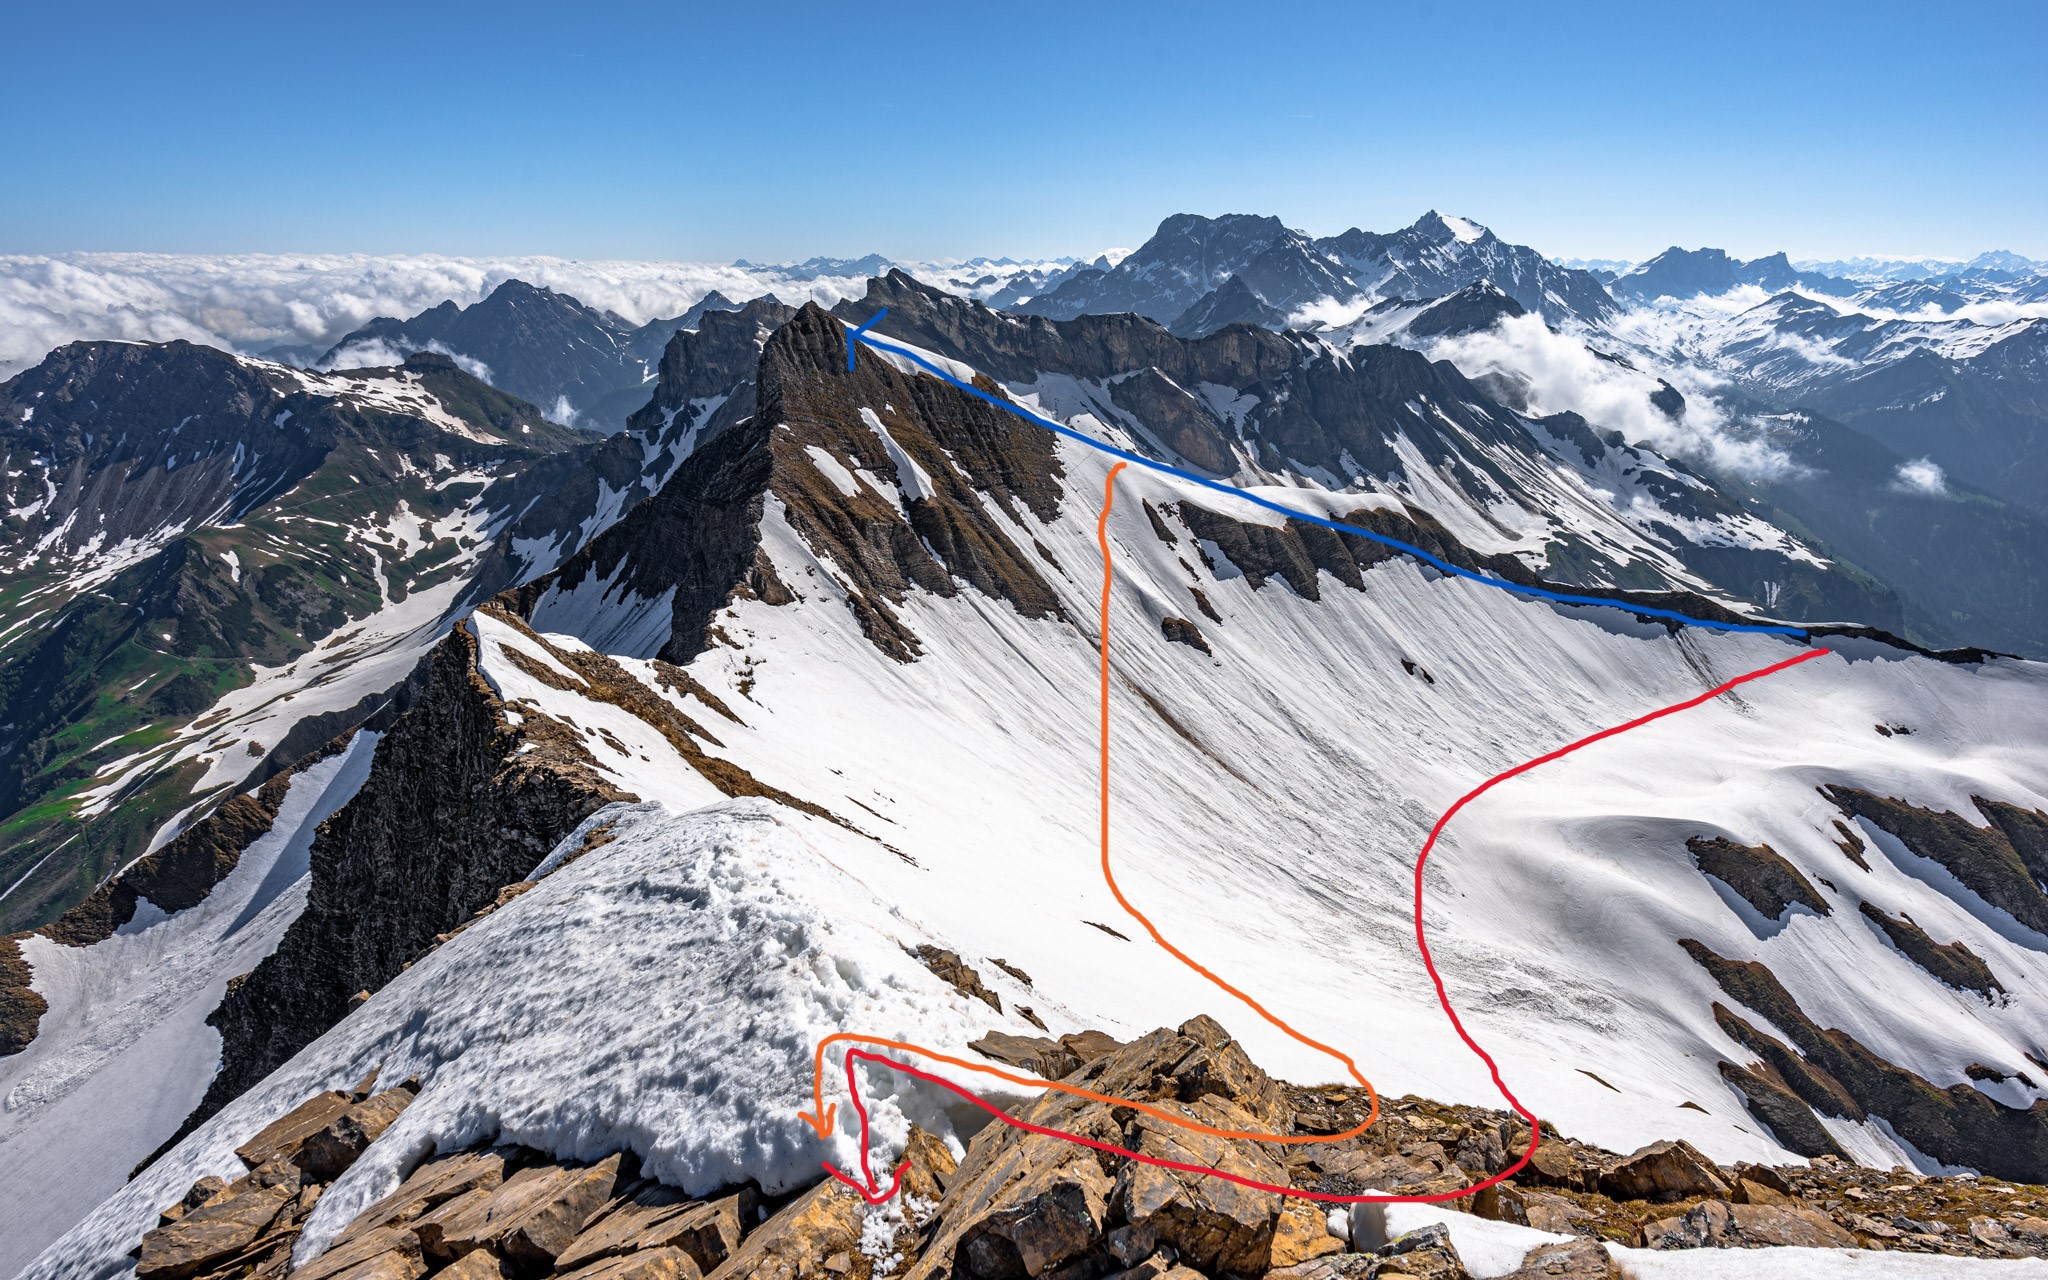
From Hinter Grauspitz to Vorder Grauspitz: you will follow the same route for both routes. It isn’t far but there is a very exposed ridge without a path in between Hinter Grauspitz and Vorder Grauspitz, which you can only climb with full climbing equipment and experience. Fortunately, there is an alternative route (red arrow in picture below). From Hinter Grauspitz, go down the ridge leading to Switzerland (the same way as you go up on the Swiss route) until it isn’t too steep (around 2,400 m – approximately where the route ends on this map) and then you traverse the slope under the ridge towards Vorder Grauspitz. Note that there is no path and the terrain is uncomfortable, but it is possible to do it. I highly recommend to bring very good shoes as the steep terrain will be tough for your ankles. There are also many loose stones. Be careful! Once you reach the ridge leading up to Vorder Grauspitz, follow it to the top.
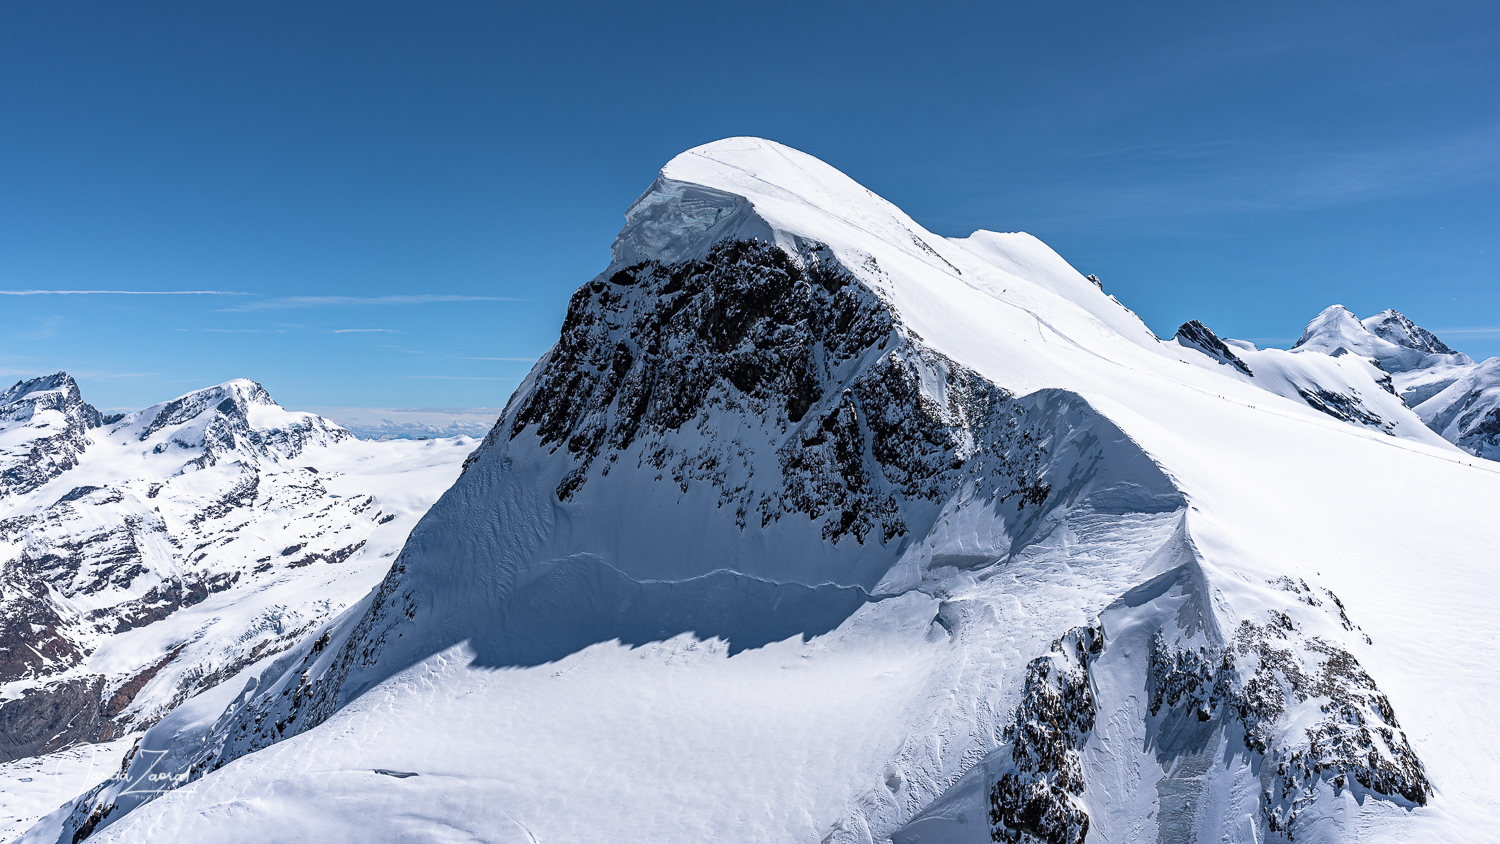
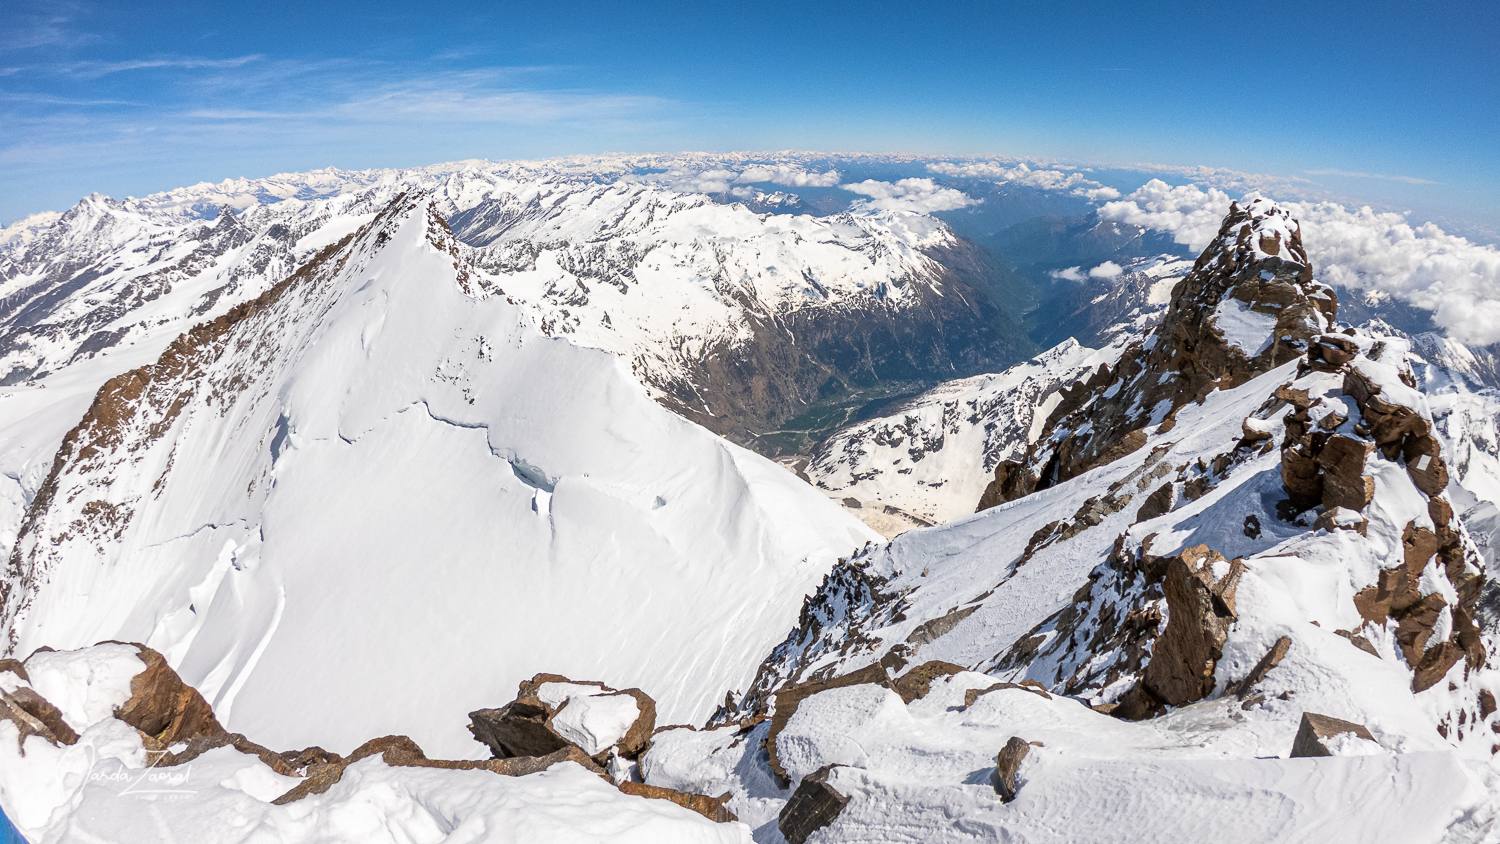
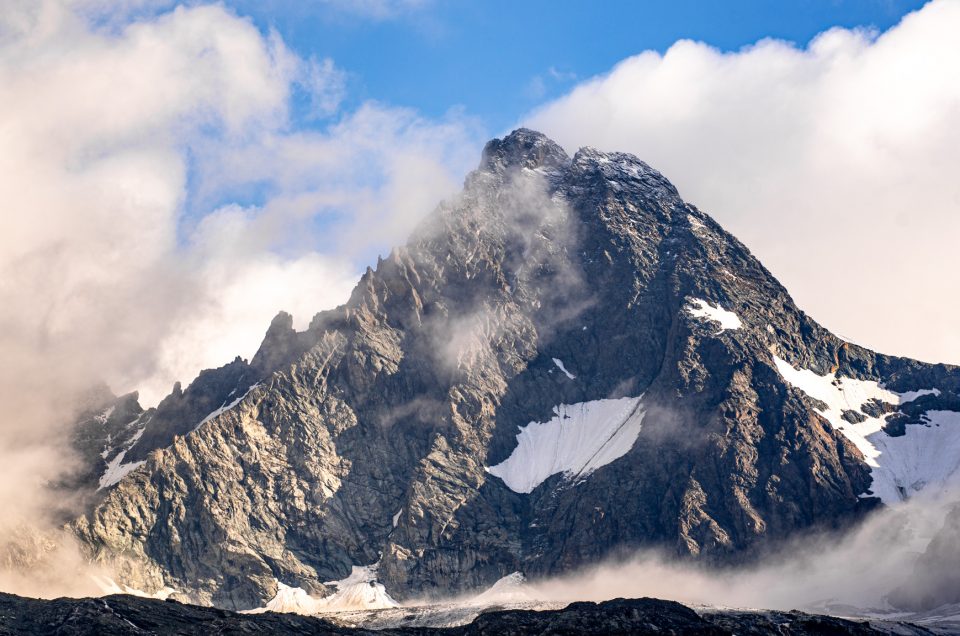
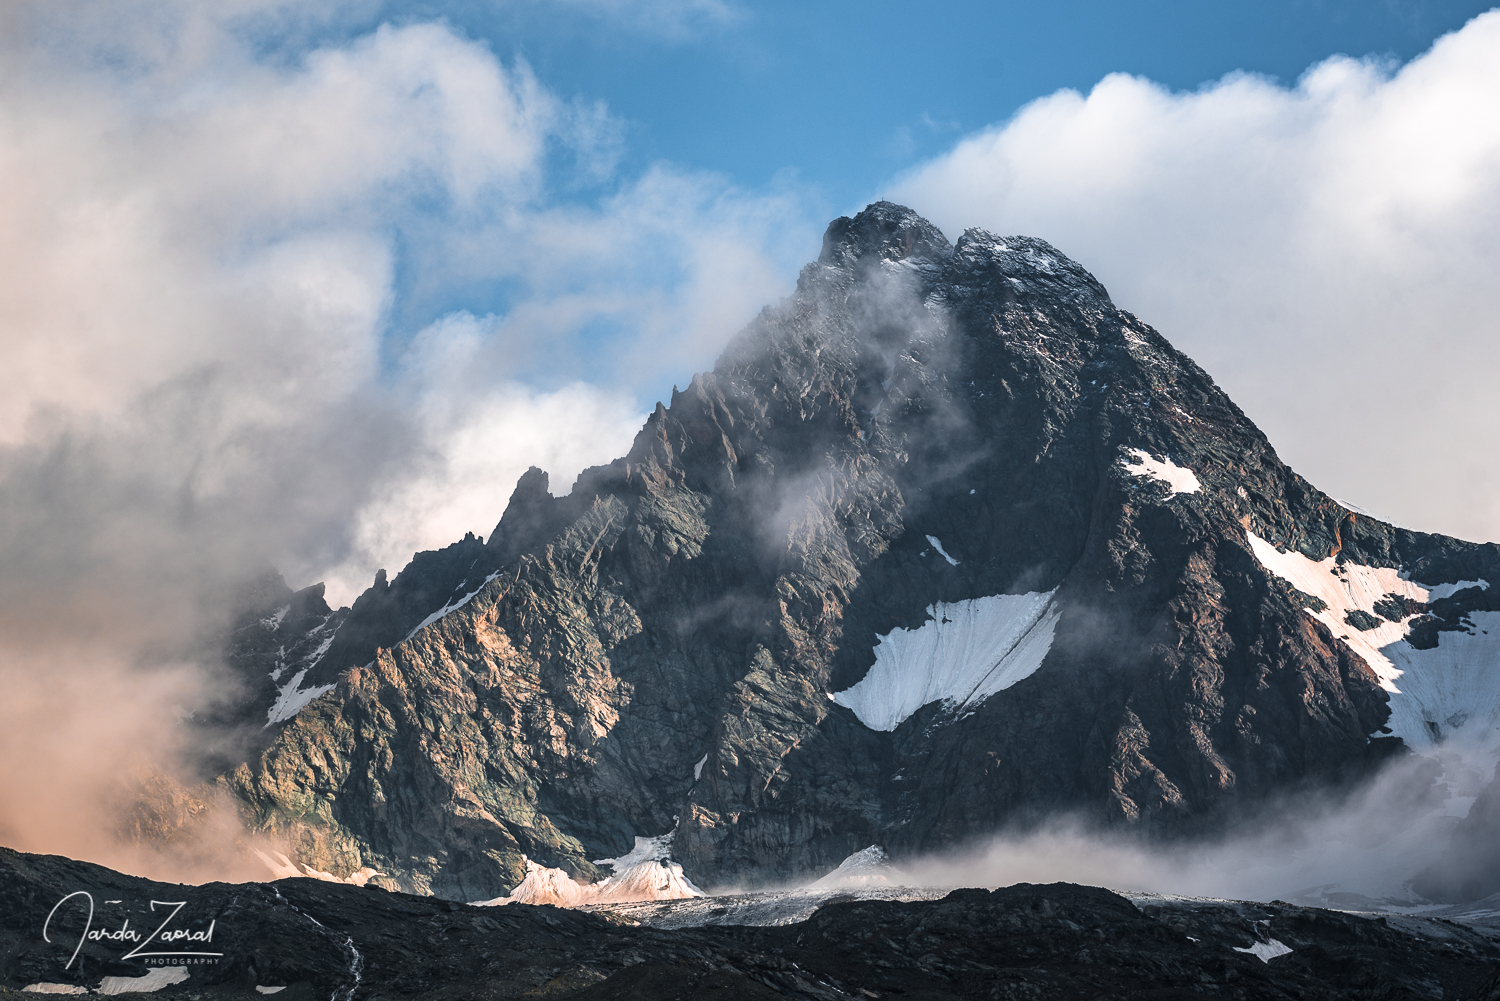
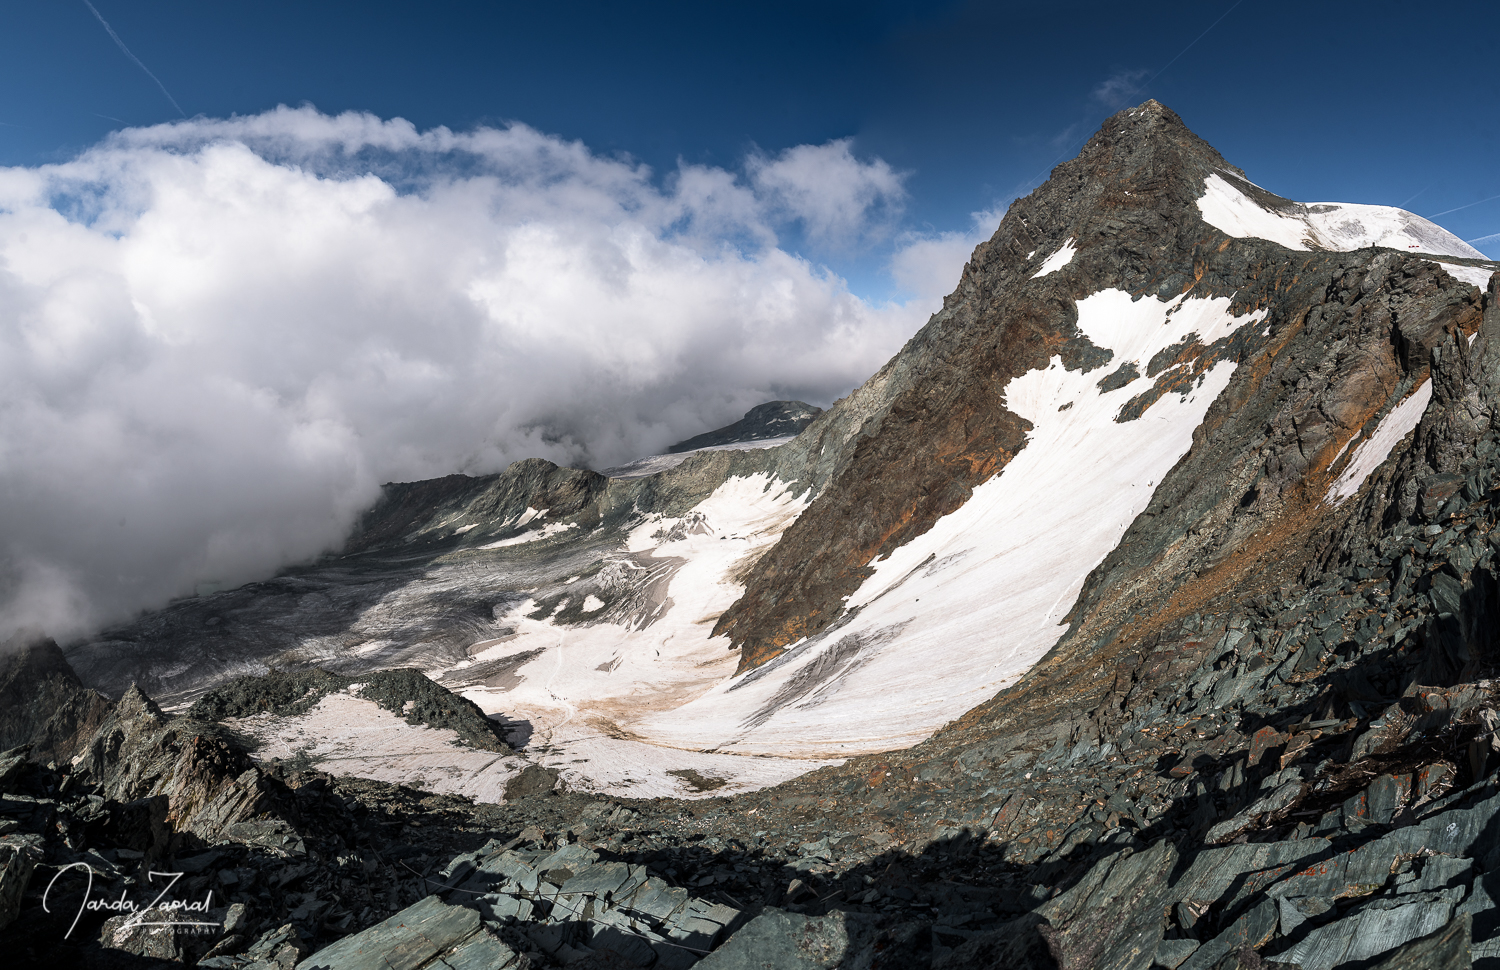
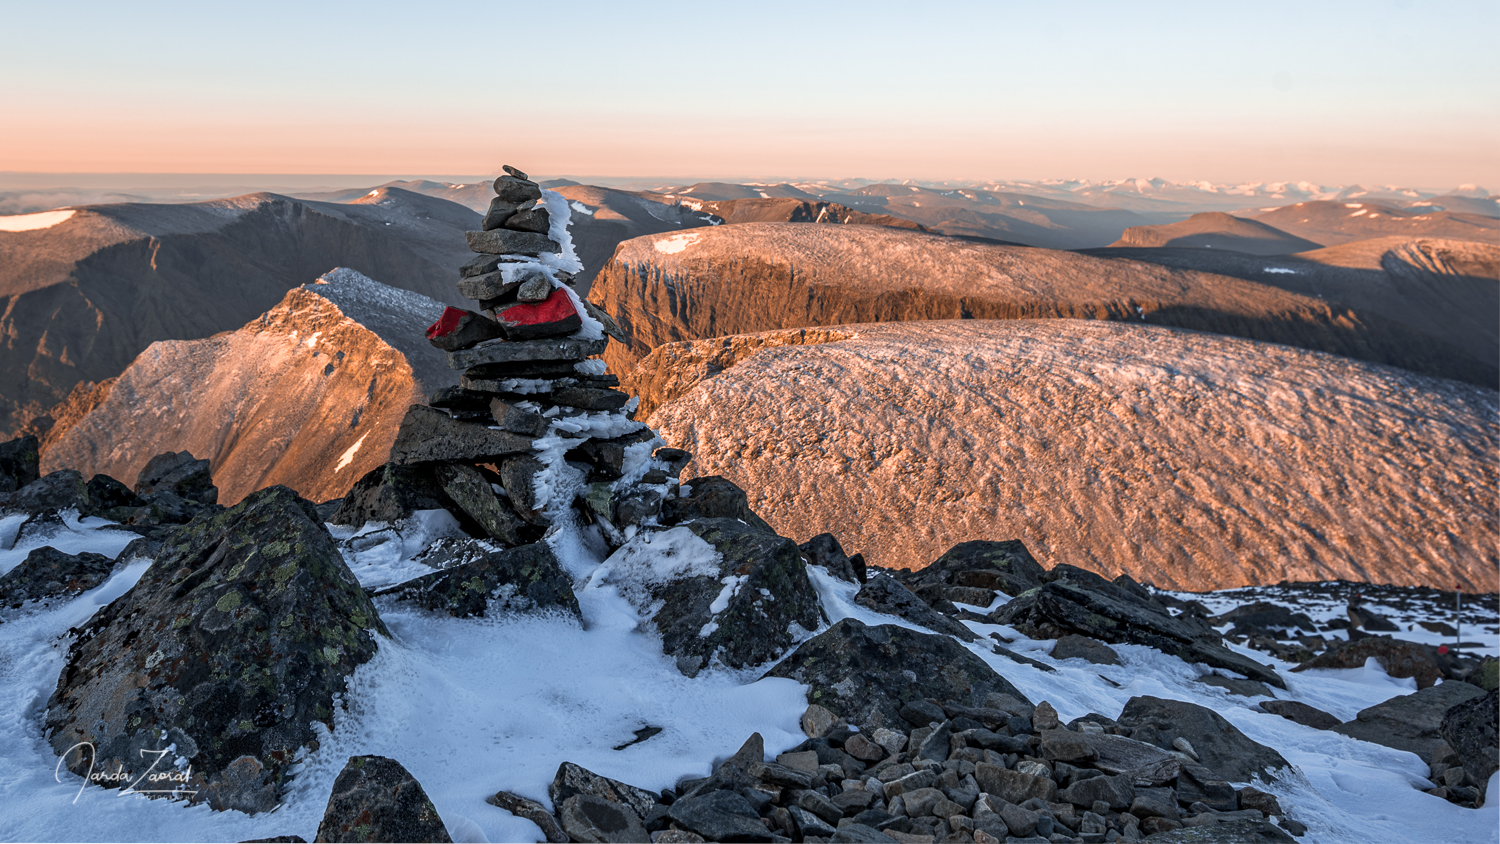
For more clarity, I am adding a picture taken from Vorder Grauspitz and tips on how to reach it:
- The blue arrow leads to Hinter Grauspitz on the ridge (Swiss route to Hinter Grauspitz).
- The red arrow is the recommended route if you want to skip Hinter Grauspitz via the Swiss route.
- The orange arrow is the route that I took after reaching Hinter Grauspitz and describe below. We took this way but the conditions can vary in summer/winter so decide your route based on current conditions. It isn’t recommended, because it is very steep.
Maps of the climb to Vorder Grauspitz
- Normal route from Switzerland (note that it ends at the start of the blue and red arrow in the picture above)
- Liechtenstein route (note that it shows the route via the ridge between Hinter Grauspitz and Vorder Grauspitz – an alternative route is described above)
My story of climbing Vorder Grauspitz in winter conditions with personal tips
I climbed Vorder Grauspitz as a part of my project European Peaks in the month of May but surprisingly it was a very difficult task! There were still winter conditions. The ministate Liechtenstein hides a polished treasure – a sharp peak with an unbeatable view! Since I heard the climb can be very challenging in winter conditions I decided to climb it with a guide.
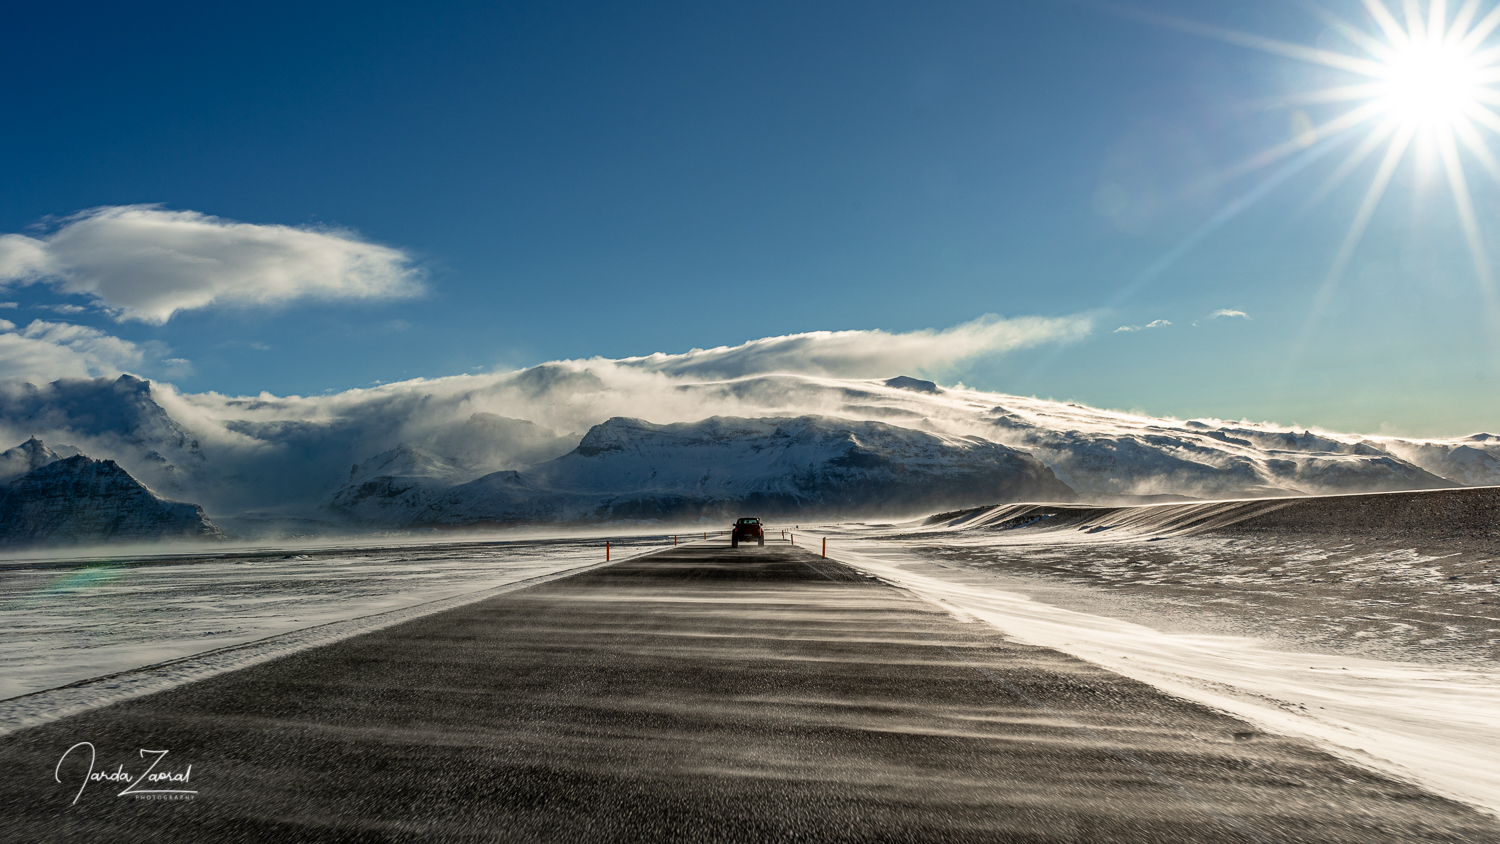
We arrived to the recently renovated cable car Älplibahn at seven o’clock in the morning. We were told that there is still a continuous snow cover from the cable car’s end station so we took up back-country skis again.
On the top we were stopped by an employee of the cable car: “At this time of year the ascent to the summit is very difficult, probably even impossible. This year brought unusually so much snow that I doubt you will manage. Be careful! There can even be avalanches.” We assured him we’ll be careful. Let’s see.
Too much snow at Grauspitz
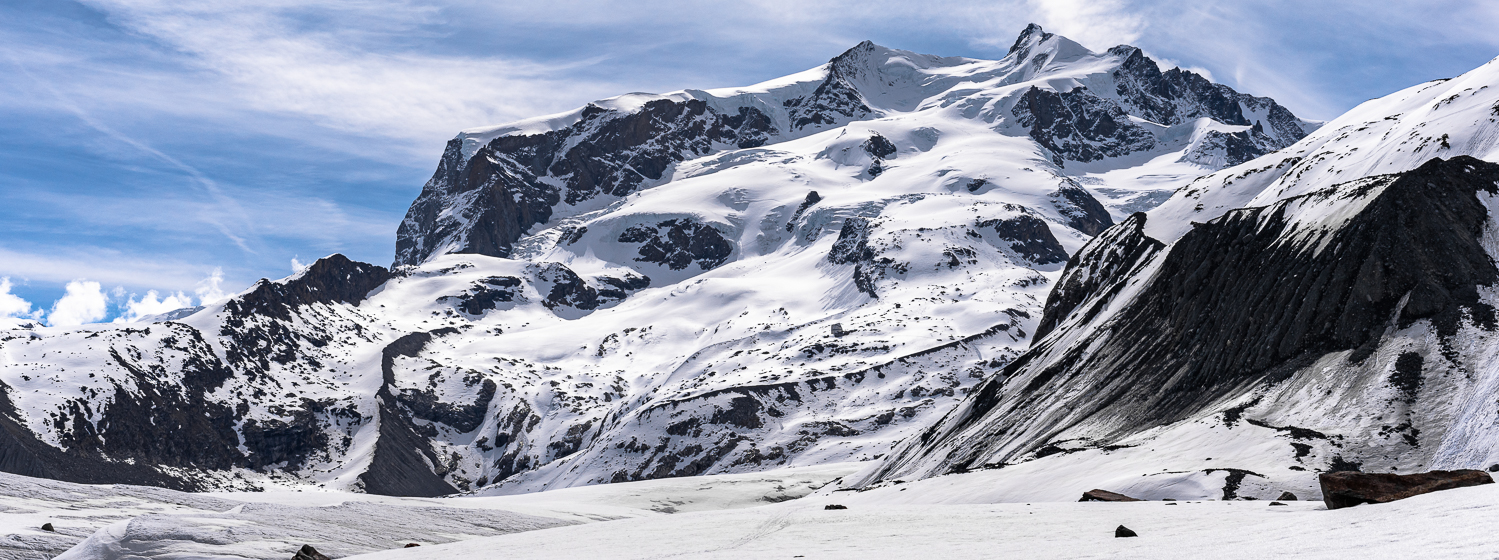
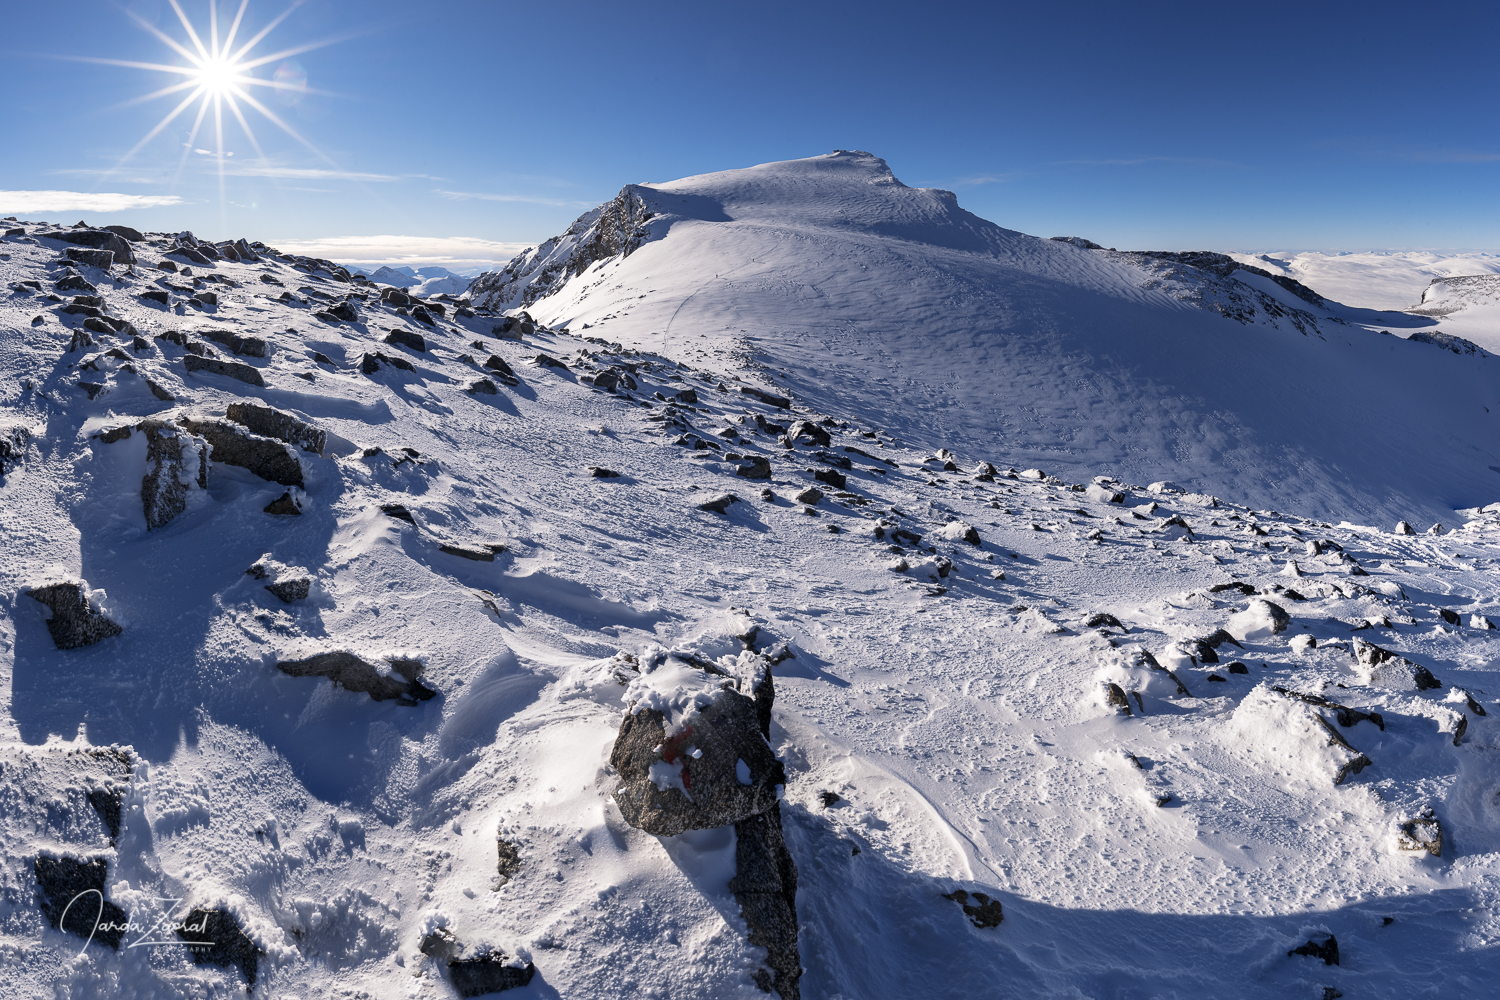
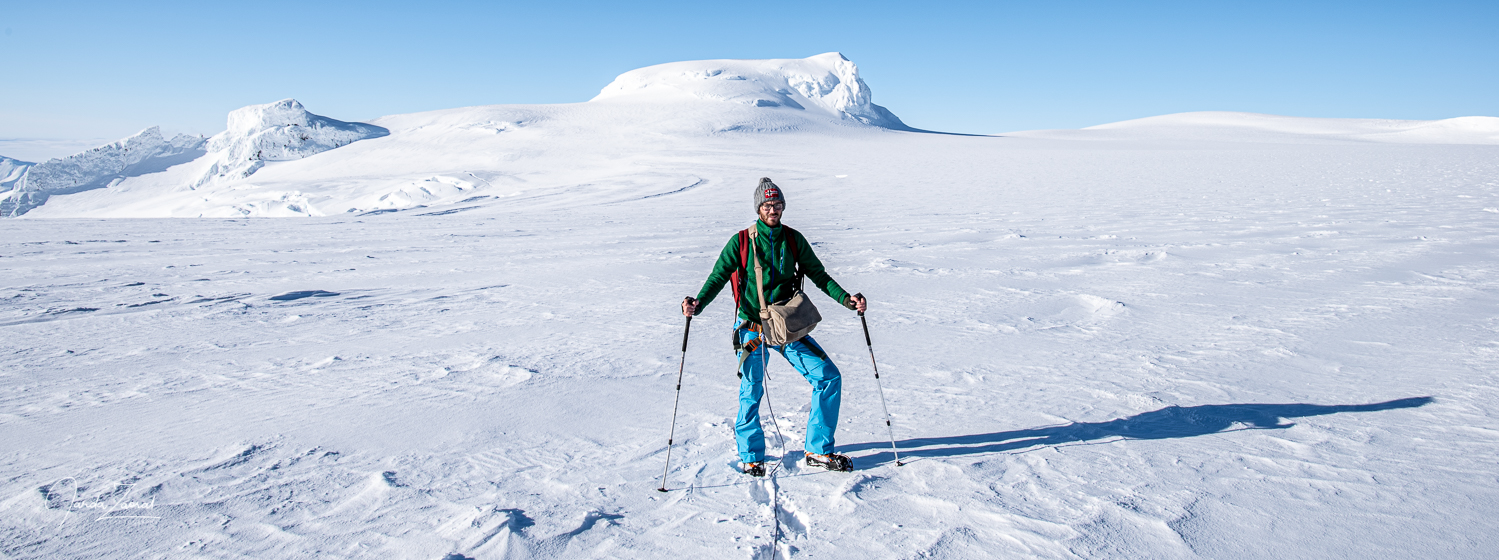
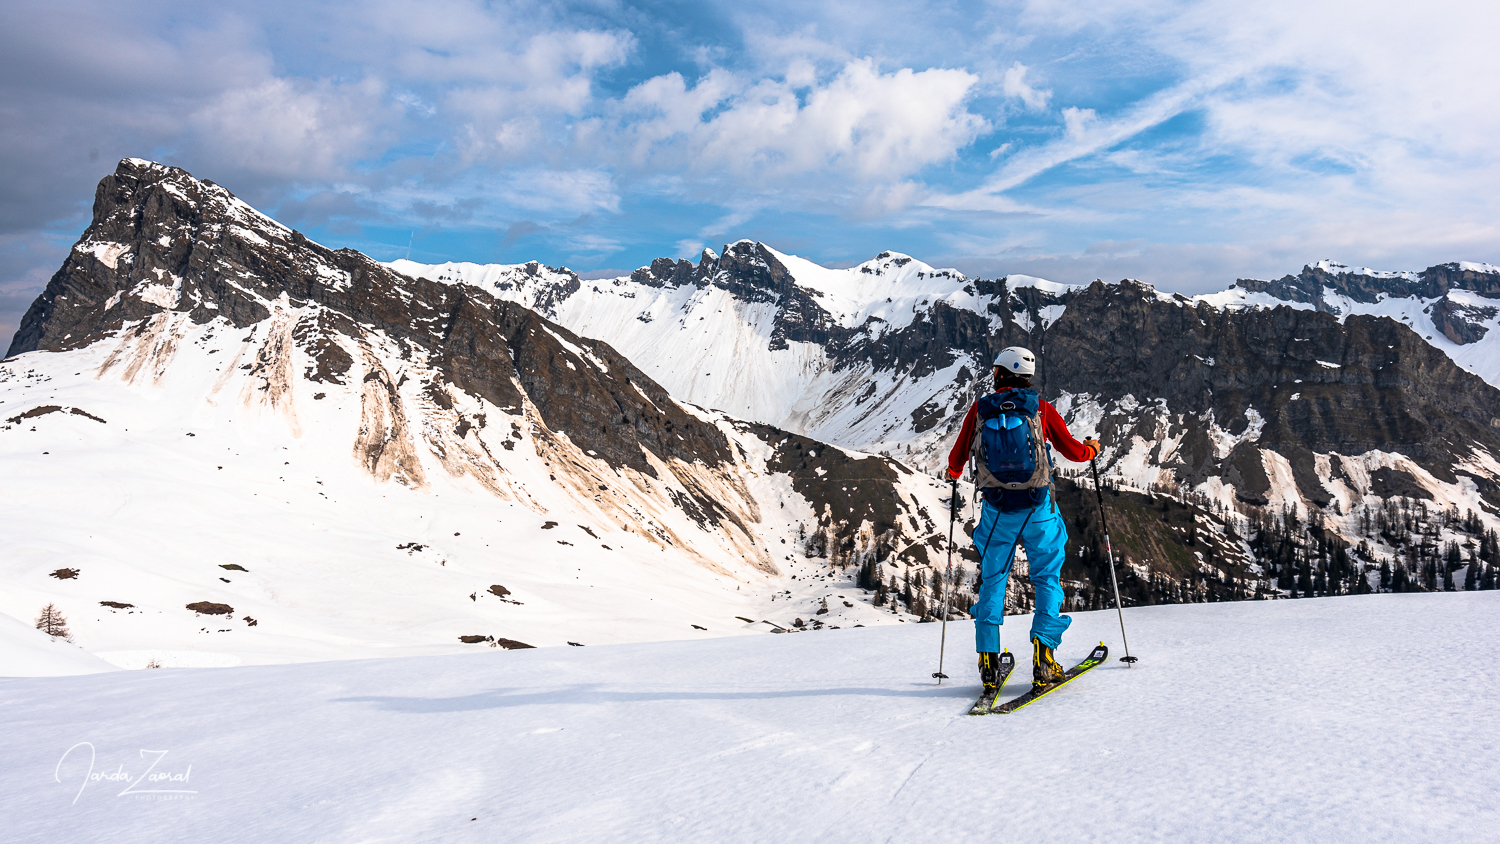
We put our skis on and started our journey. We climbed 200 elevation meters up to the first ridge from which there is a great view of Grauspitz itself. This mountain has actually two peaks – Hinter Grauspitz and Vorder Grauspitz. The marked path leads only to Hinter Grauspitz, which is twenty-five meters lower. Between the two peaks is a very sharp ridge. We’ll see how possible it will be to reach it when we get there.
Now there was a valley between us and Grauspitz, so we had to go down and climb up to the opposite ridge. It was nine o’clock in the morning and it was already very warm. The snow turned into a wet slush. The mountain guide warned me in advance: “The conditions are very risky. Avalanches are possible. I’ll go first and see.”
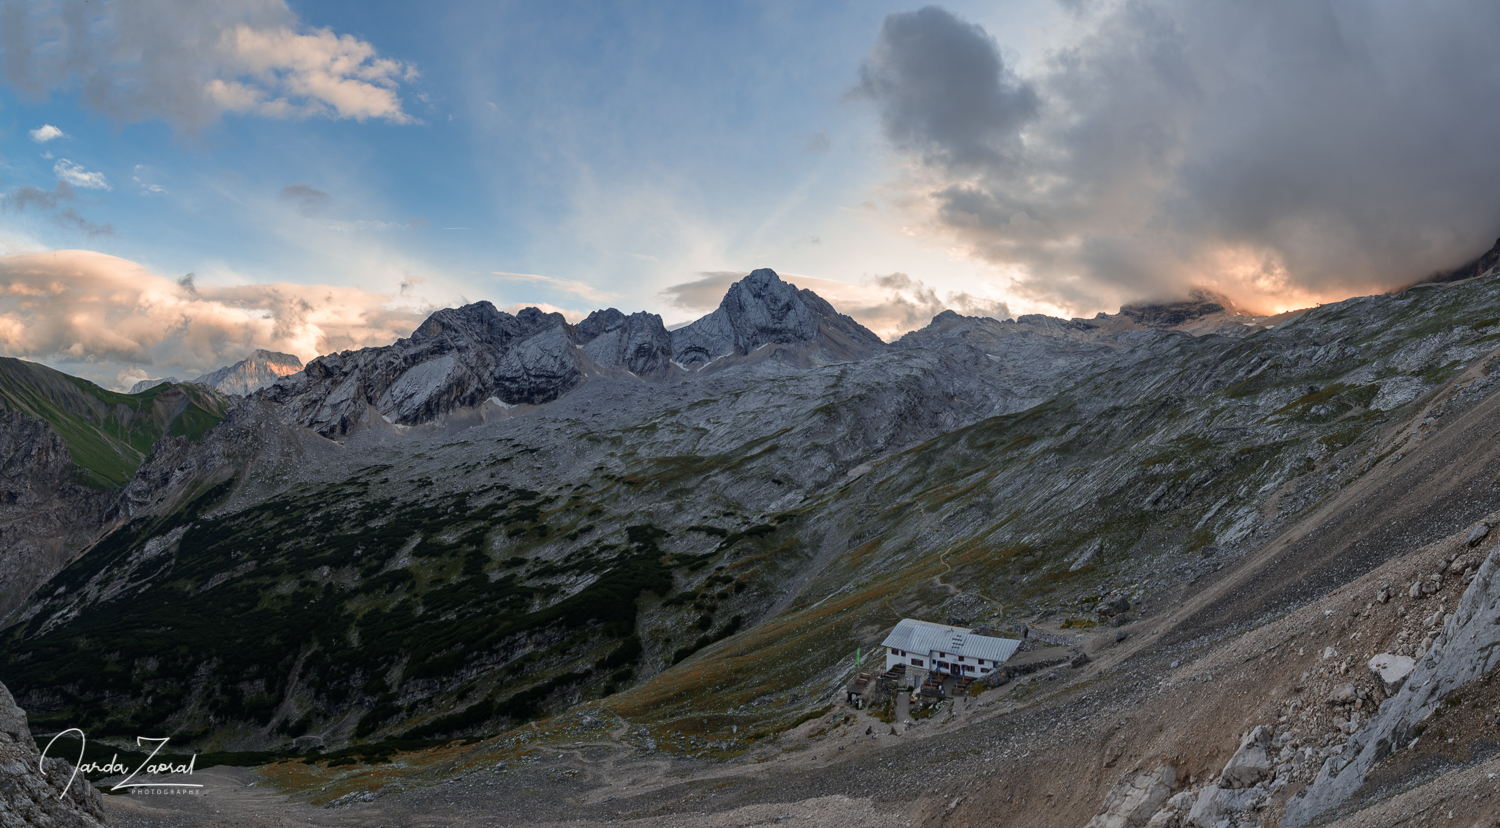
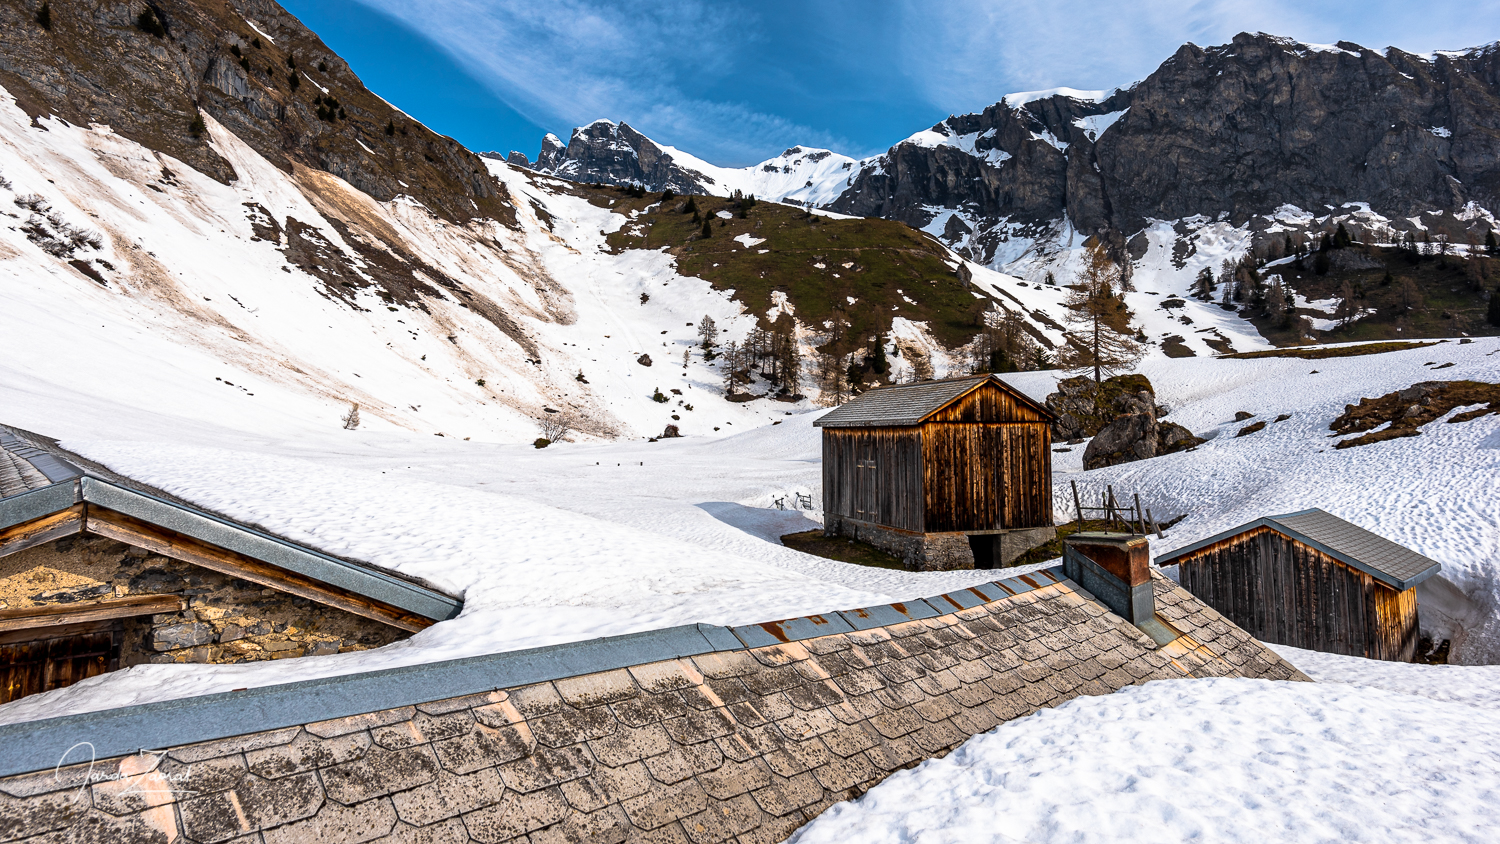
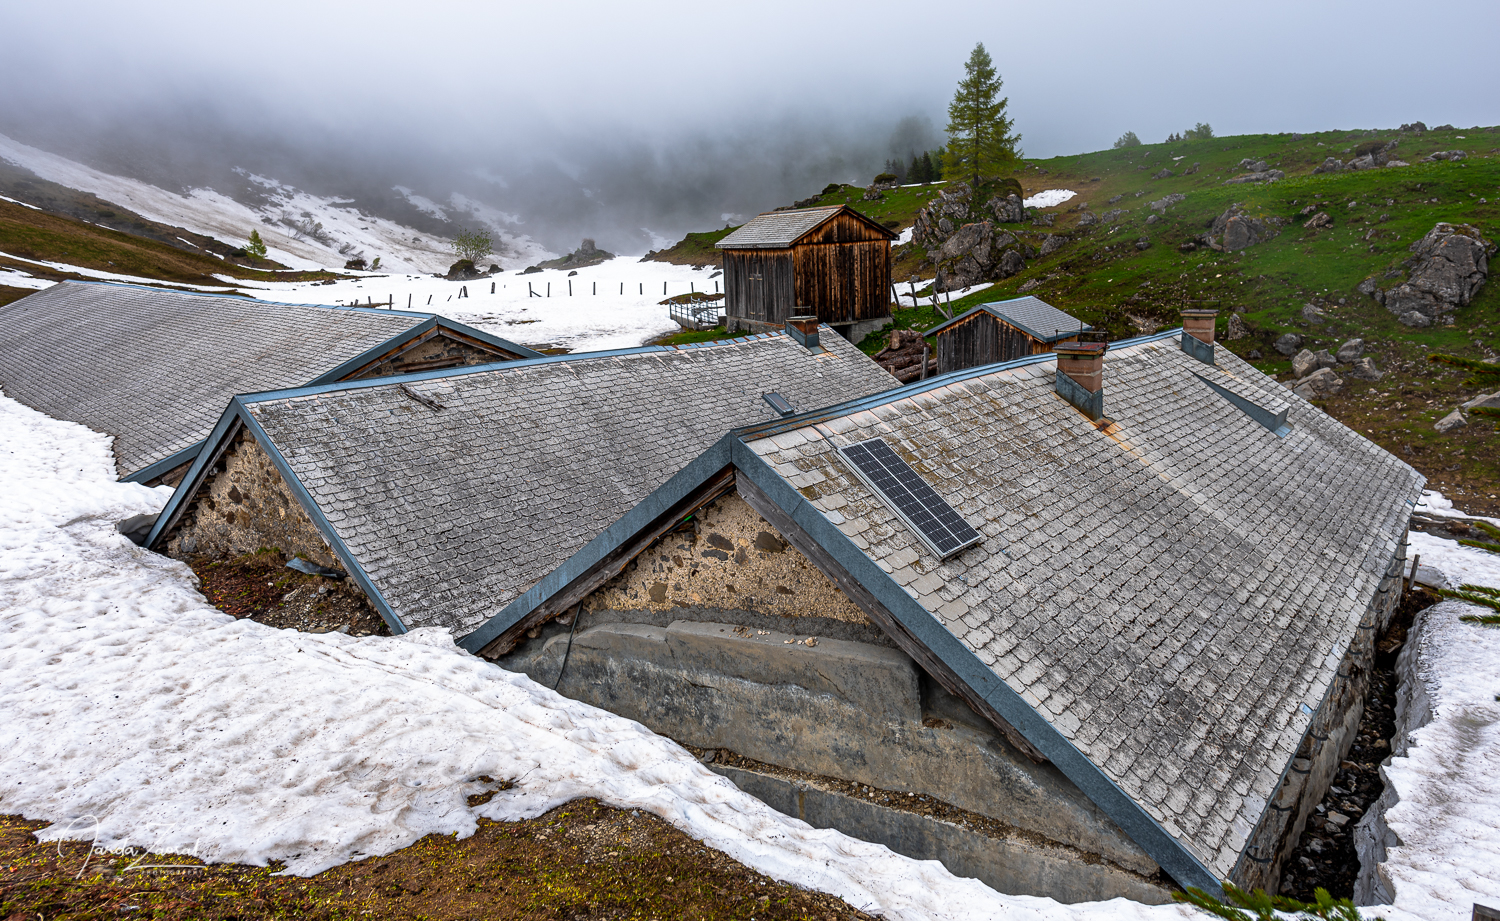
His ride across the slope tore down a small and slow but very heavy and wet avalanche. Climbing Grauspitz in these conditions will be really difficult. We will see what the situation will look like on the other ridge. We skied down to a small farm Fläscher Alp which was covered with snow up to the roof. This year’s winter has been very generous.
Too risky conditions at Vorder Grauspitz
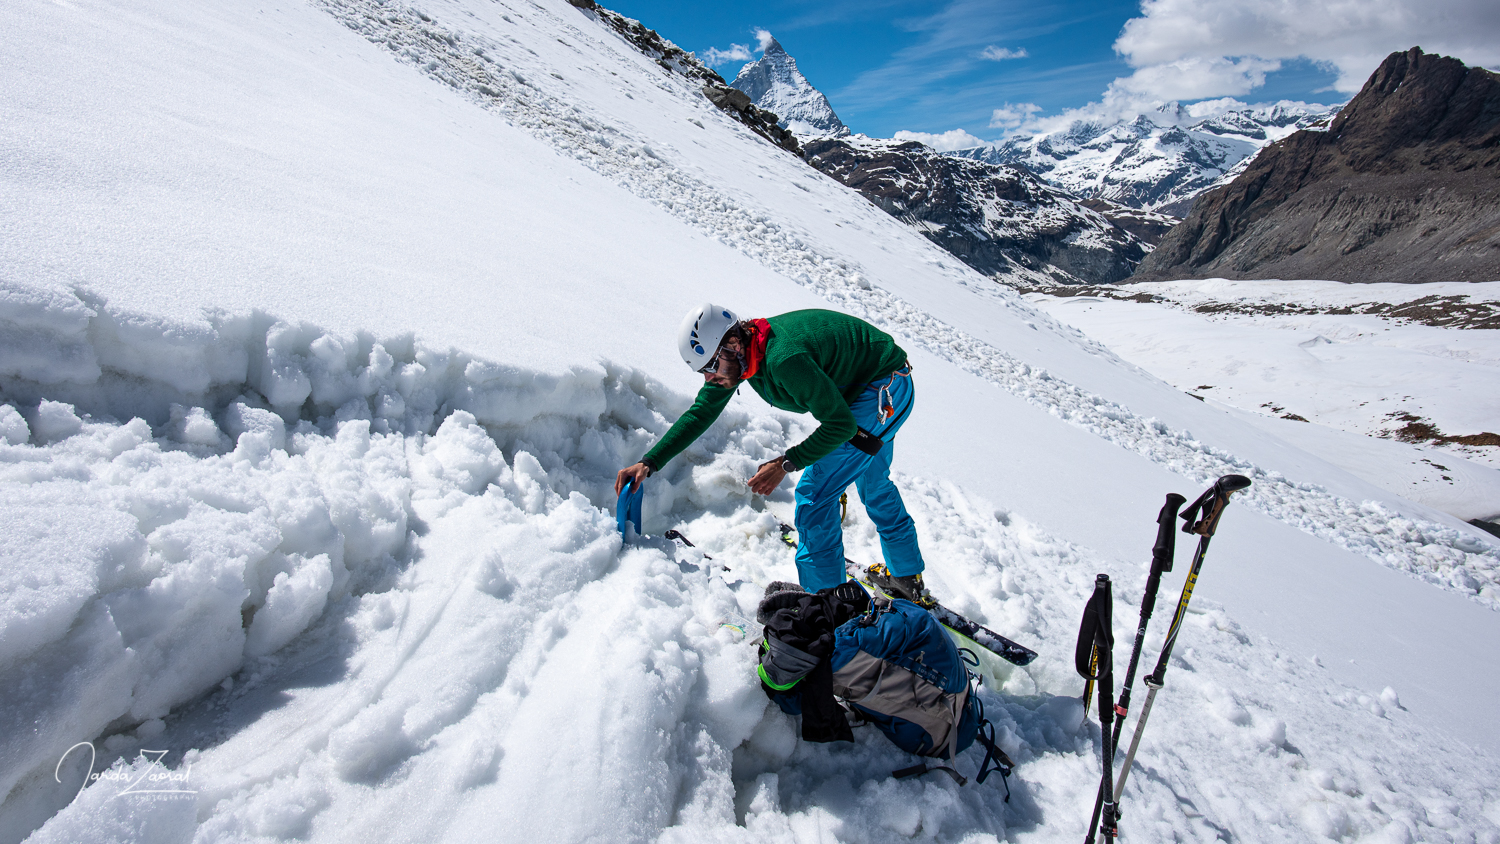
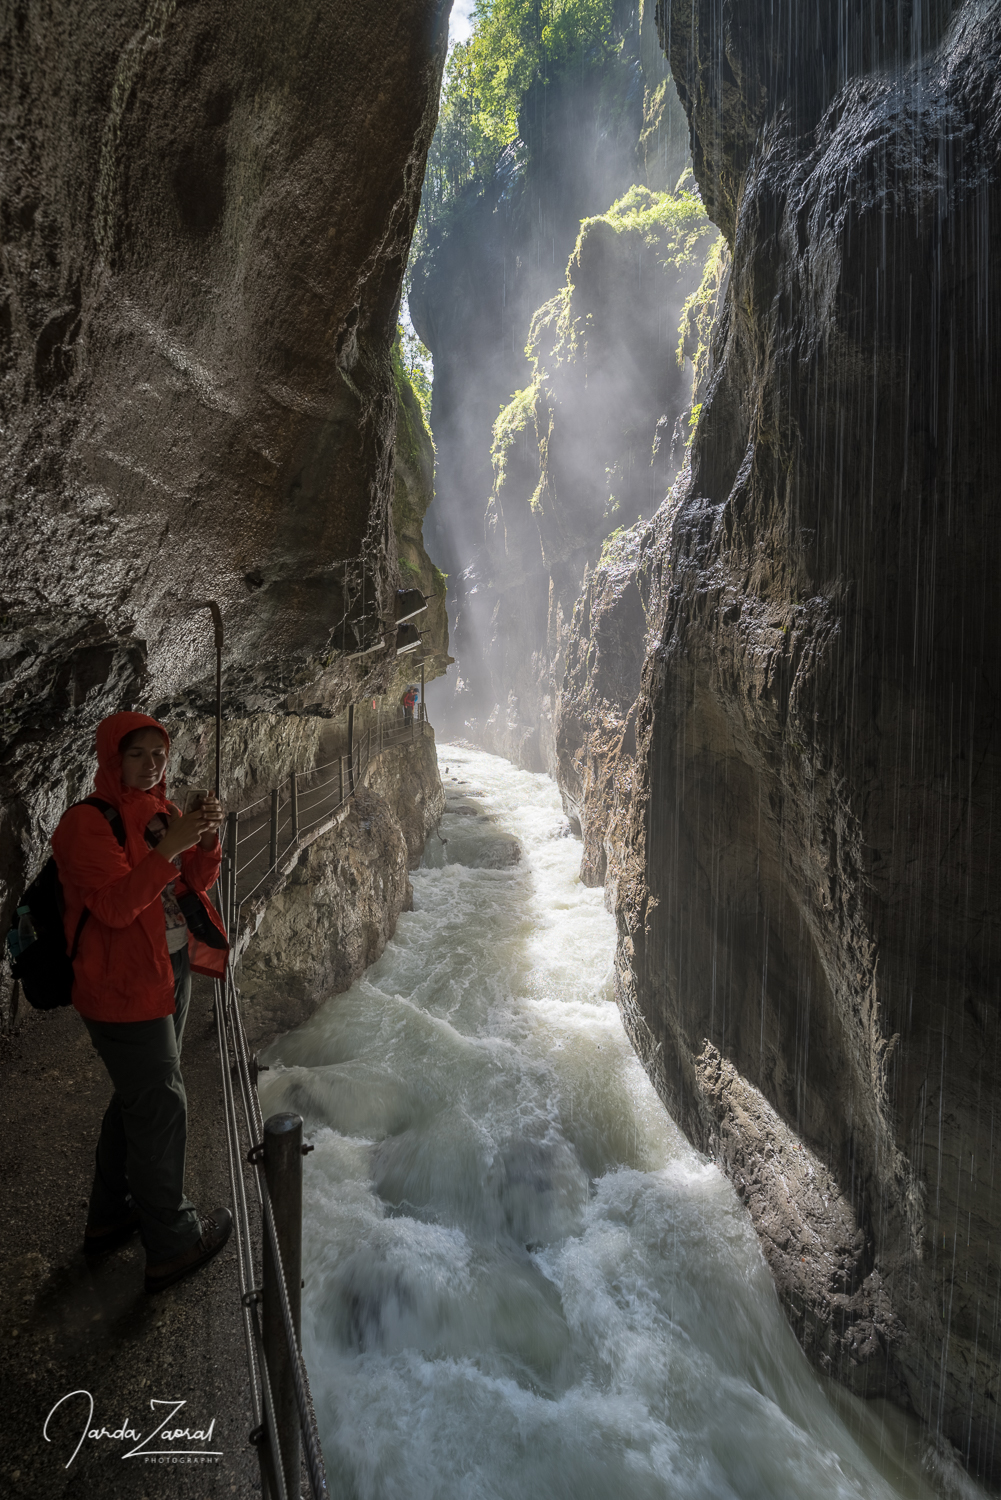
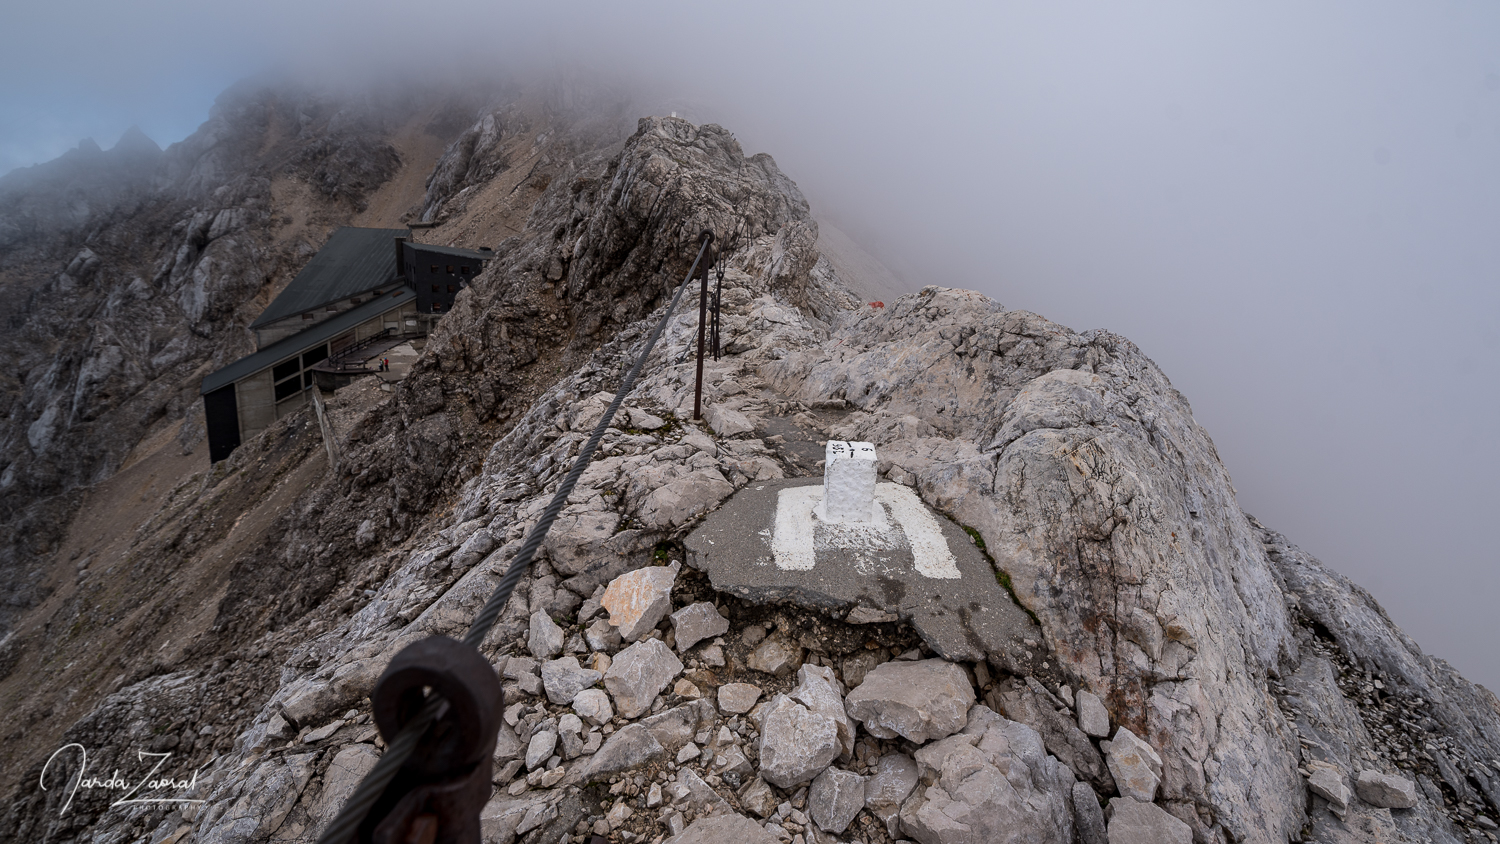
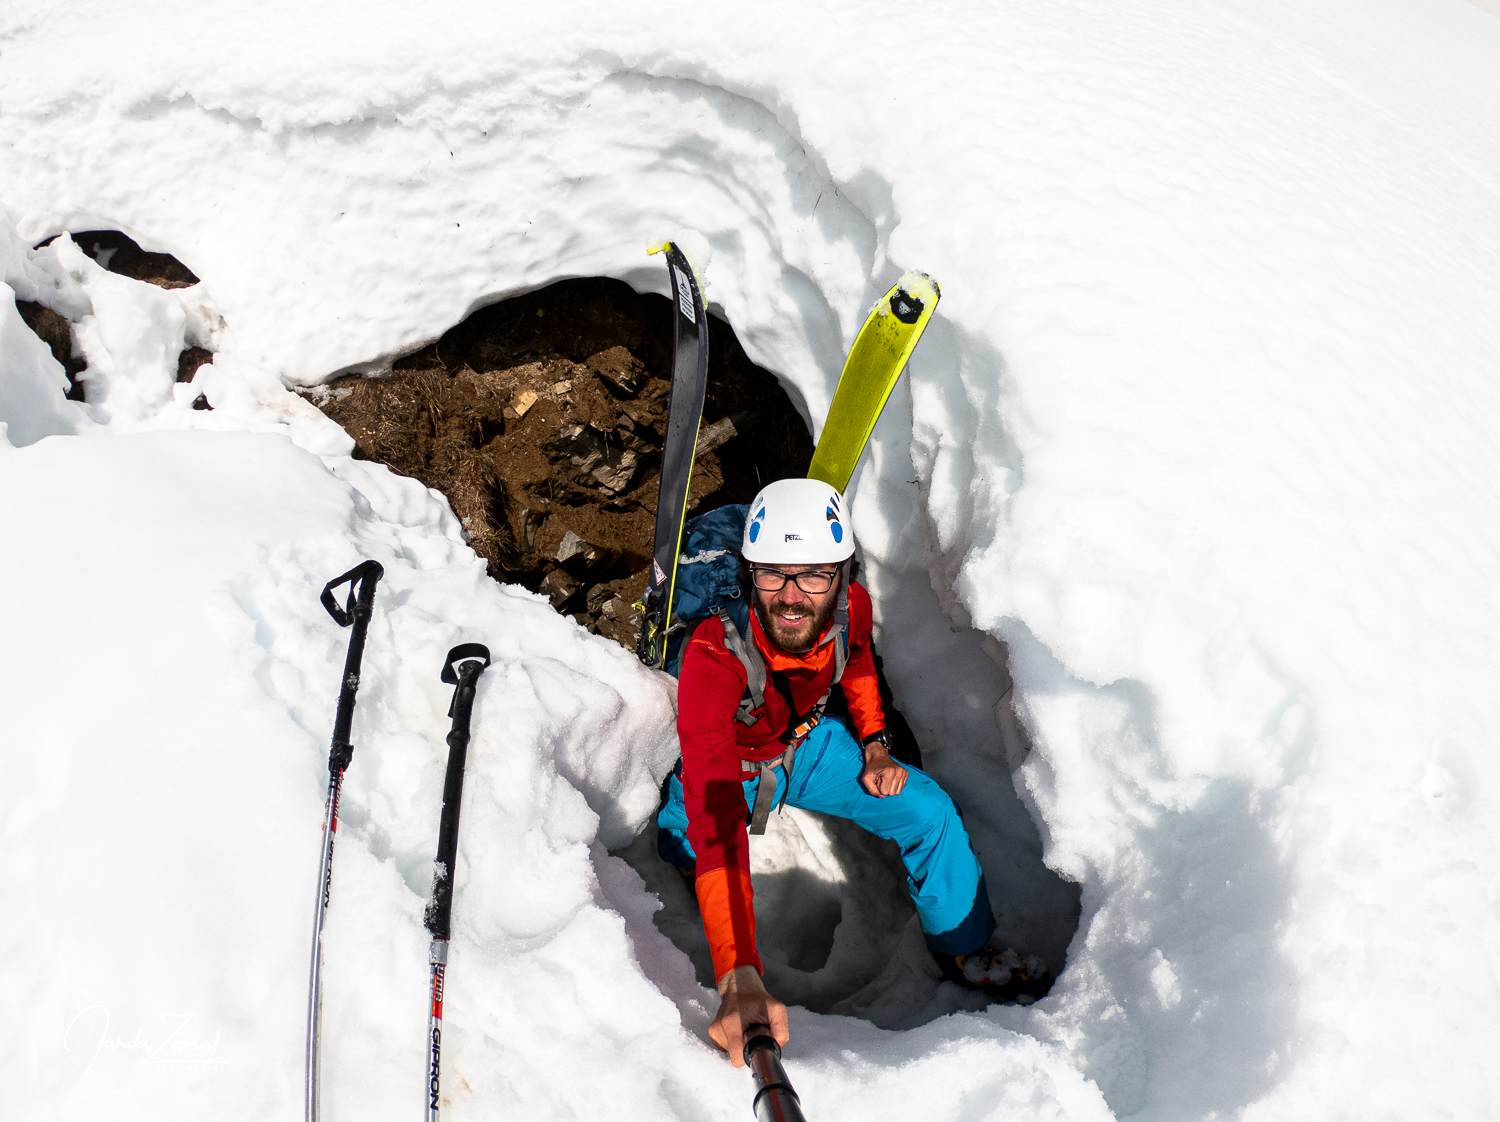
While we continued to the other side of the ridge it was clear that the snow was melting fast in this weather. It was most visible on a rocky hill on the other side, where small avalanches were falling very frequently. Soon we reached a hole in the rock. The trail continued through a tunnel. We took off our skis and walked towards the other side of the tunnel but there was an unpleasant surprise. 95% of the entrance was covered by snow. What now?
We had to start digging to get out. After a while we succeeded and we saw Grauspitz from the other side. However, that was the last positive news. More than three meters of wet snow and very steep terrain meant that we can’t continue. It would be too dangerous when it comes to avalanches. This time the weather and the mountains said no. We can’t get to the top. However, the mountain will stay. I’ll try to climb it another time.
Attempt No. 2
14 days later I was on the way back. I had big respect to this mountain due to the first experience so I was very careful this time. Before my journey I wrote to the Swiss Institute for Snow and Avalanche Research to see if there was any avalanche danger on Grauspitz. They weren’t actually releasing any statements anymore. June is already off season. However, I got a reply to my email: “There is still over a meter of snow at the top of Grauspitz but the snow cover is stabilized. There should be no avalanche danger in case there will be a freezing night before your summit day.”
After my return from Russia I had to wait a few days for the freezing night but it came! Time for the last summit of my expedition.
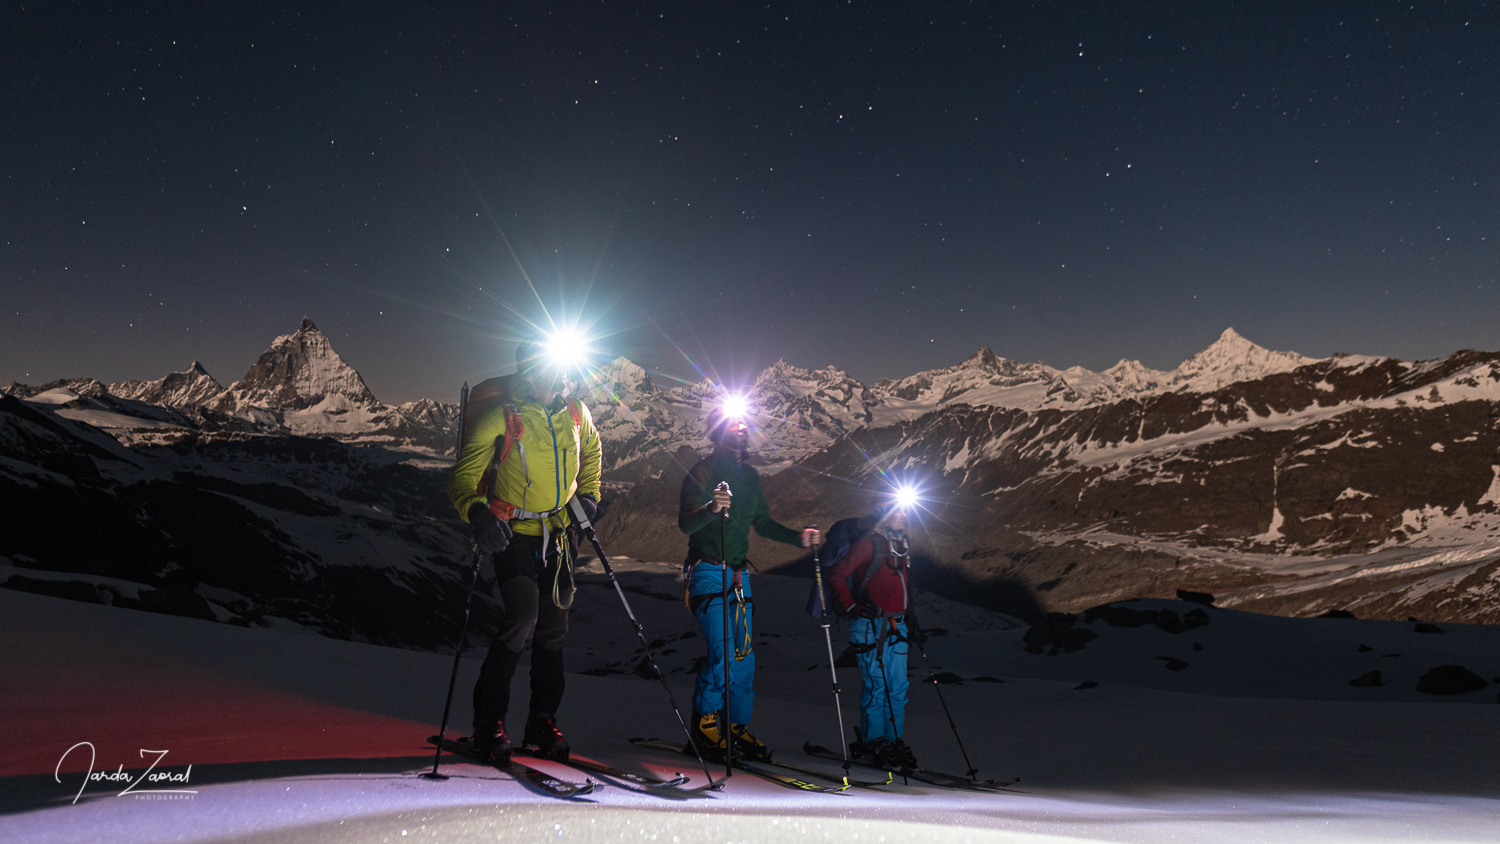
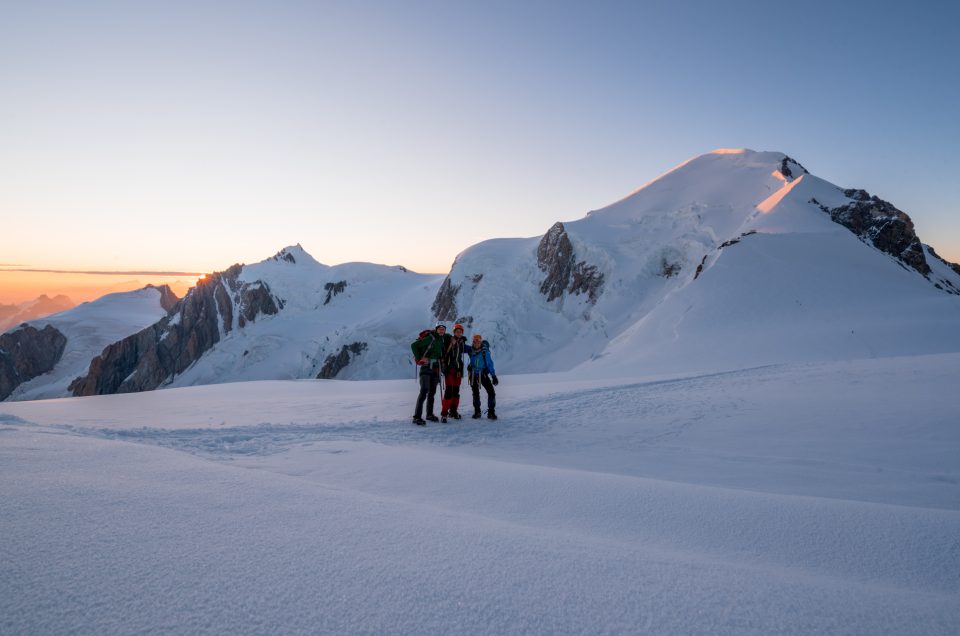
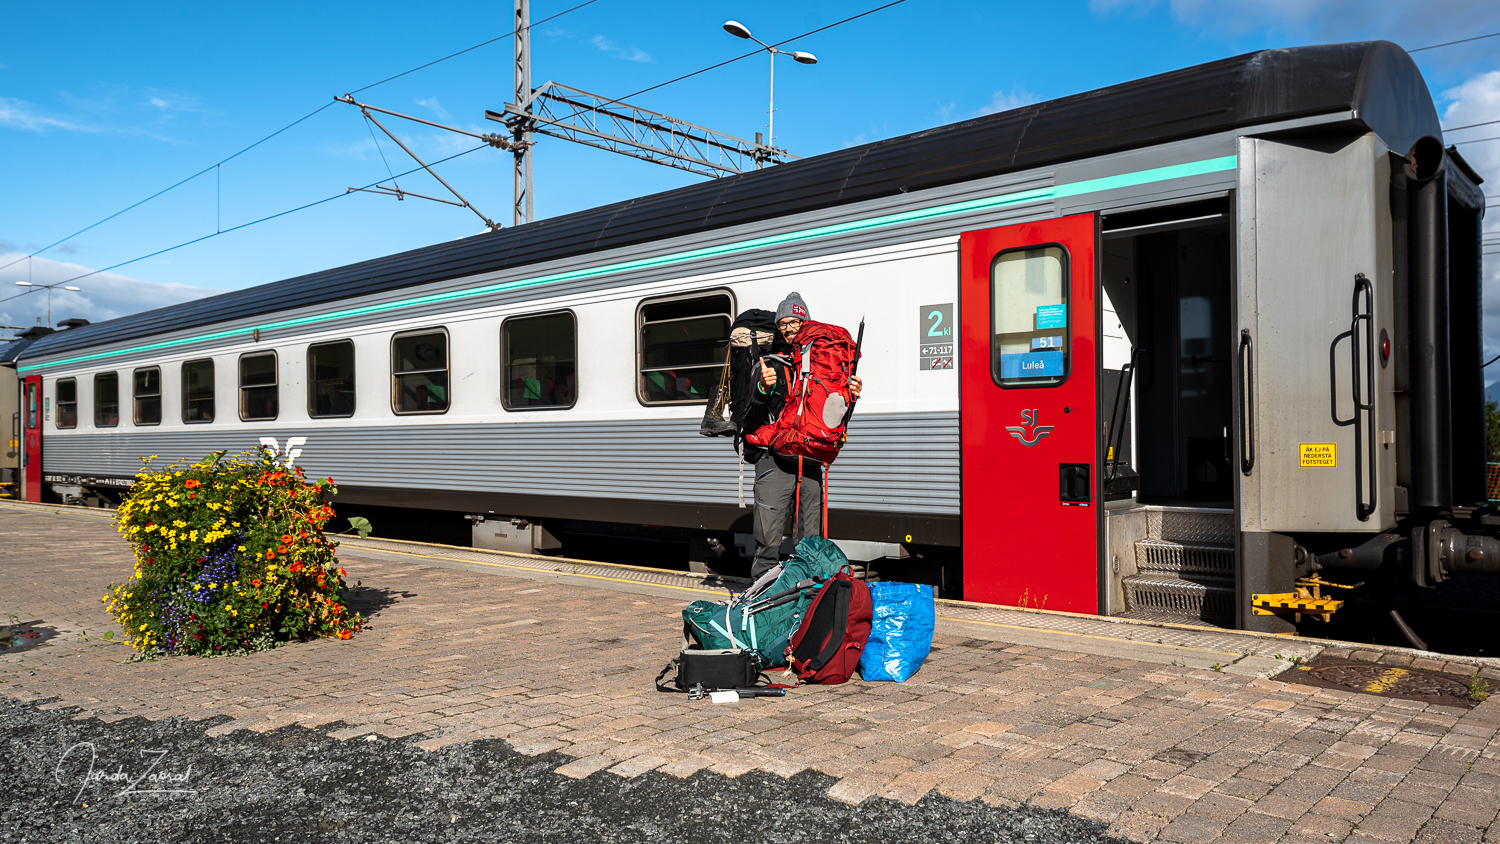
On June 13 I met again with my two climbing partners who climbed with me the highest point of Switzerland. We all met by the cable car Älplibahn. In order to climb the mountain under the best possible conditions, we decided to meet one day before the summit day to sleep under the peak and go up very early in the morning. This should ensure perfect snow conditions. We did as we planned. We brought again our back-country skis but this time we also brought common hiking shoes in case the snow melted.
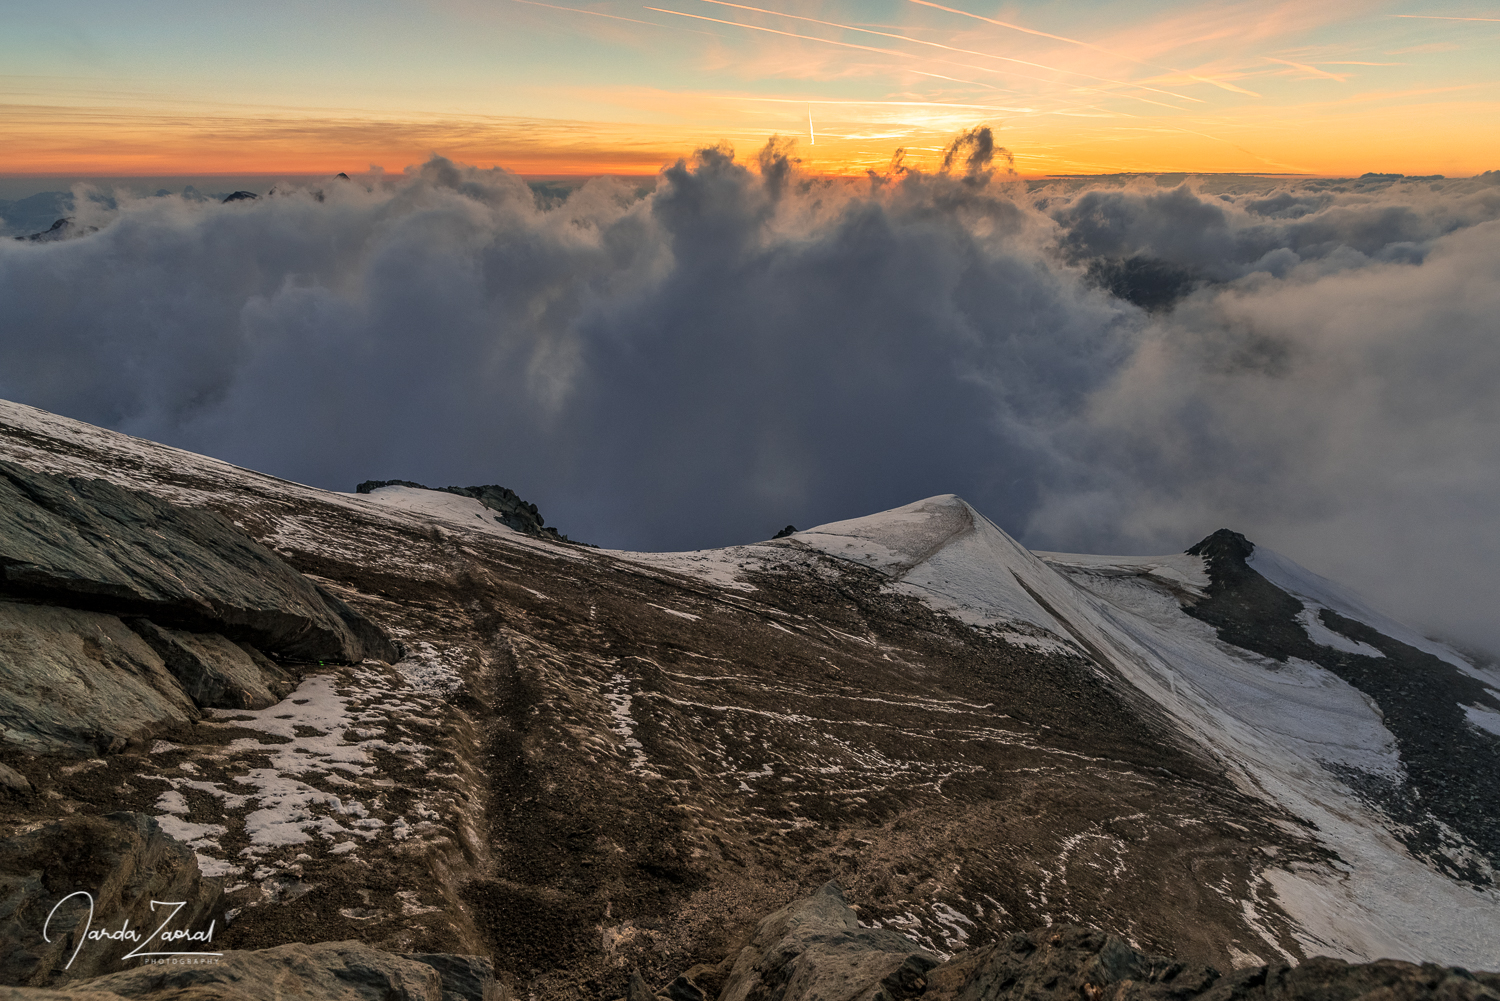
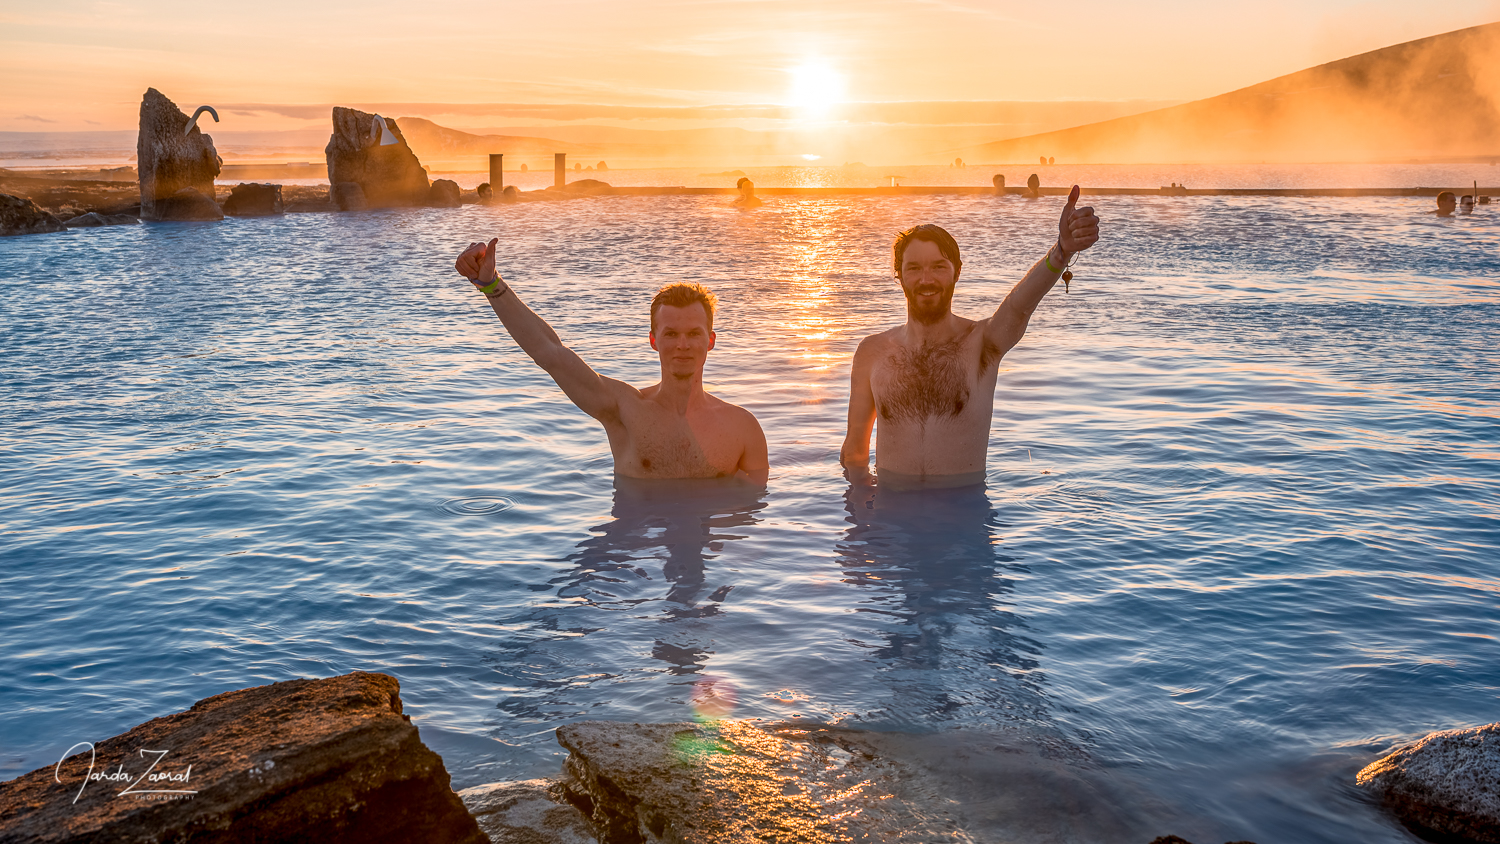
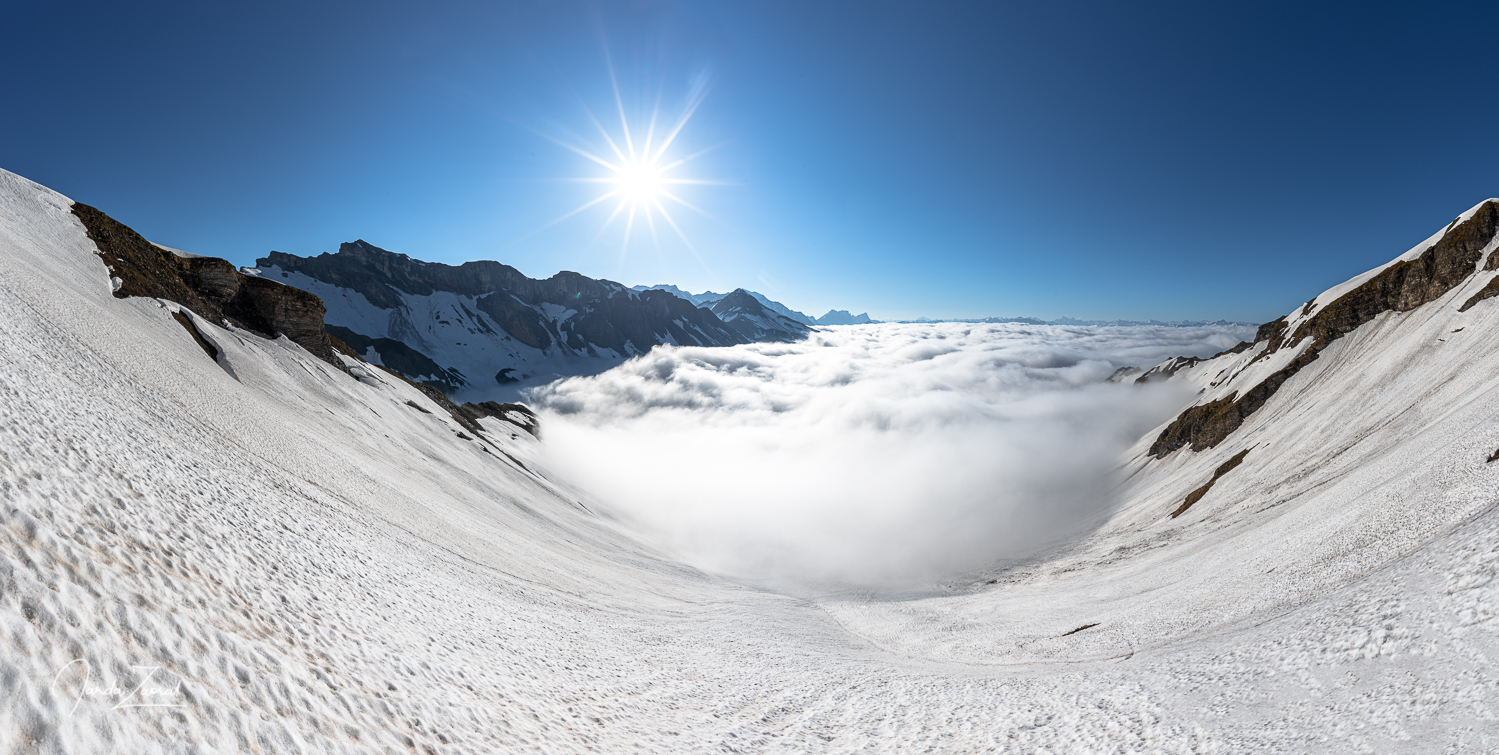
It was gloomy down by the cable car but as soon as we arrived to the end station of the cable car we got above the clouds. We had a wonderful view of the ocean of clouds and small islands of the snowy Swiss Alps. When the nice old gentleman saw us he immediately laughed, “Haha. Next try? I told you, Grauspitz will not be climbable until the end of June. There’s still over a meter of snow behind the tunnel.” We will see.
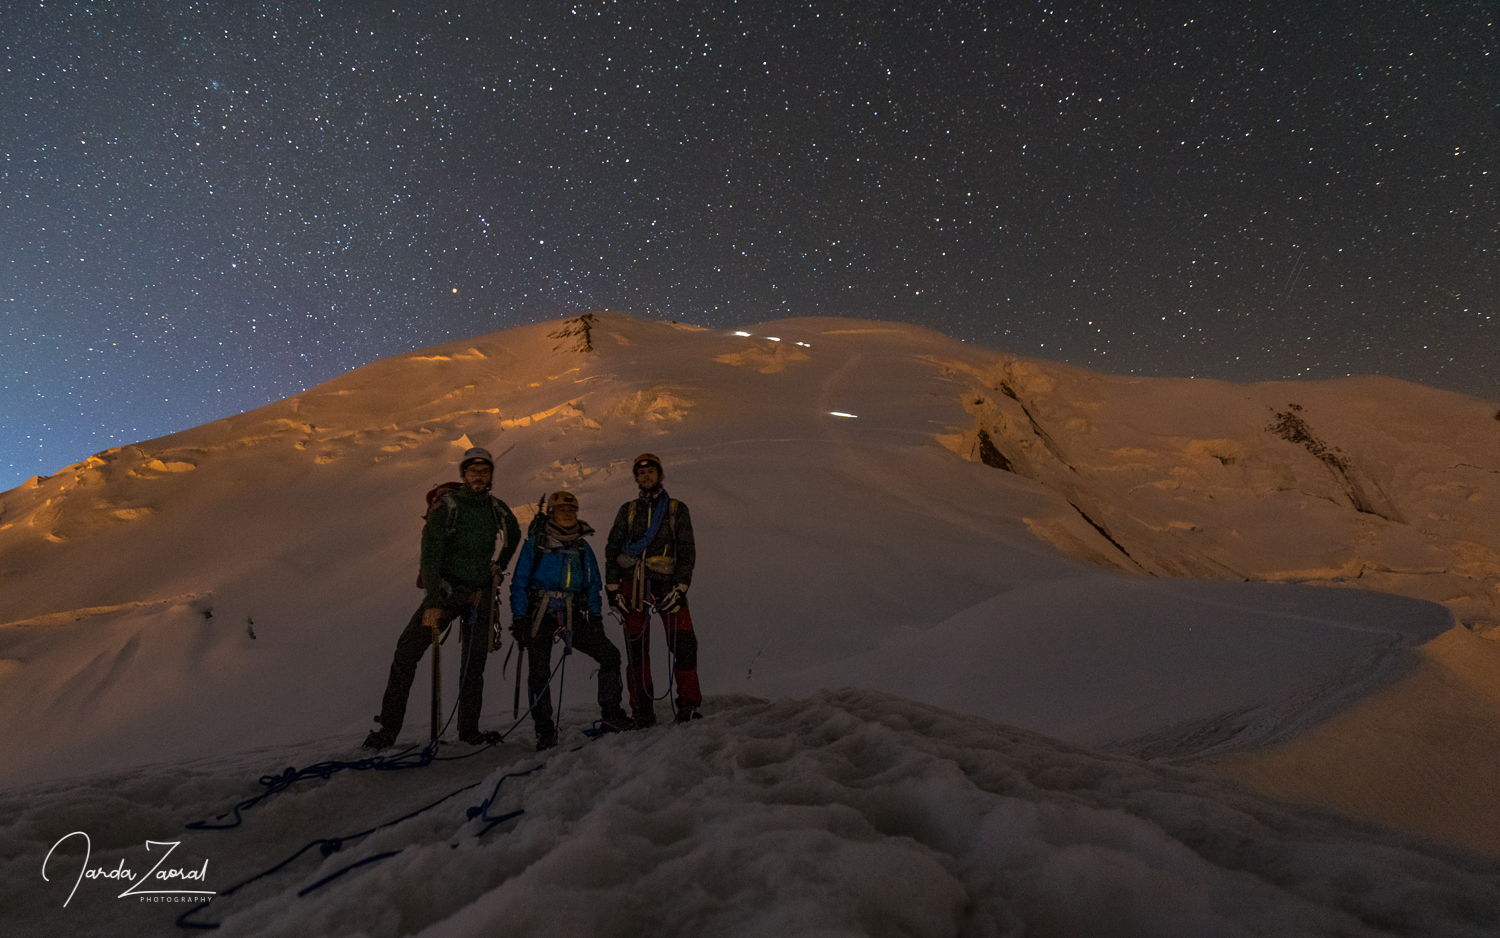
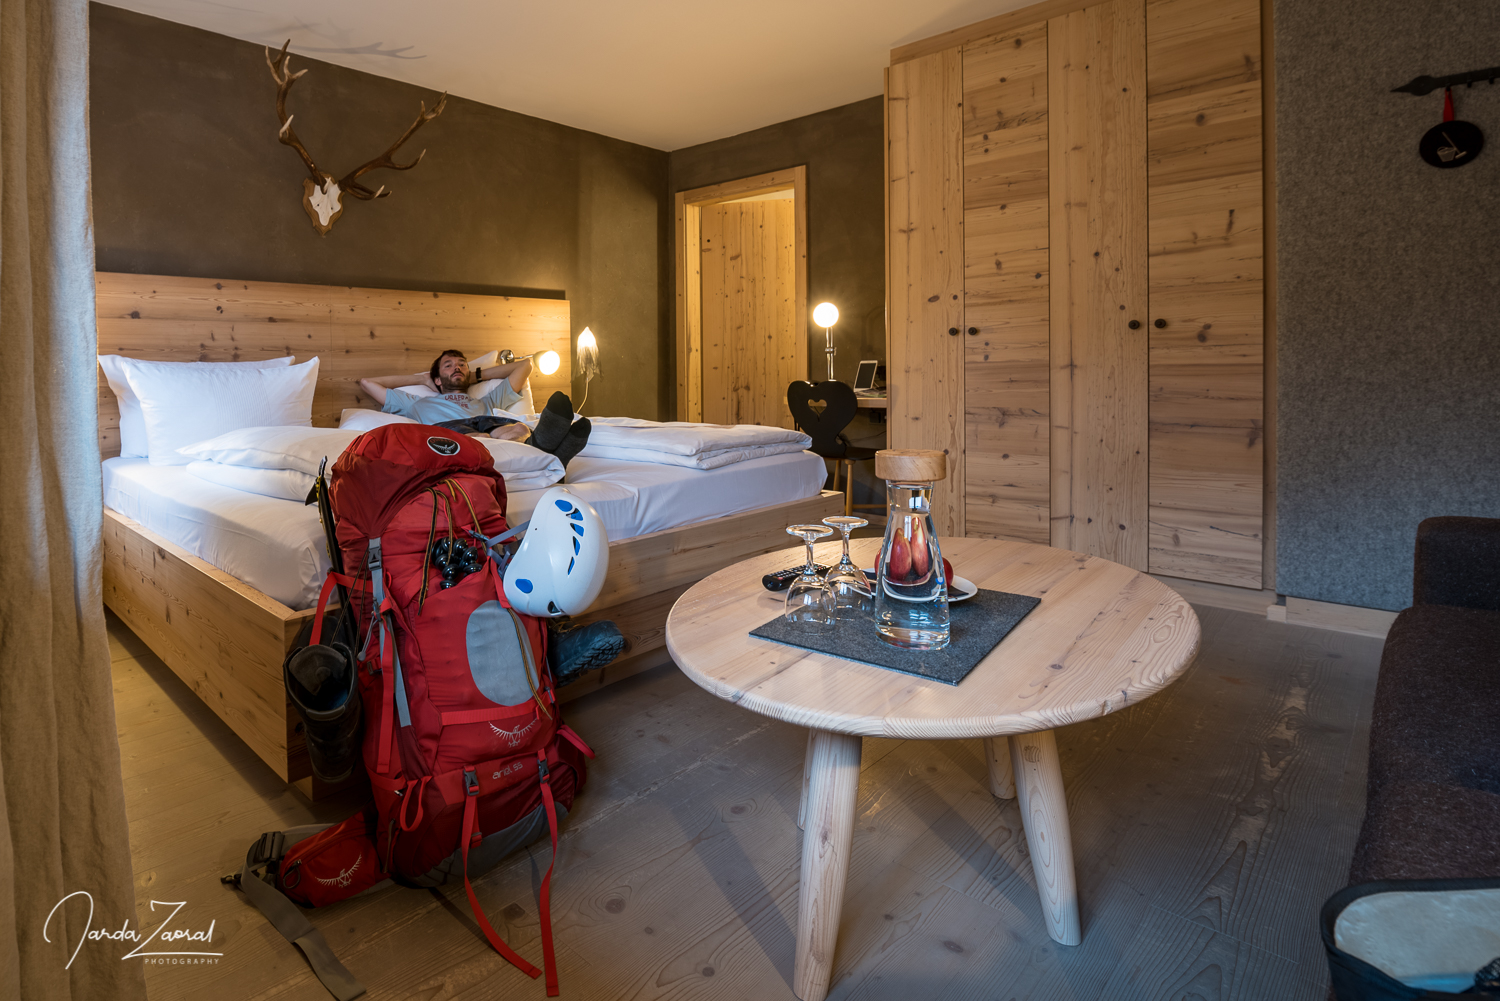
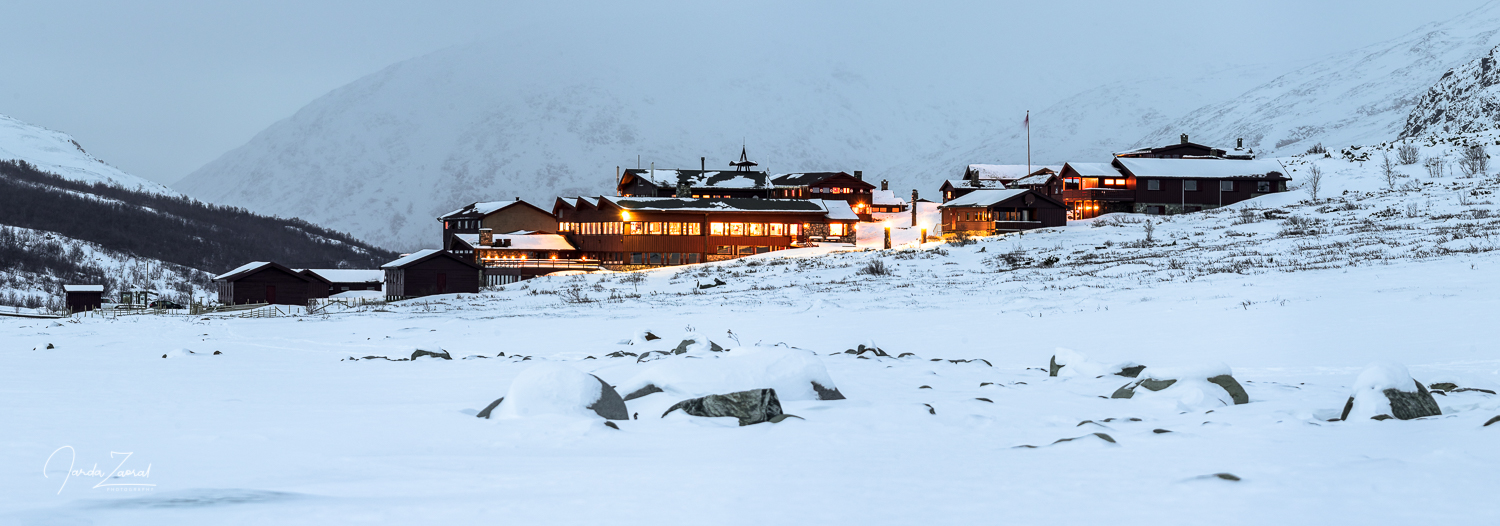
This time we didn’t put on our skis. There was no snow until the first ridge. What a change in just two weeks! Then we could ski at least for a while until we reached Fläscher Alp farm. Our plan was to sleep there. We originally thought we would just bivouac outside but the weather changed our plans. Clouds suddenly began to rise and covered even the farm. After a while, it even started to rain. Since we didn’t bring any tent we were looking for an alternative accommodation. We were lucky one of the houses for cattle was open so we could sleep on the floor. Nothing luxurious but better than in rain..
It was late so we just pulled out our mats and sleeping bags and went to bed. But I didn’t sleep well. “What if the clouds cover the whole mountain and it won’t freeze at night? Was the prediction wrong again? What if I went to the highest mountain in Liechtenstein again, unnecessarily?”
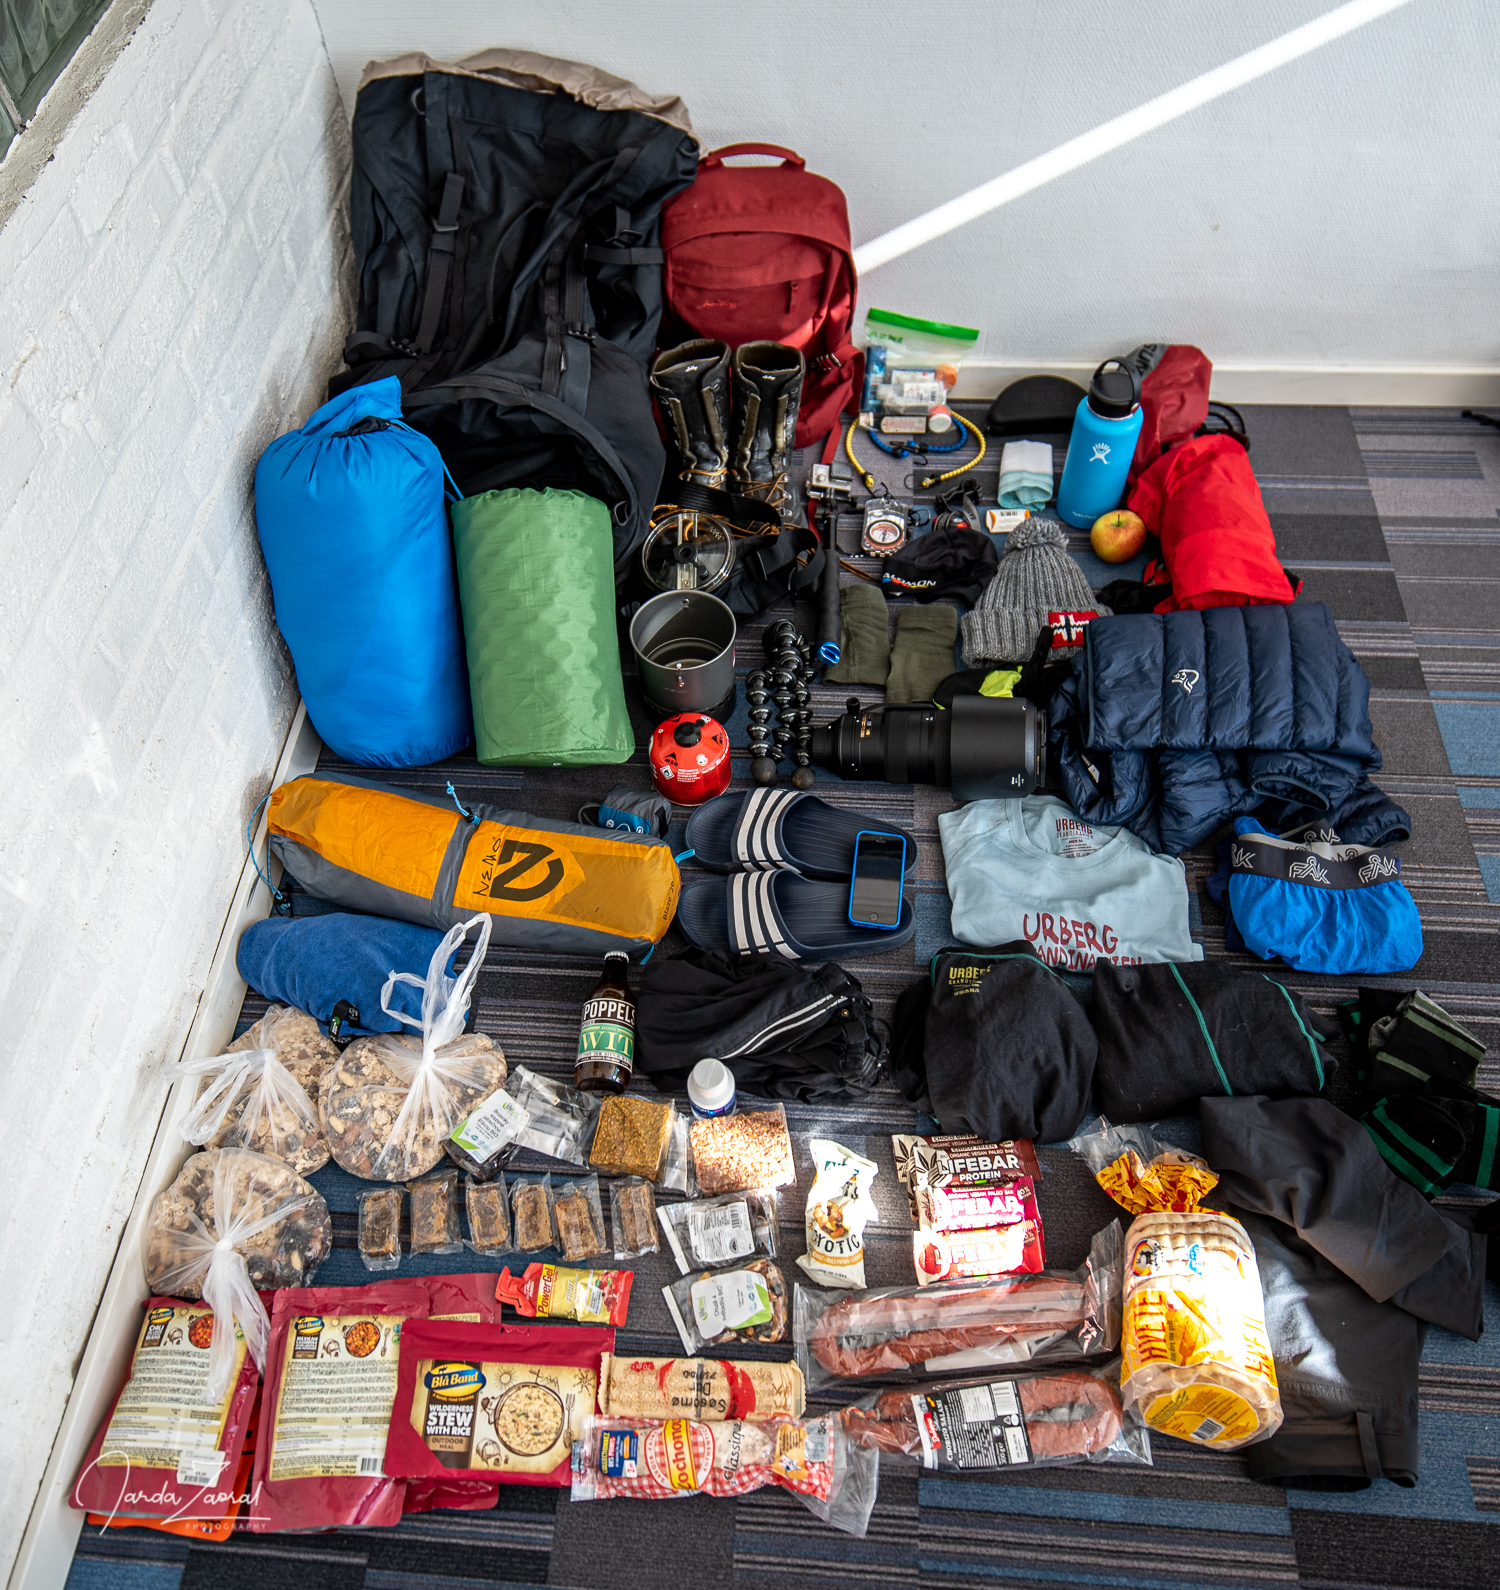
When we woke up at 3:30 a.m. we went outside to check the weather. Still foggy and wet. Our only hope was that the peak remained cloudless. Since we didn’t know what conditions are behind the tunnel we brought the back-country skis and hiking equipment. I also had to take two pairs of crampons because one pair was fitting my hiking shoes and one was fitting my skiing boots. All together my backpack weighed 20 kilograms.
At 4:15 we were ready to leave. It was as dark and foggy but there was no snow until the tunnel so we reached it easily. At the other end of the tunnel, I was expecting a lot of snow. After all, there was over two meters of it just two weeks ago. But now? Nothing. All the snow melted. What a surprise! Maybe we didn’t even had to bring the skis.
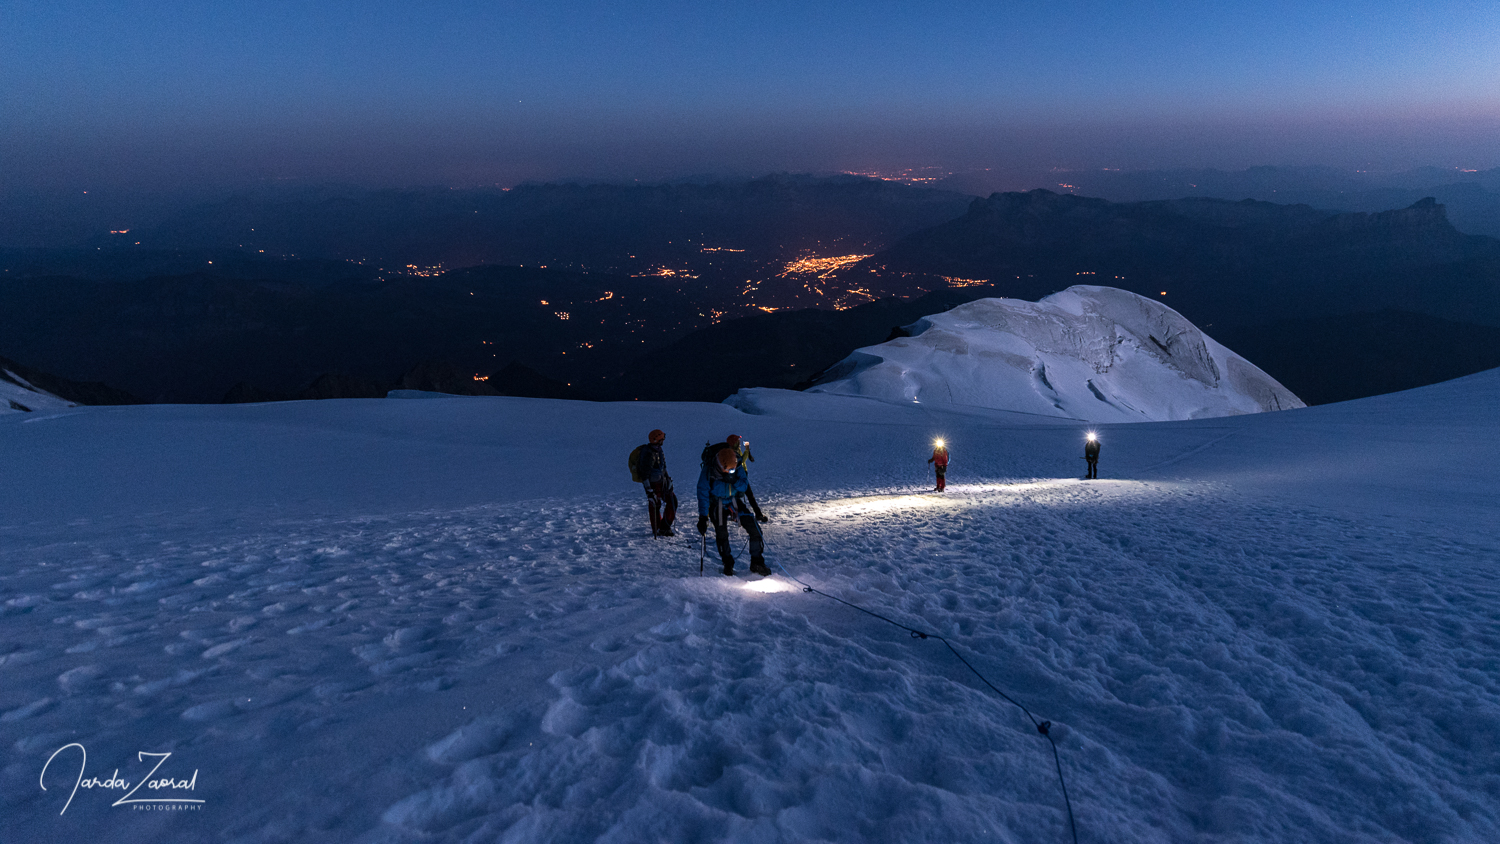
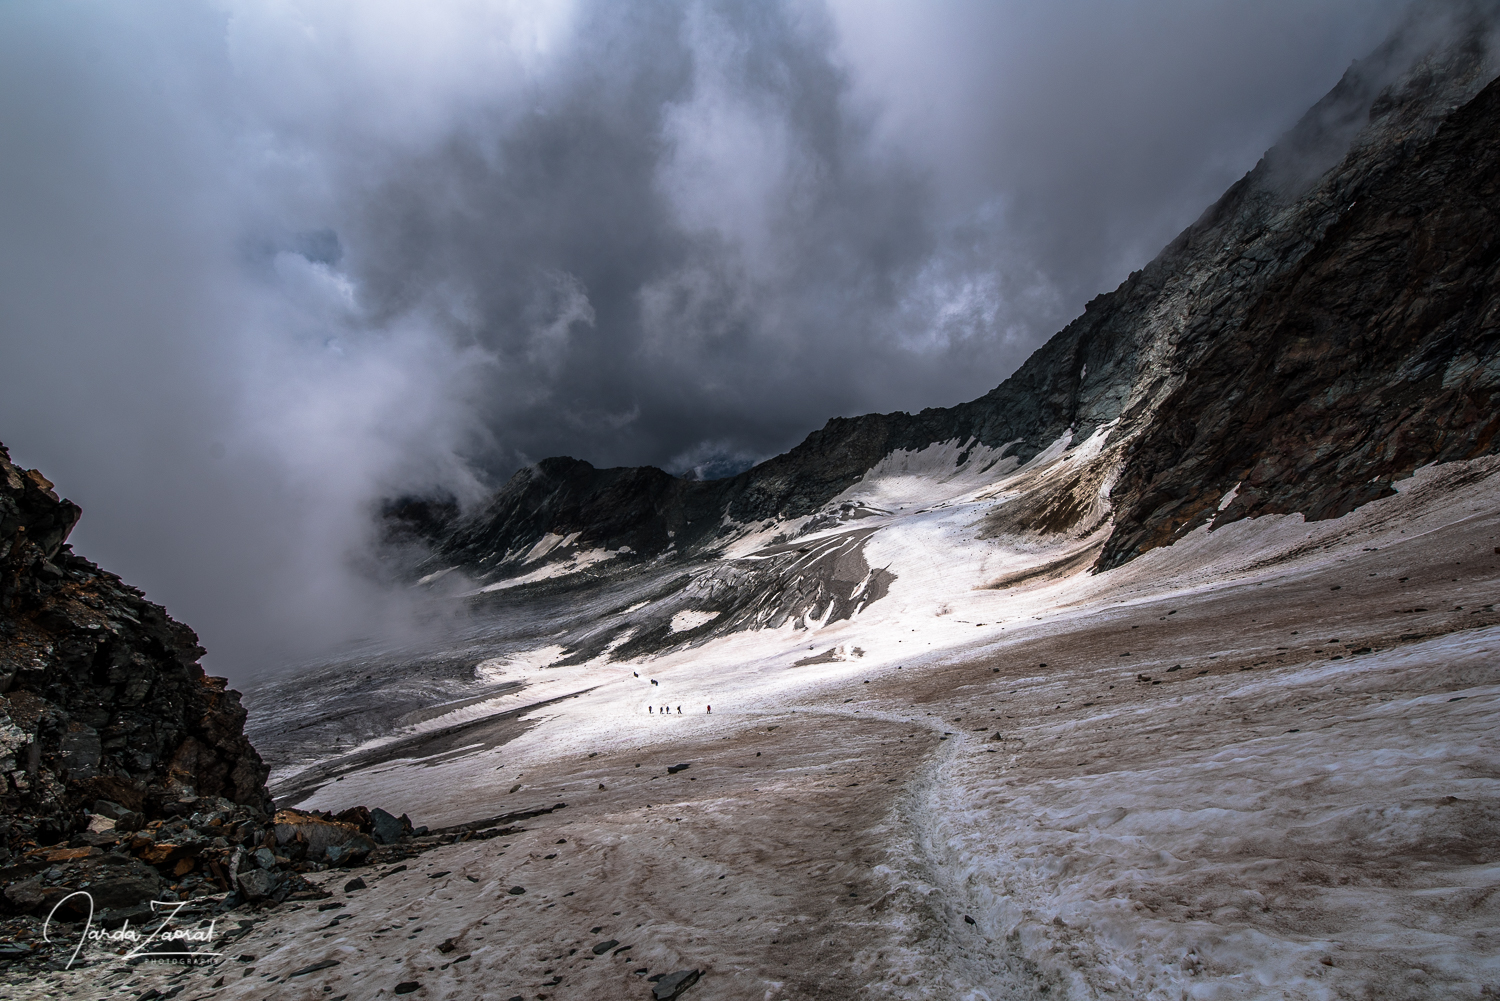
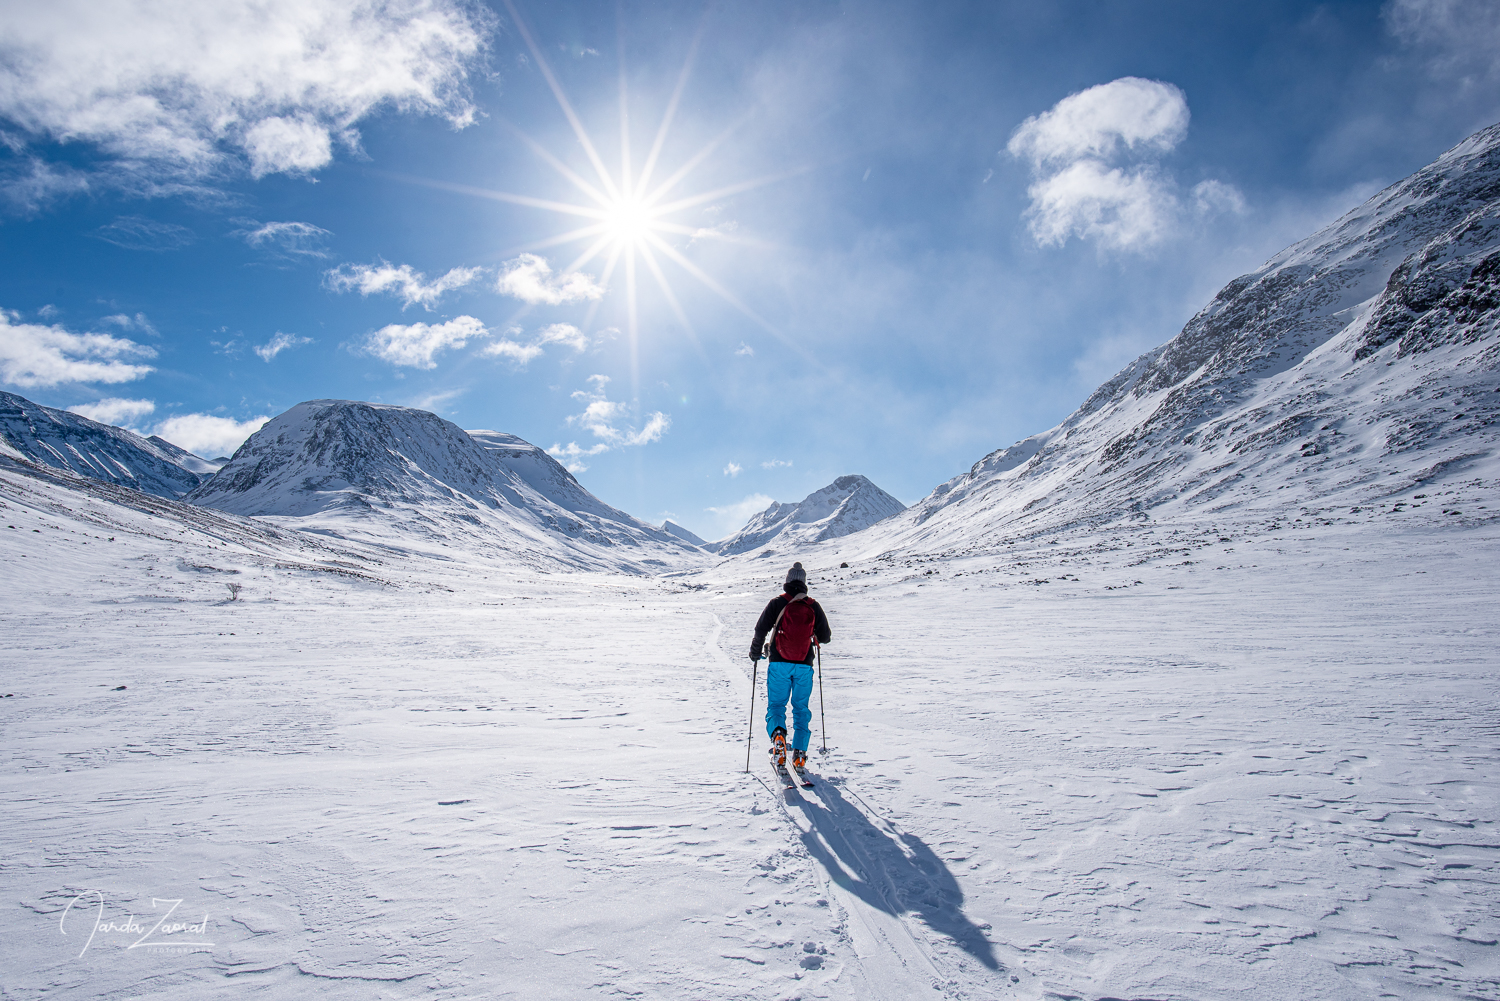
We continued to the nearby farm Alp Ijes. There was finally snow. It was still foggy but luckily it was freezing so the snow was compact and stable. “We can climb up.” our mountain guide said. Time to ascend.
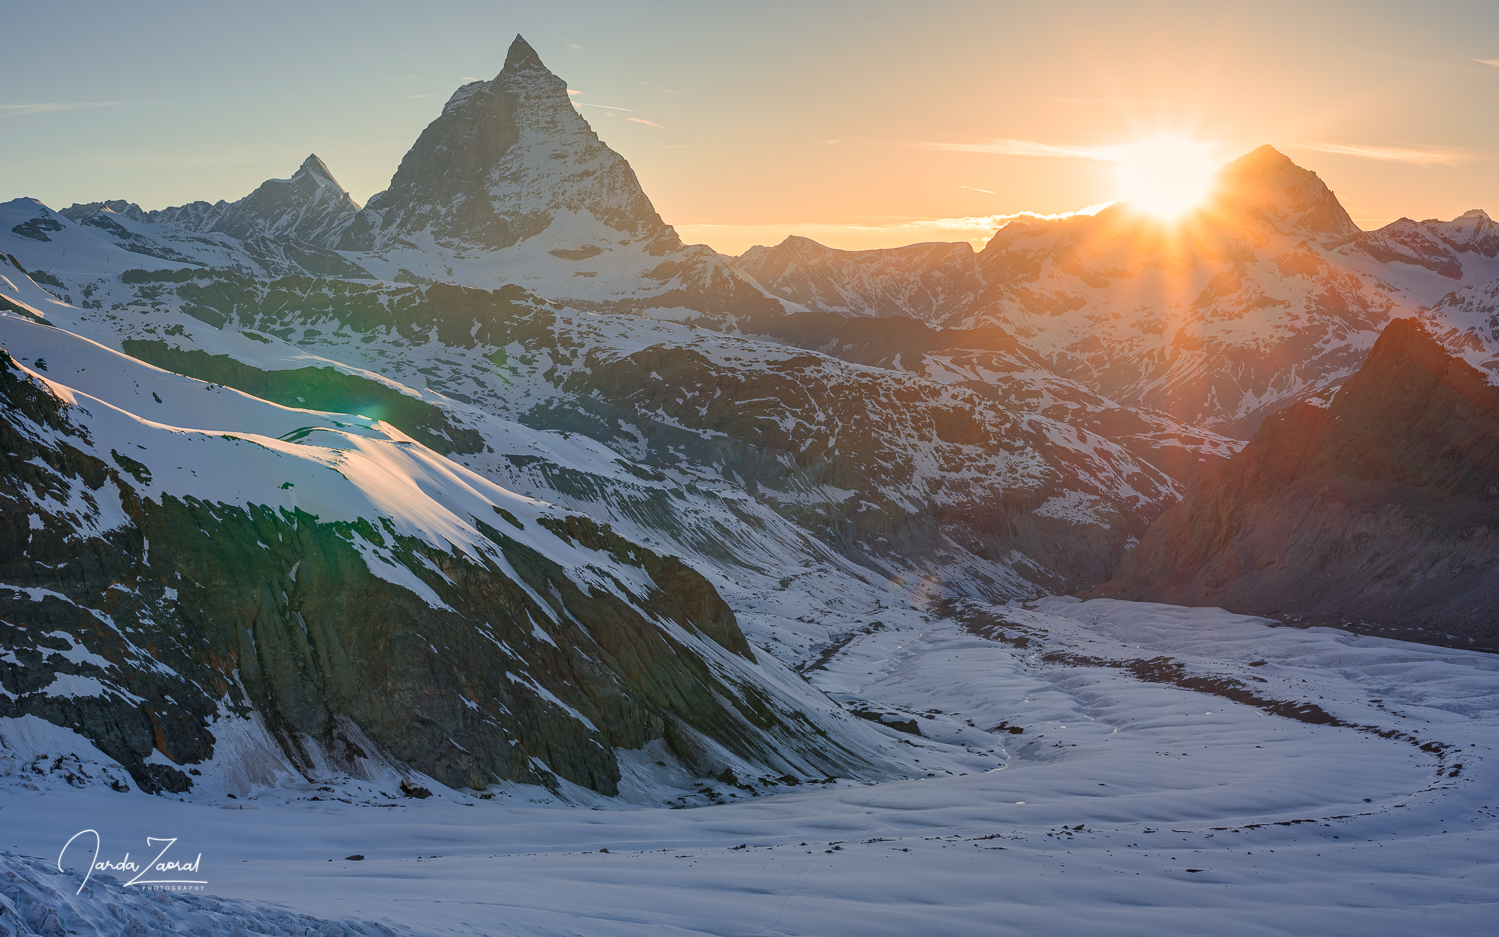
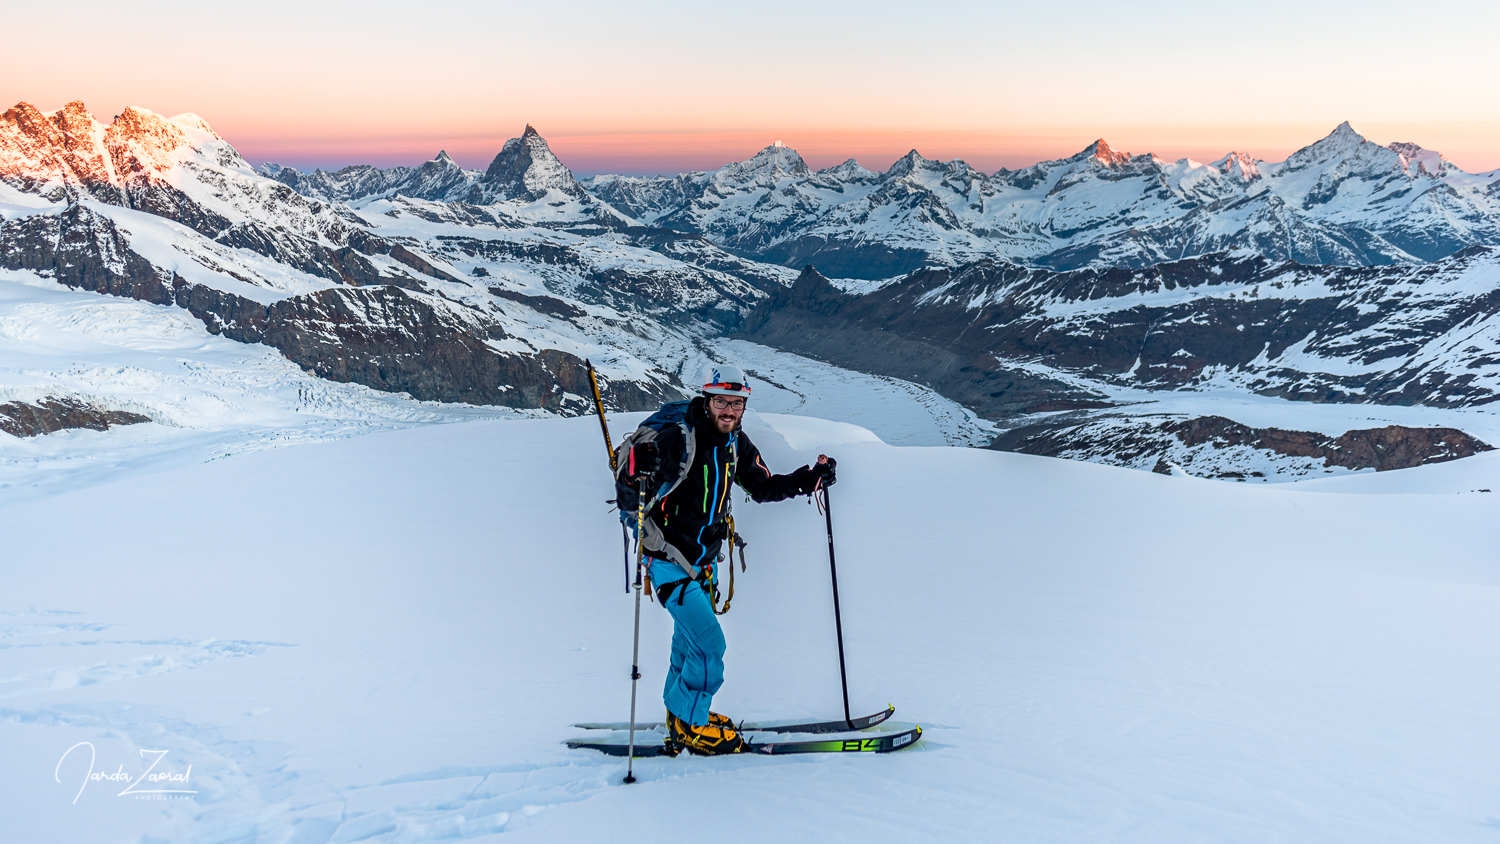
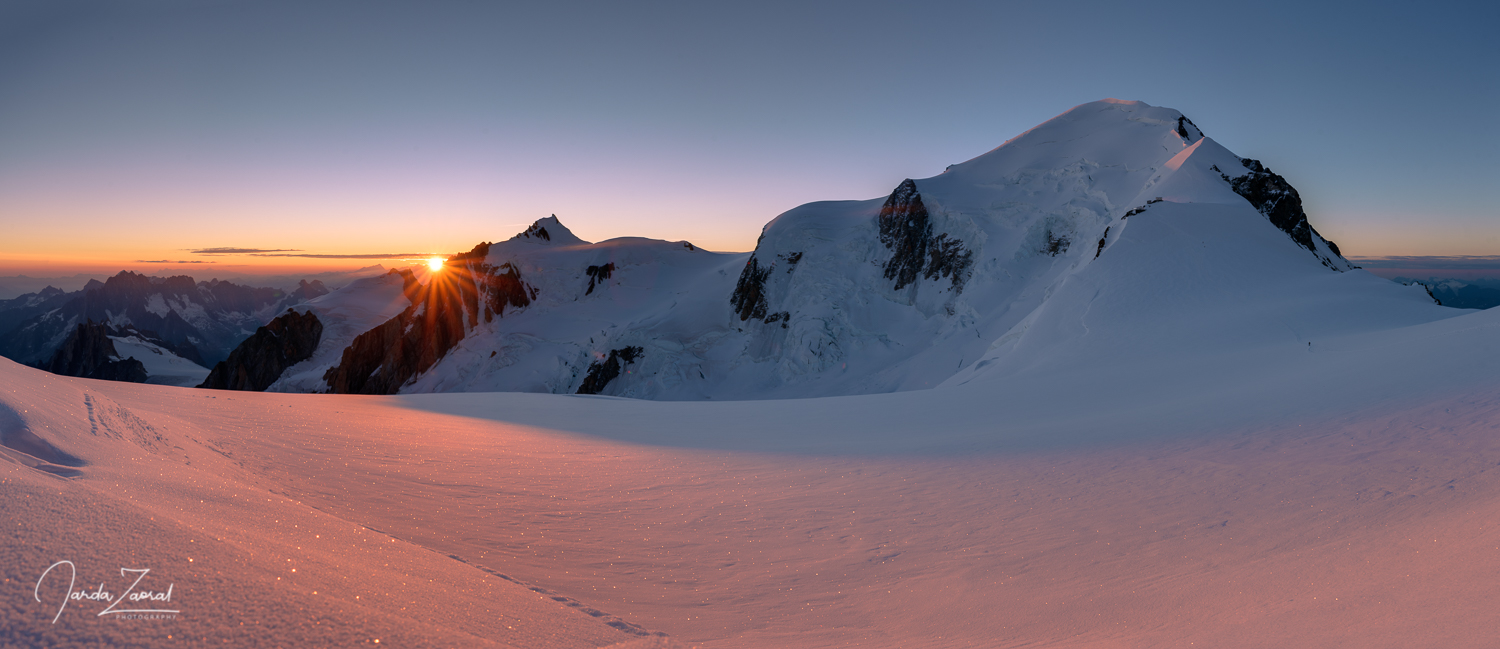
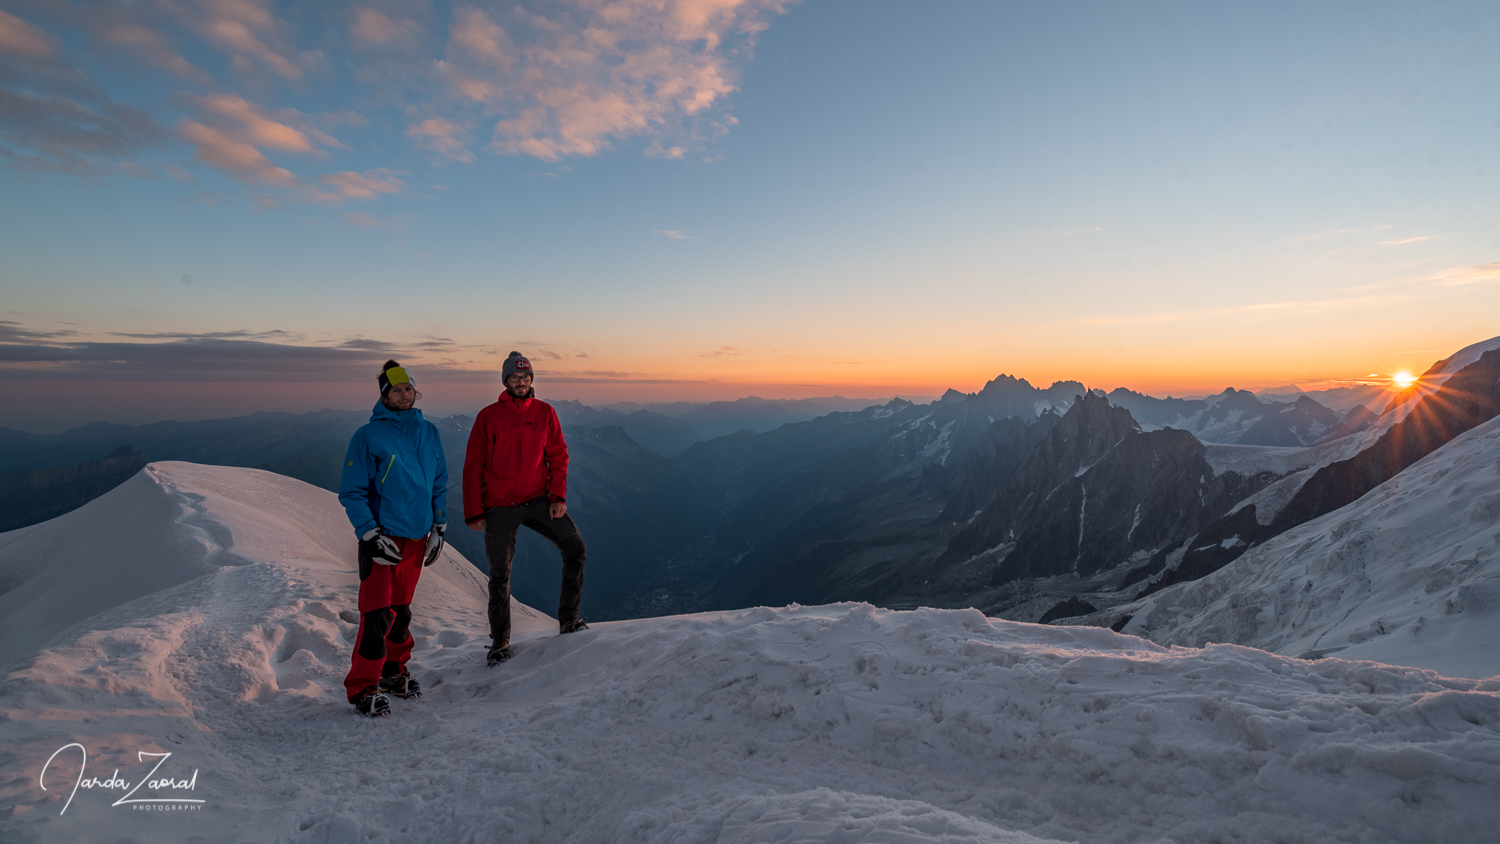
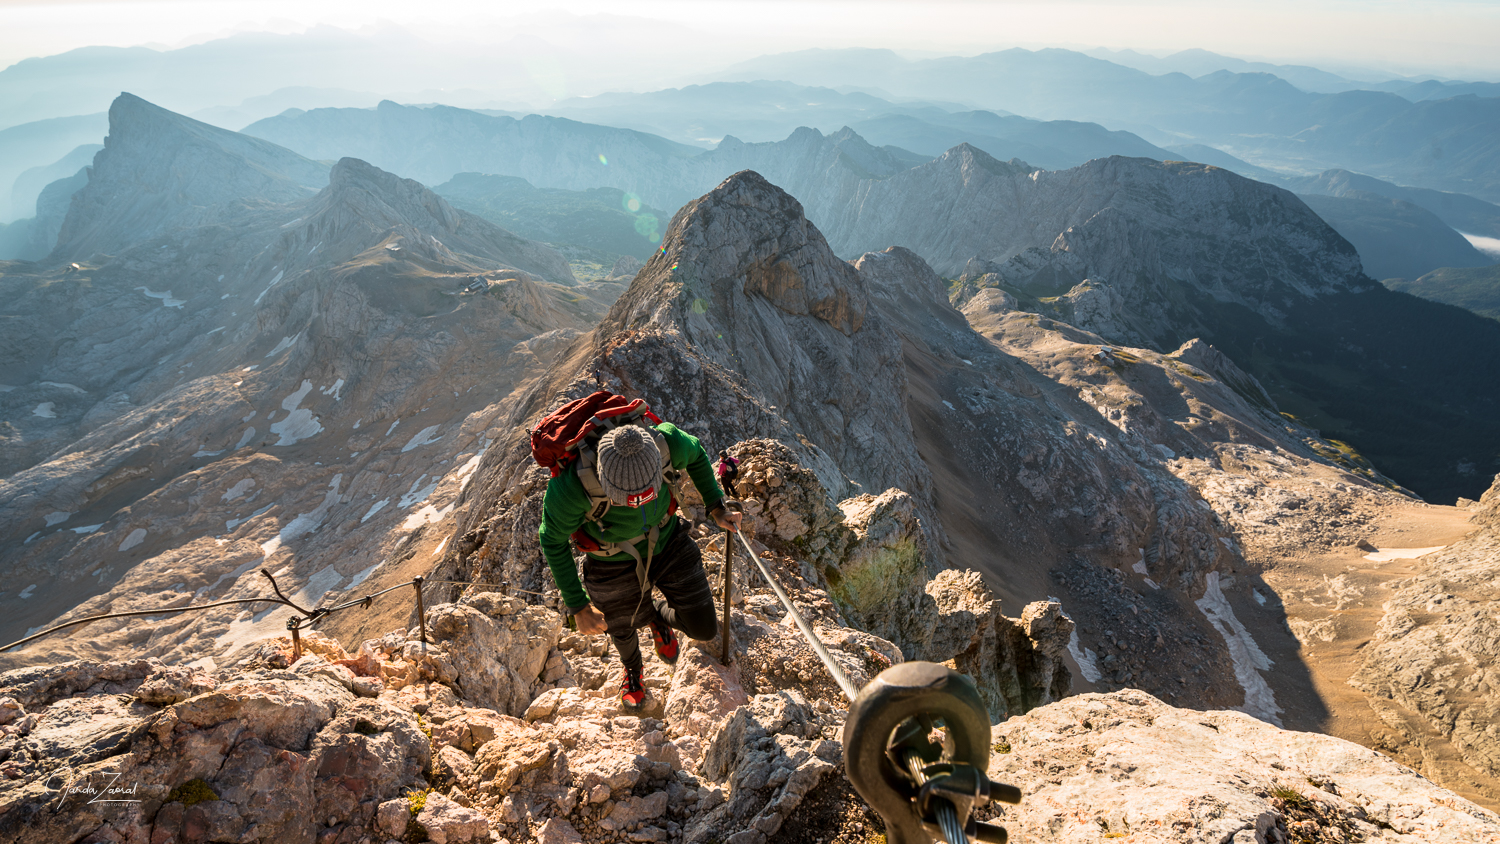
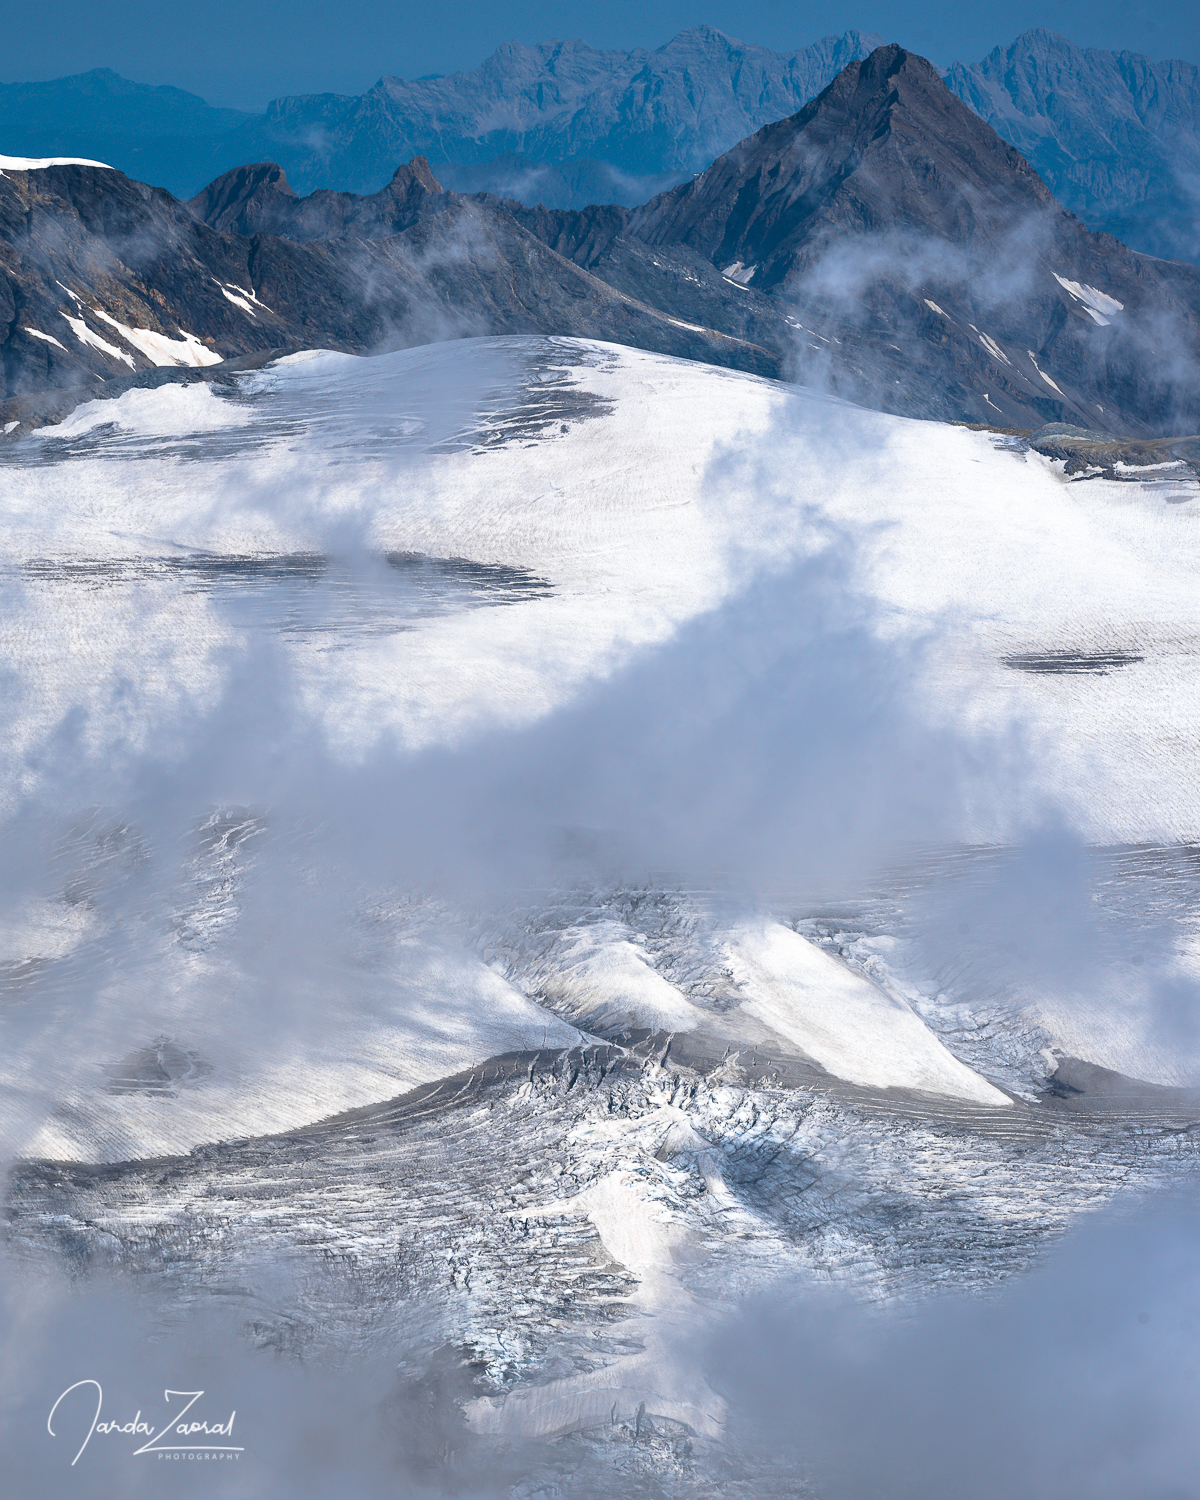
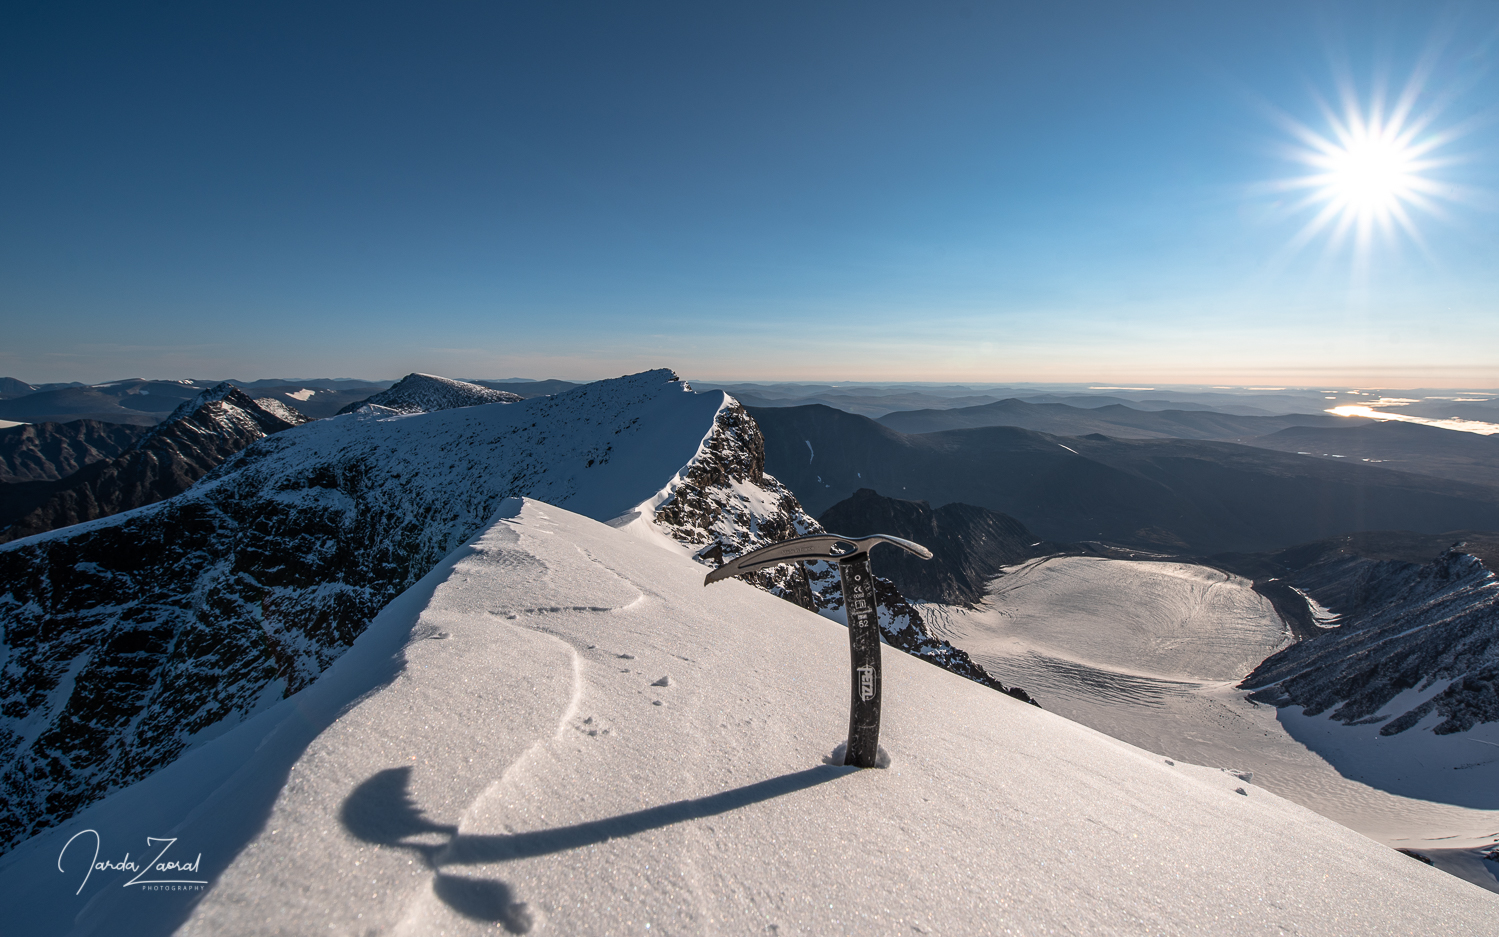
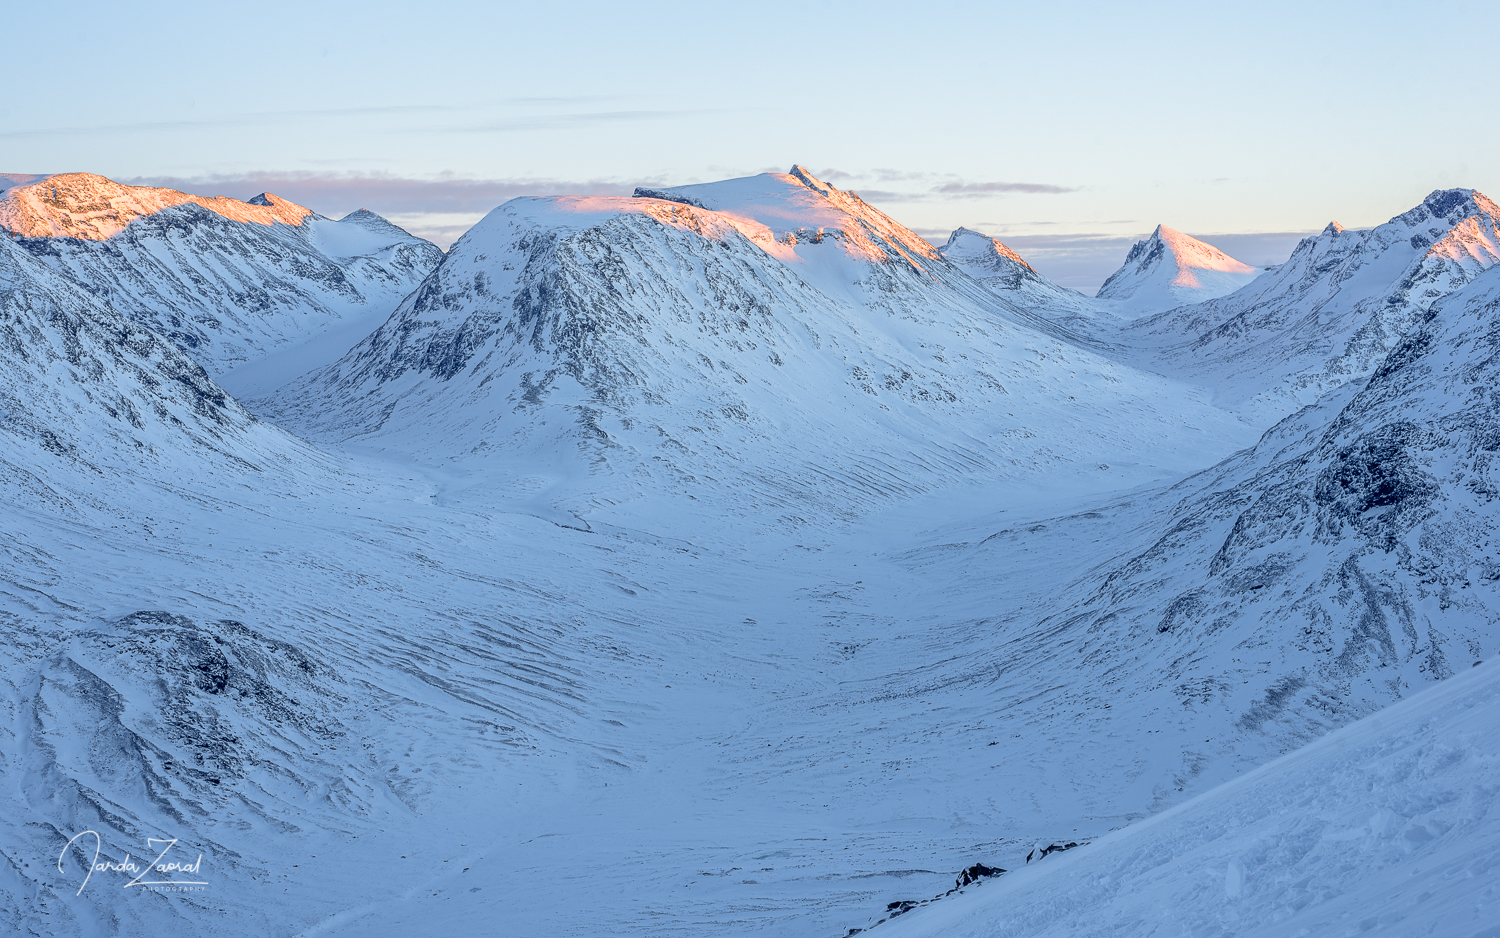
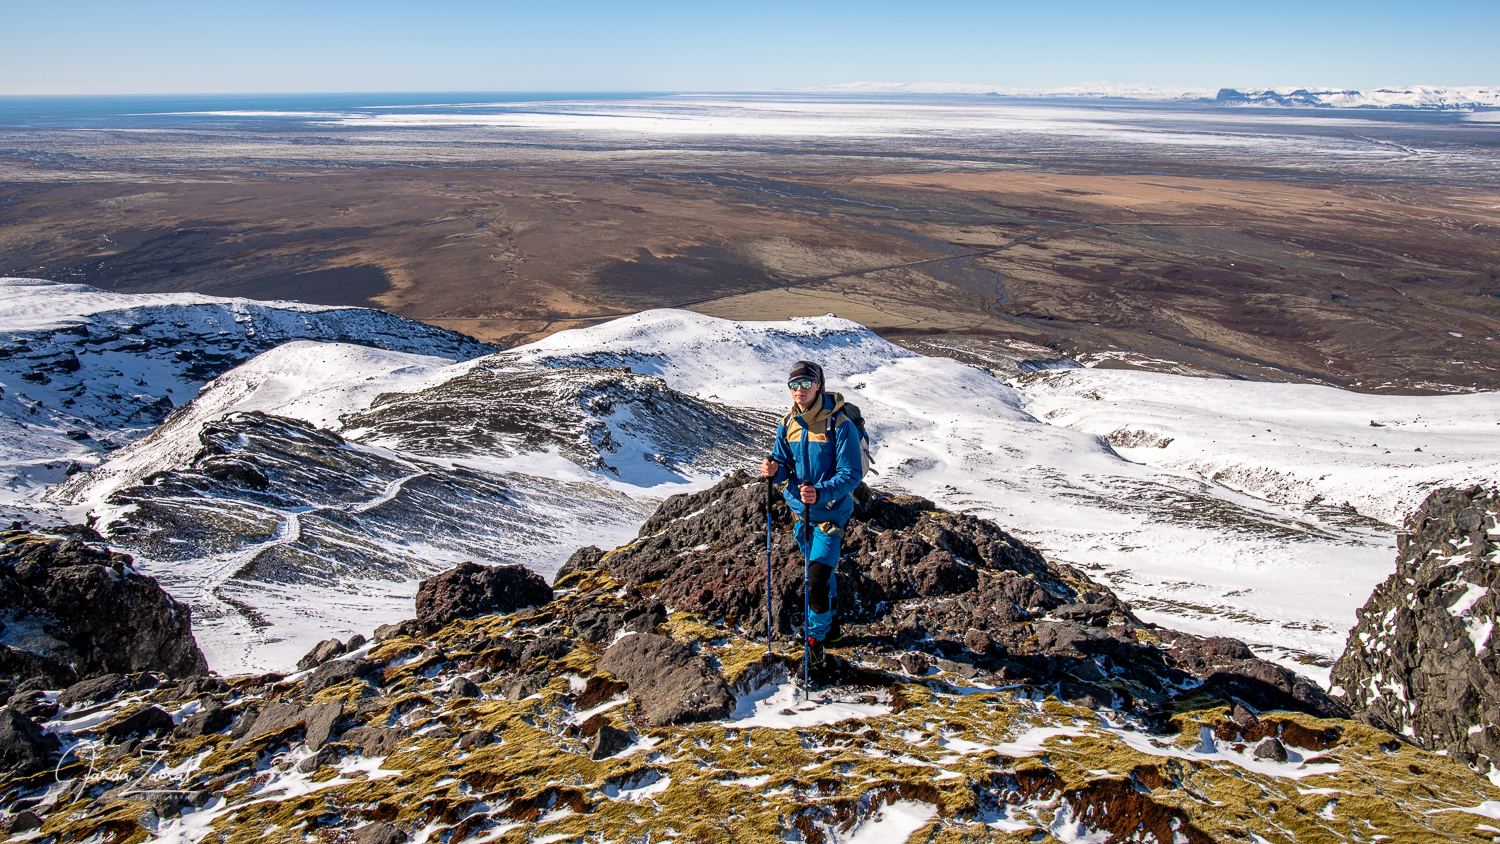
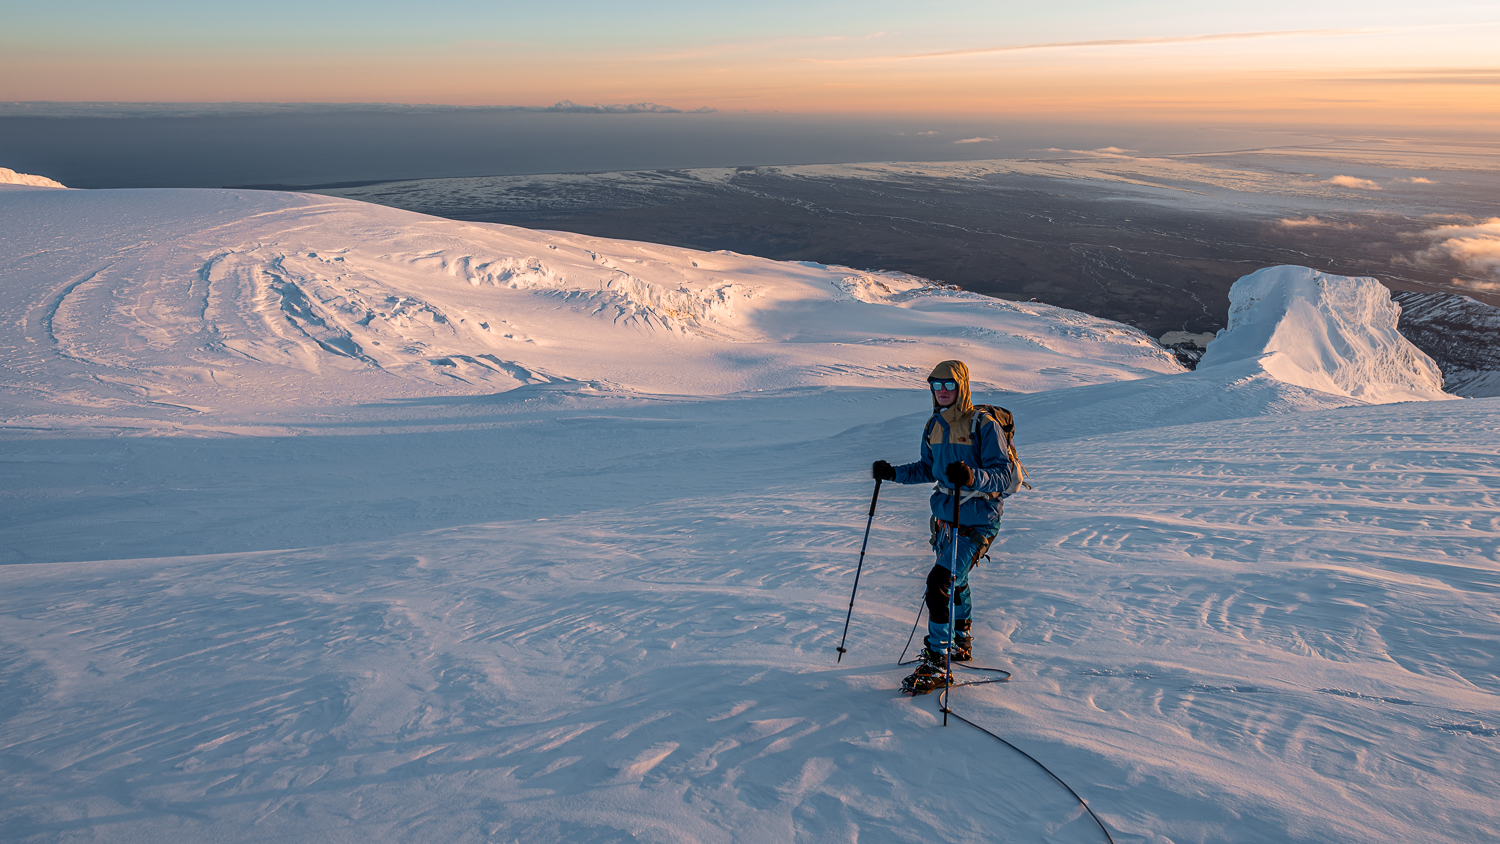
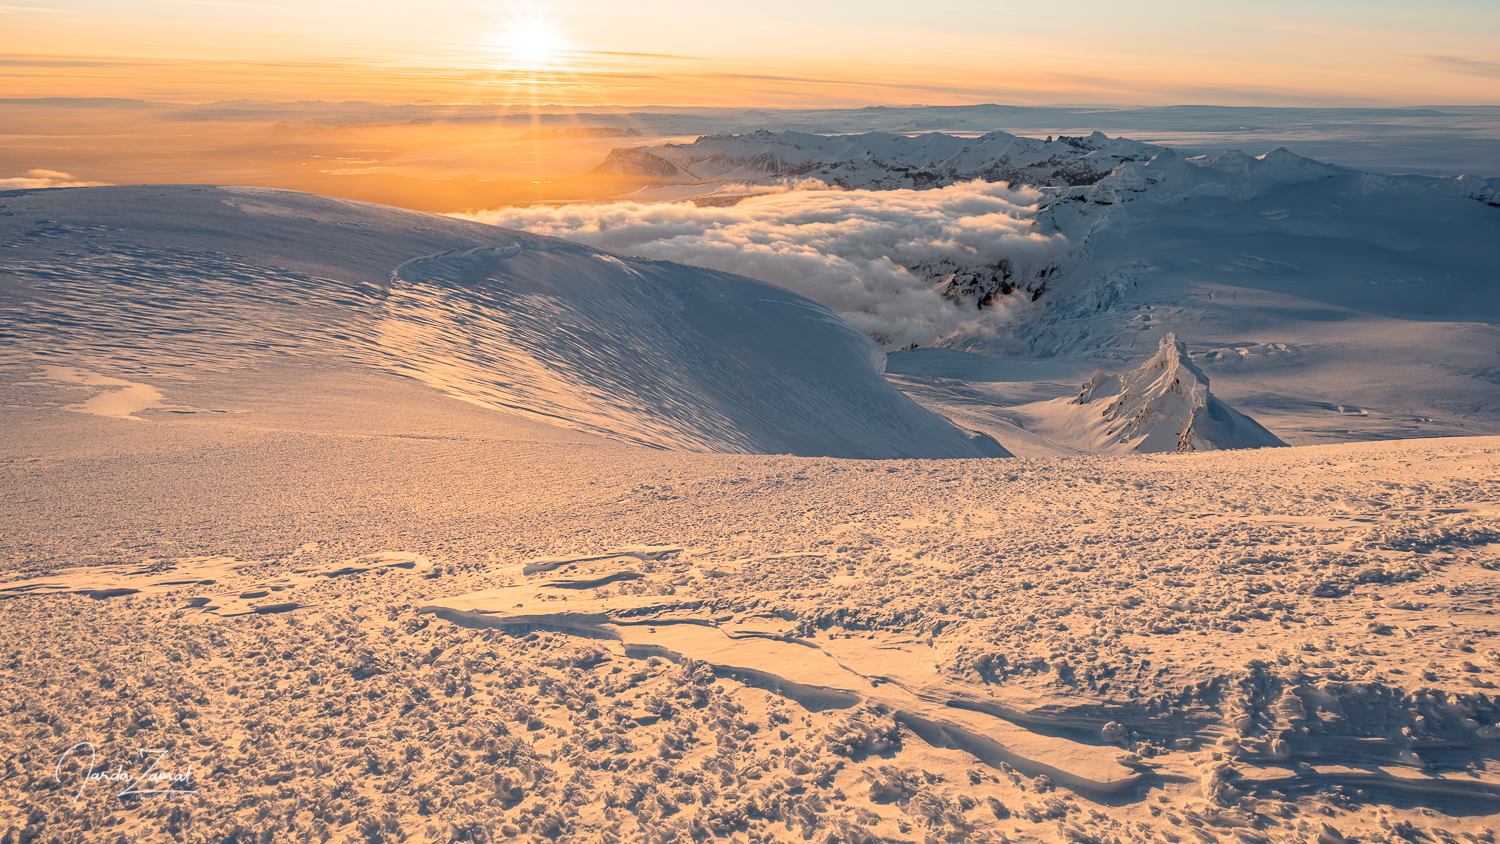
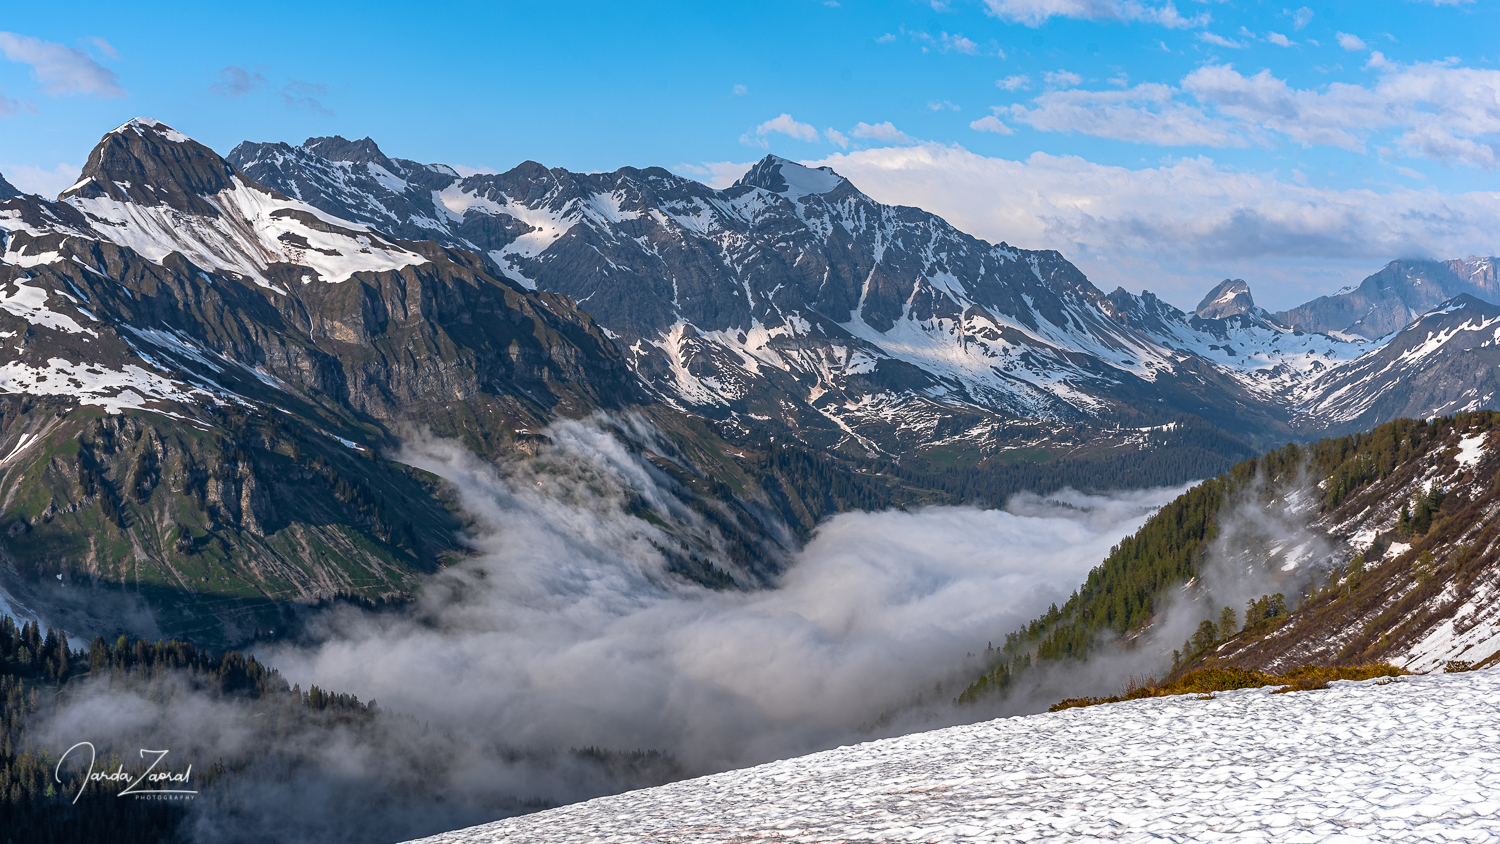
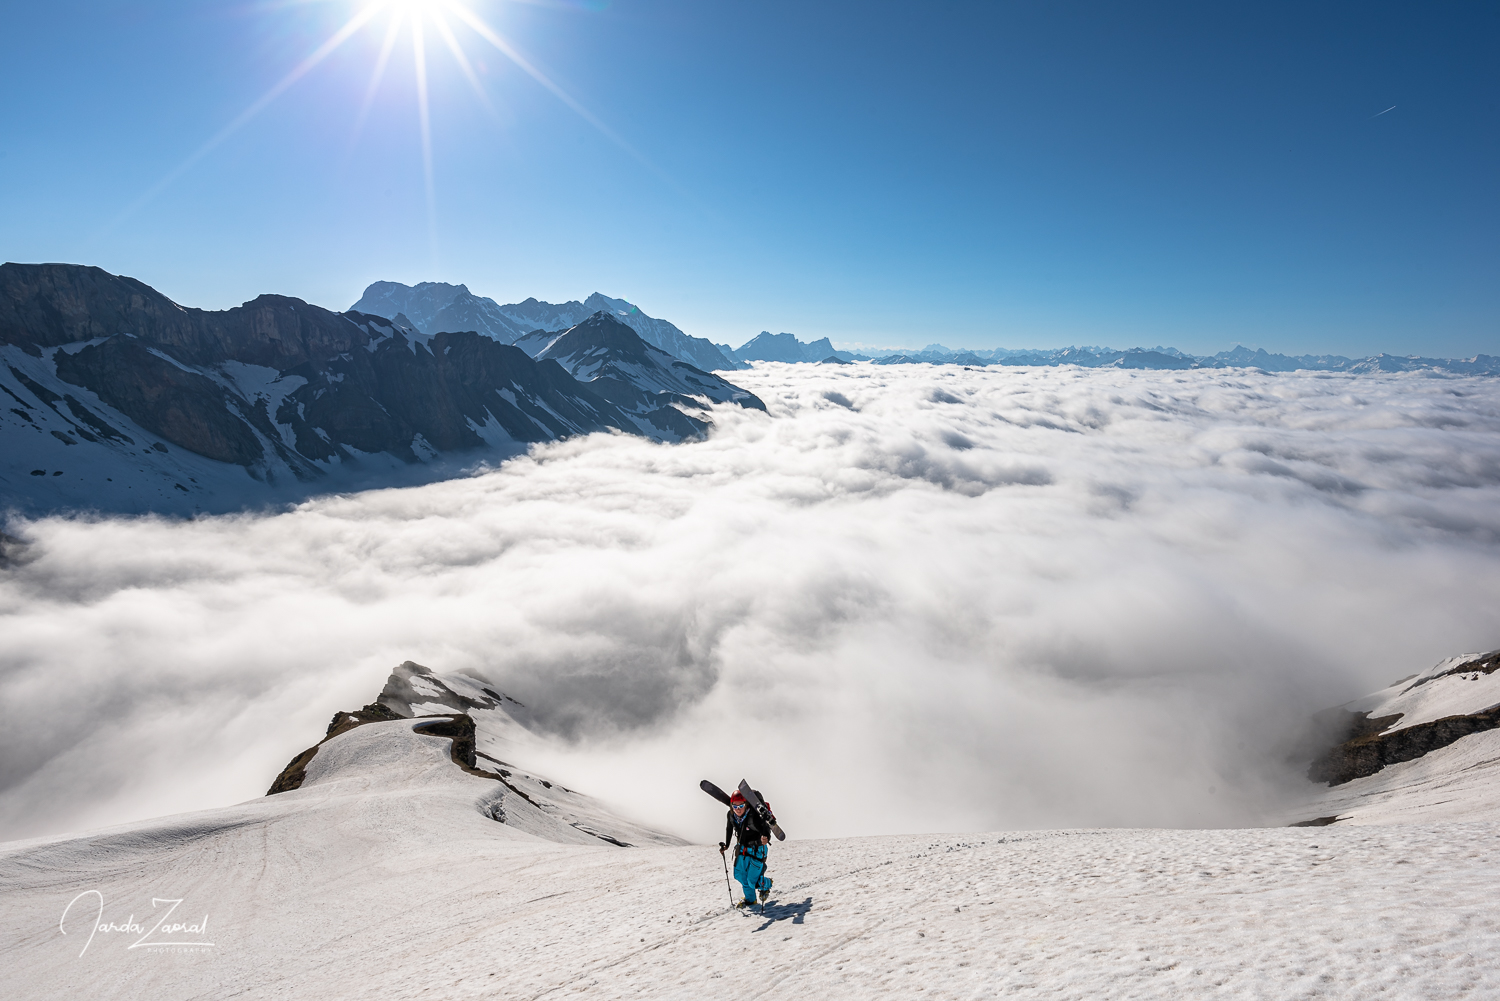
We continued up according to the navigation. We were still climbing in the fog and in a bad mood. Hopefully the rising sun will dissolve the clouds. After a while the hope came true. The blue sky began to appear in the clouds above us. We continued up for a few more minutes and got above the clouds. Suddenly we saw all the beauty around. Sharp mountains, long ridges and especially the path we have to take to the top. Amazing. Suddenly I thought that we couldn’t have wished for better weather for the final peak than this one. How quickly the mood can change!
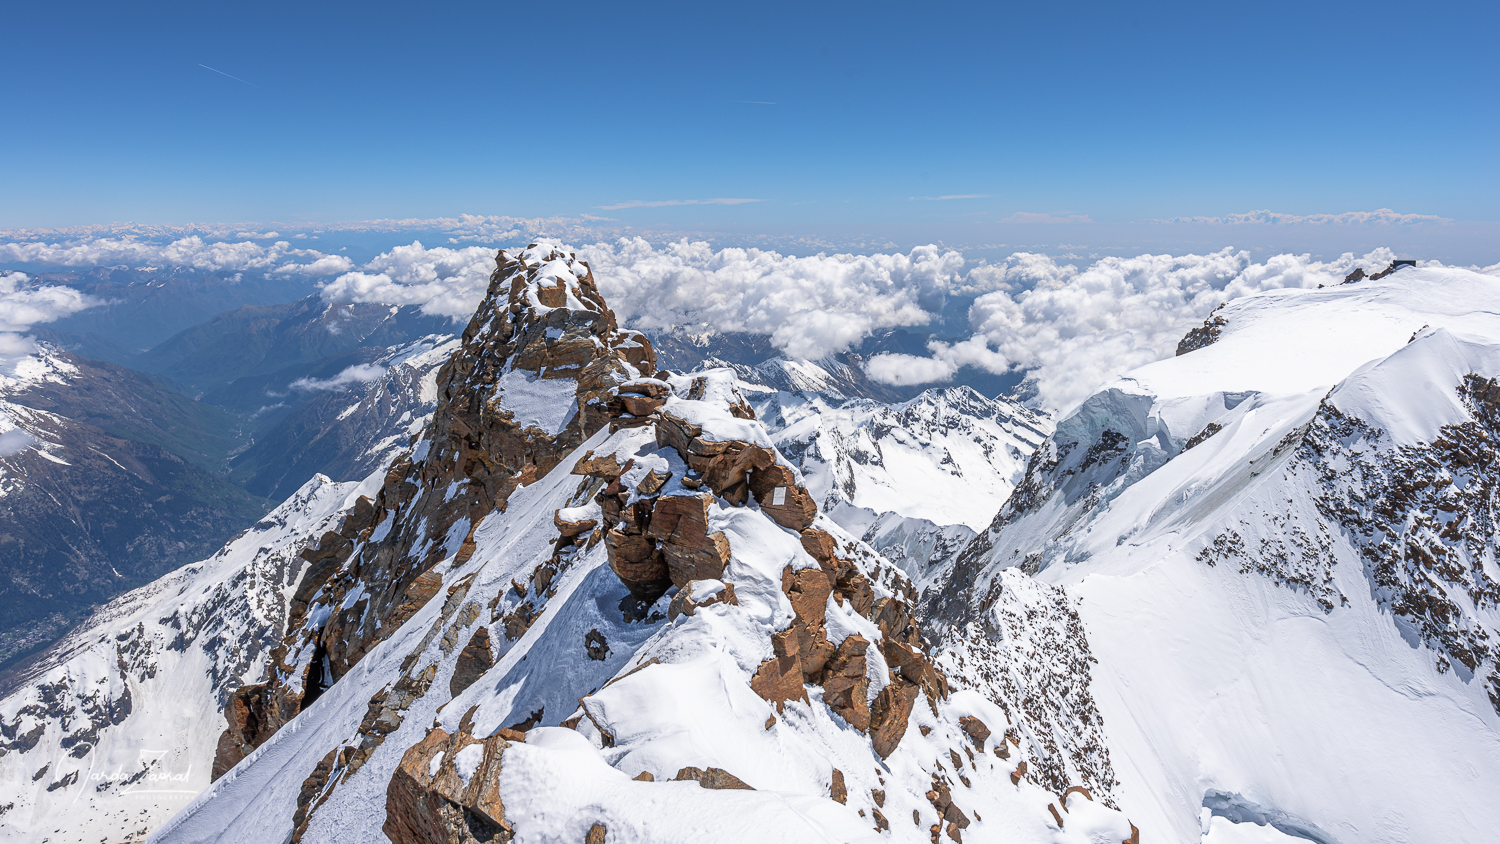
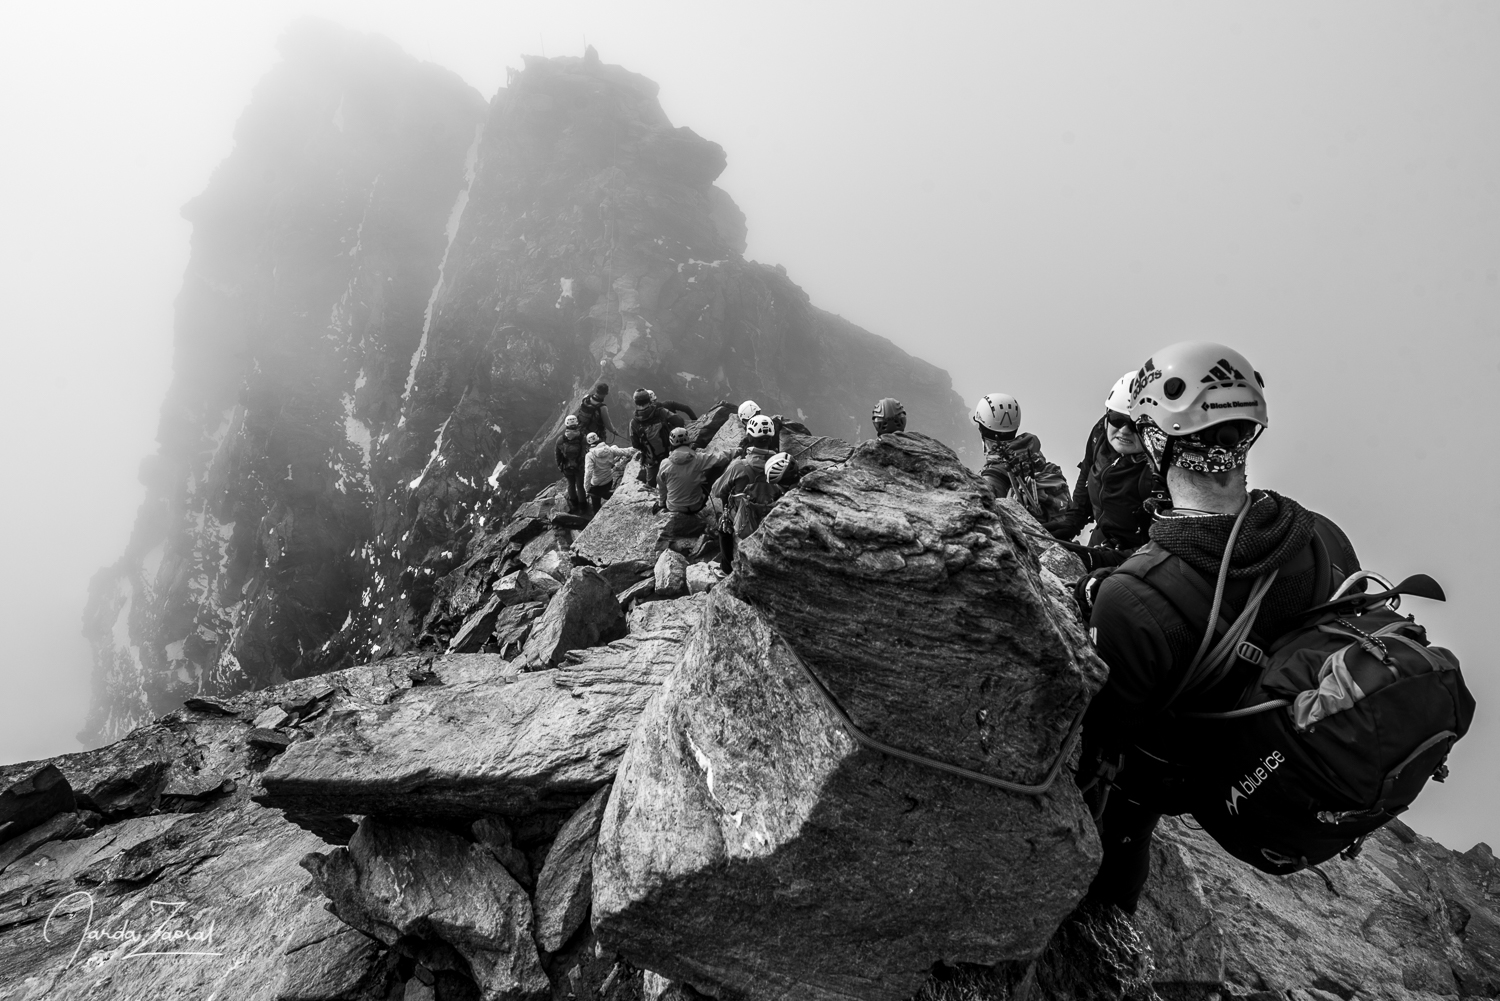
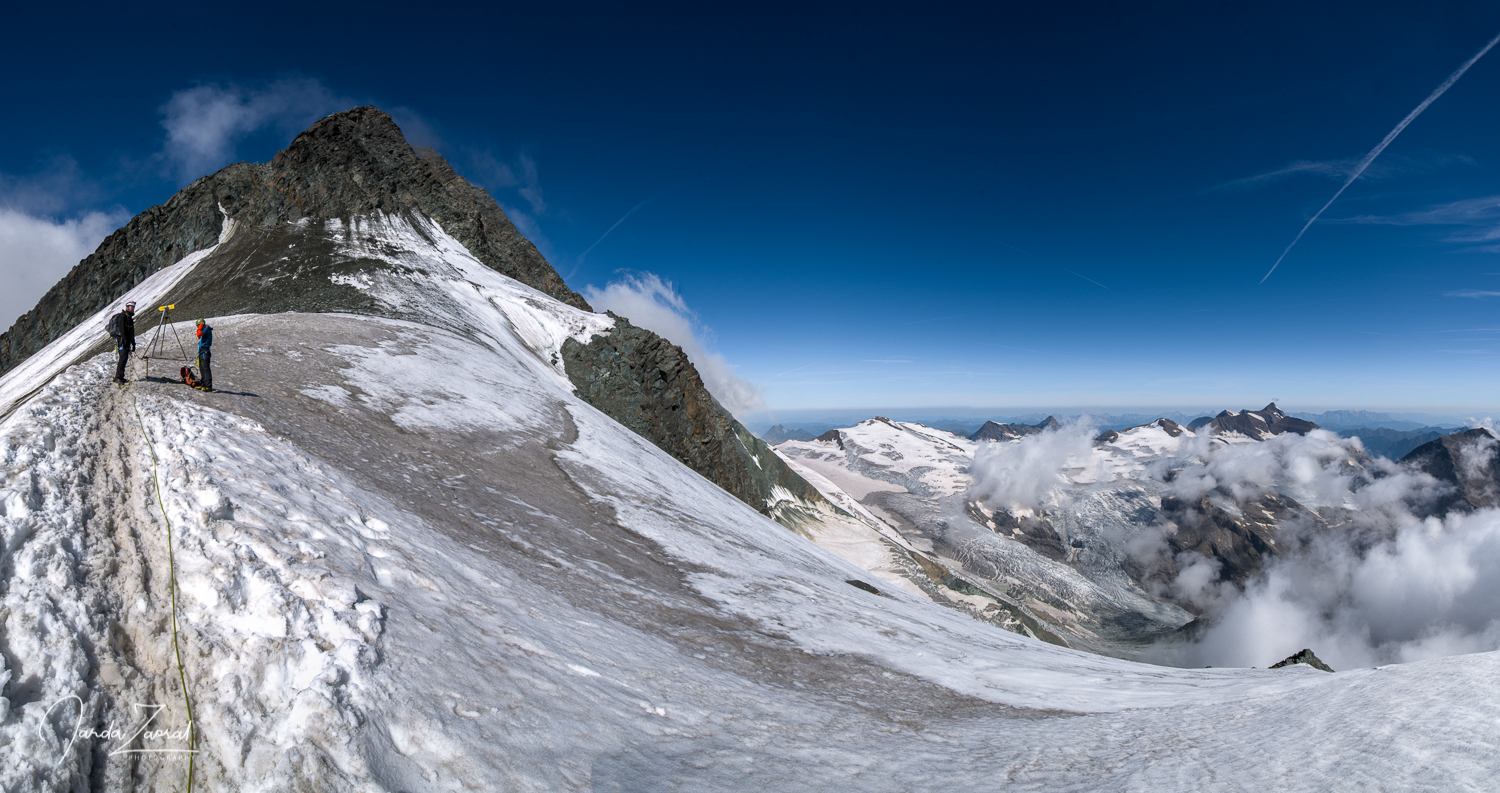
In addition to the great visibility, it was also noticeable that it was freezing on the ridge at night. The snow was hard and frozen. The way to the peak is free. We put down our skis and looked around to see where we would continue. There were two possible routes. Should we follow the ridge to Hinter Grauspitz and then continue to Vorder Grauspitz or should we skip Hinter Grauspitz, traverse along it and get to Vorder Grauspitz directly?
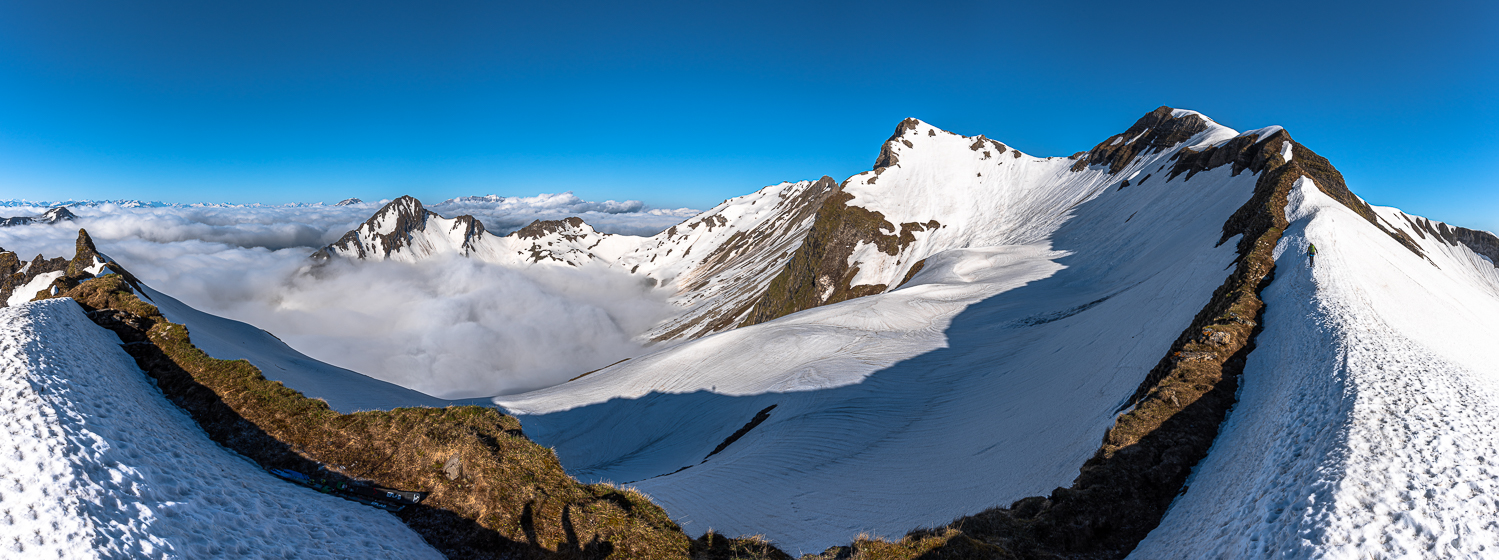
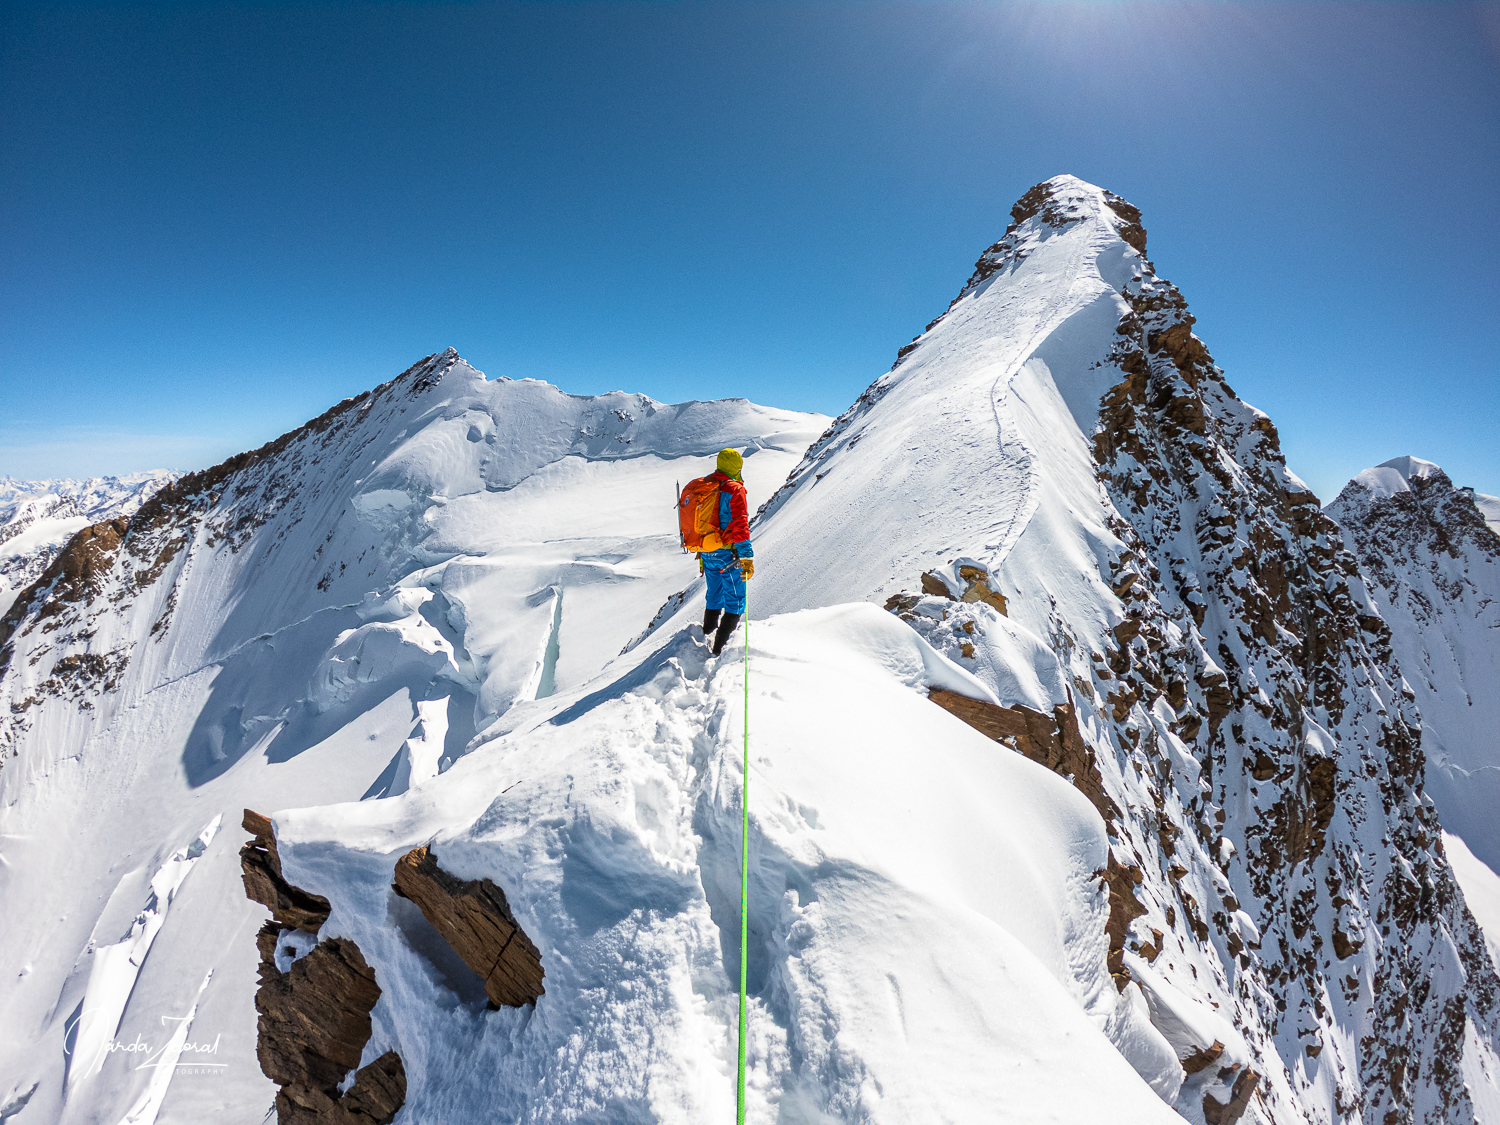
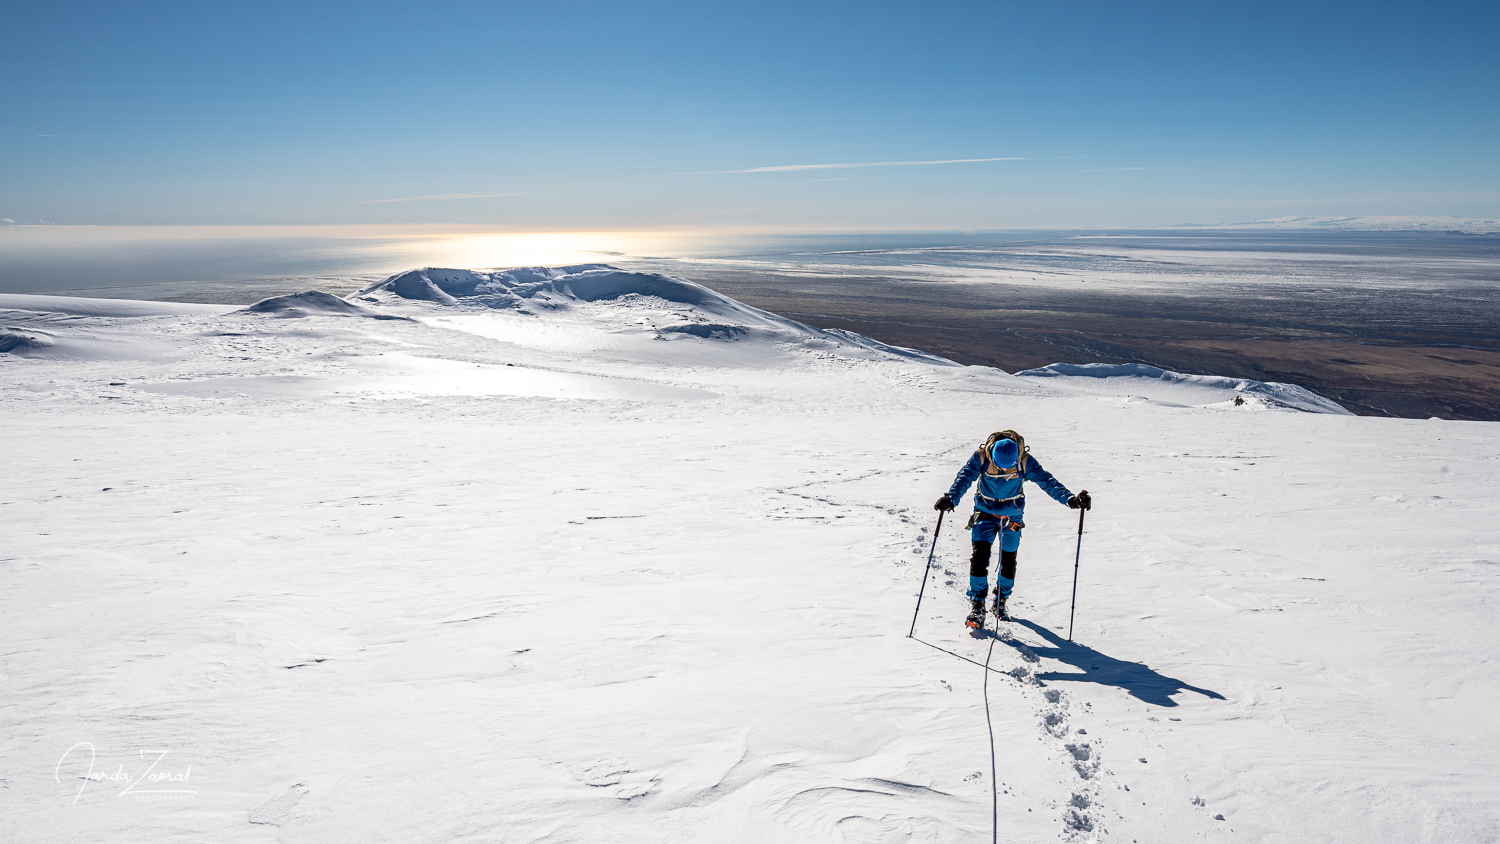
The first alternative seemed to be less steep so we decided for that one. The second option seemed to be too steep at first glance. 80% of the climb to Hinter Grauspitz was on snow so we took crampons on. It was an easy climb. In half an hour we already reached the top of the second highest point of Liechtenstein. The view was beautiful. This part of the Alps is really amazing. Unfortunately, the journey we wanted to take wasn’t possible. The ridge between both Grauspitz was too steep and the rocks were very unstable after the tough winter.
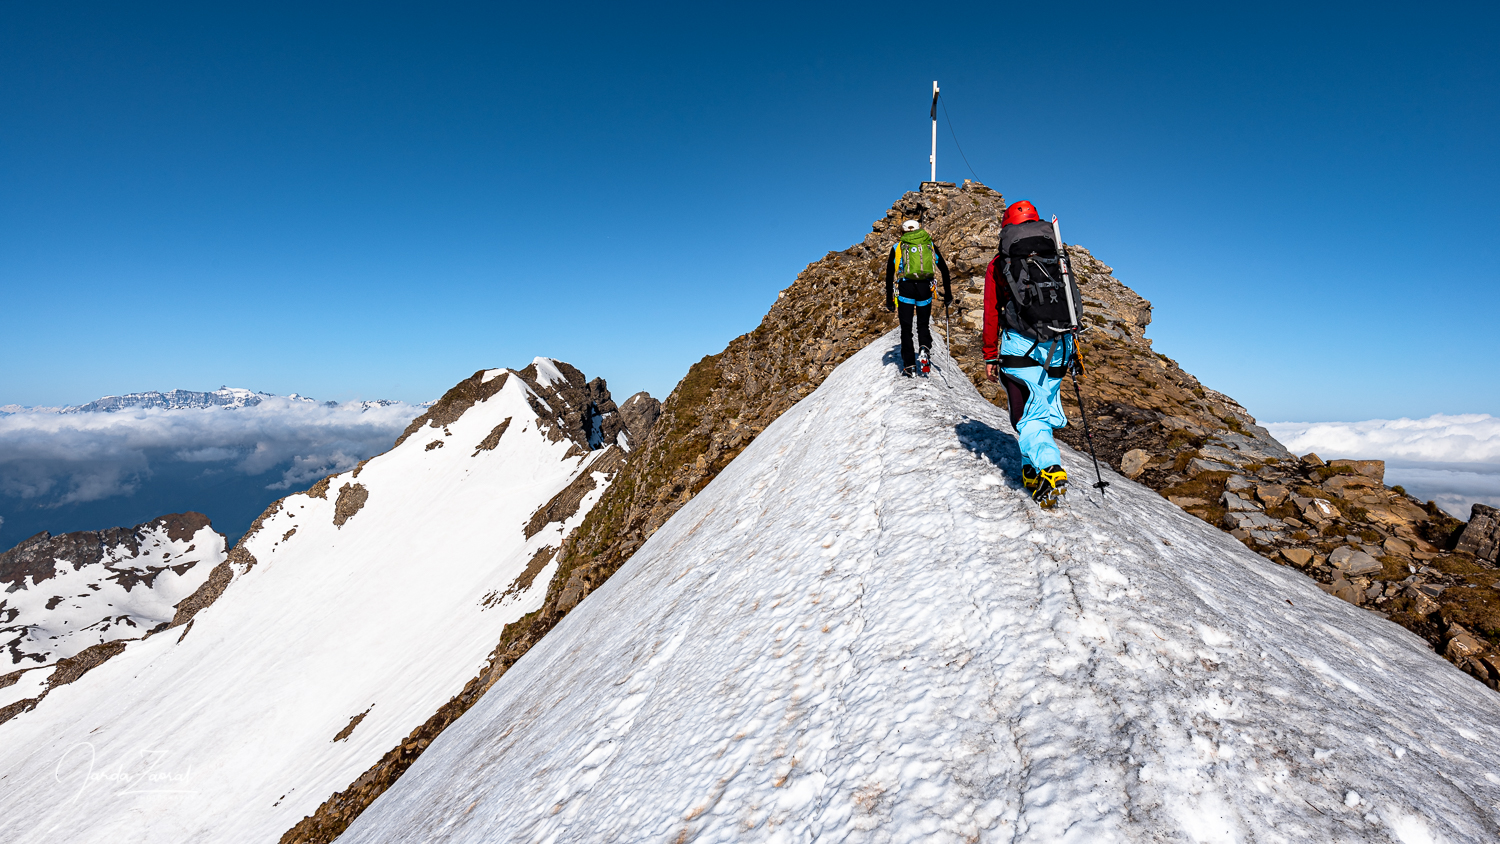
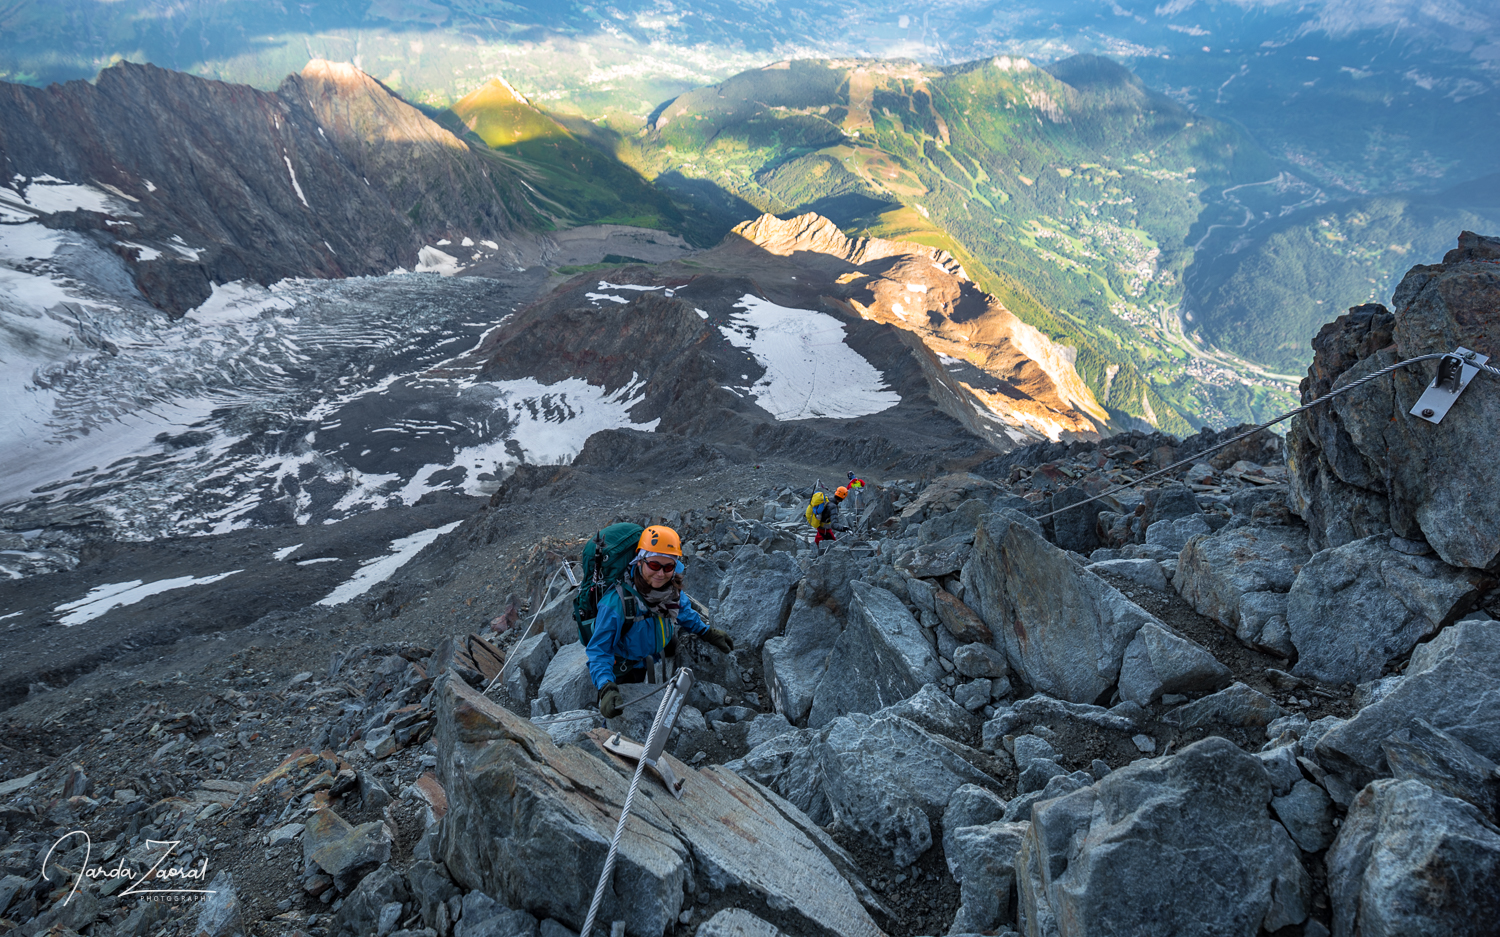
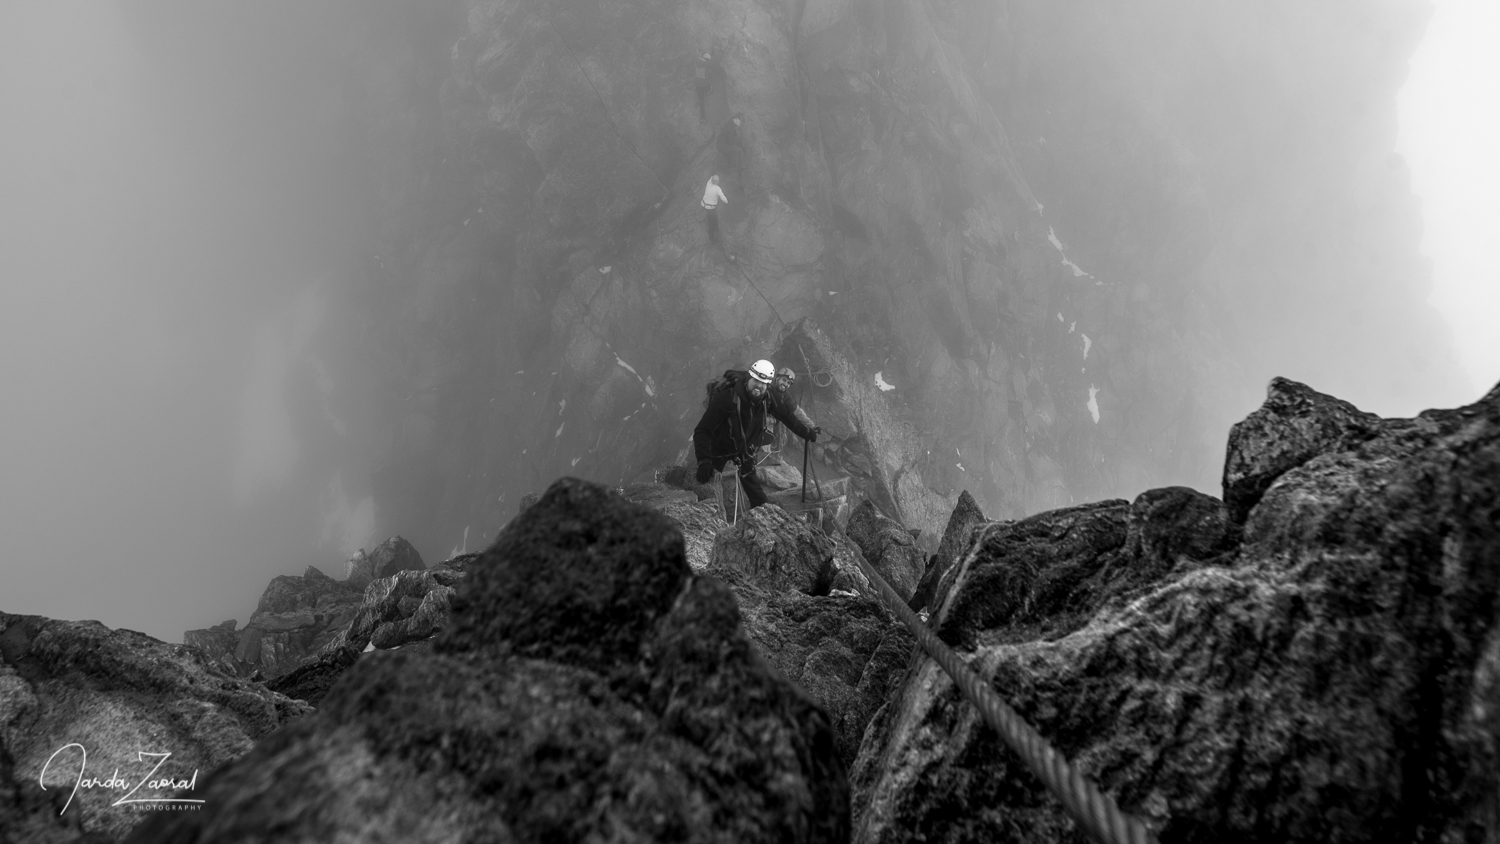
Therefore, we had to return 200 meters down and go to the highest point via the traverse. This route was also very steep but the snow was hard so we could secure with our ice axes.
We passed the traverse in half an hour and we had ahead only the final climb. If all goes well, I’ll finish my expedition in about 15 minutes. From this point, the slope didn’t look as steep it looked from the ridge were we left the skis. This will be an easy climb if I compare it for example with our crazy climb to Maglić. We can do it!
Last steps of expedition European Peaks
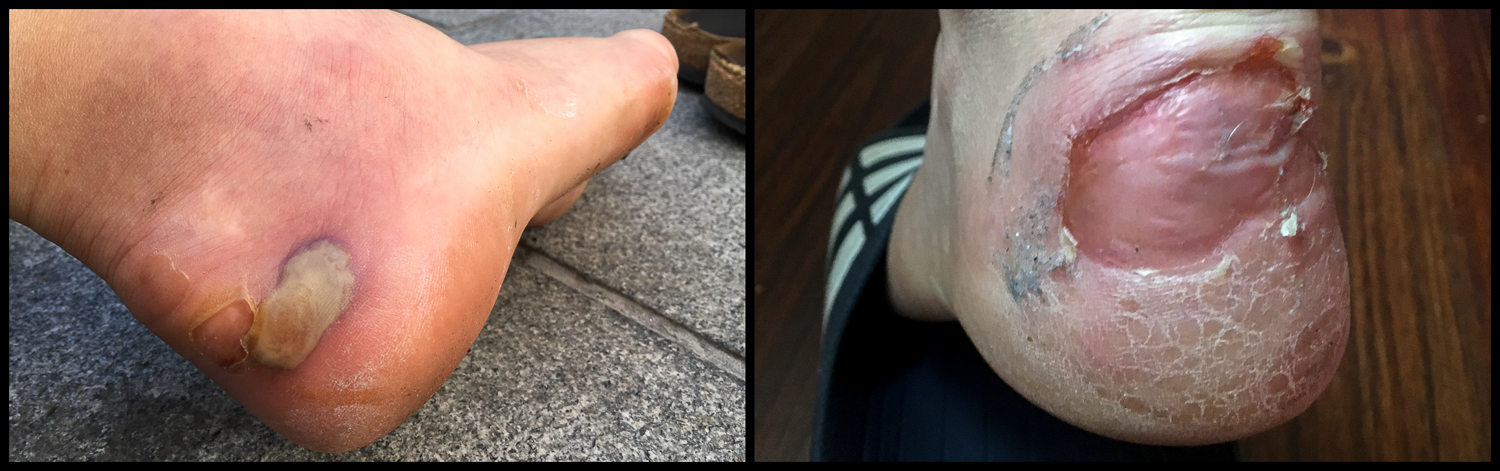
During the last steps, my entire expedition was reflected in my head. In particular, I remembered all the difficult moments: When my mother sprained her ankle in Romania and I accompanied her back to civilization; when Joanne and I met a bear in Montenegro and we almost got scared; when I lost my hiking pole and had to go to the Dufourspitze with a broom; my accident in Scotland… I was beginning to realize that this wonderful ascent would be the last one of the expedition.
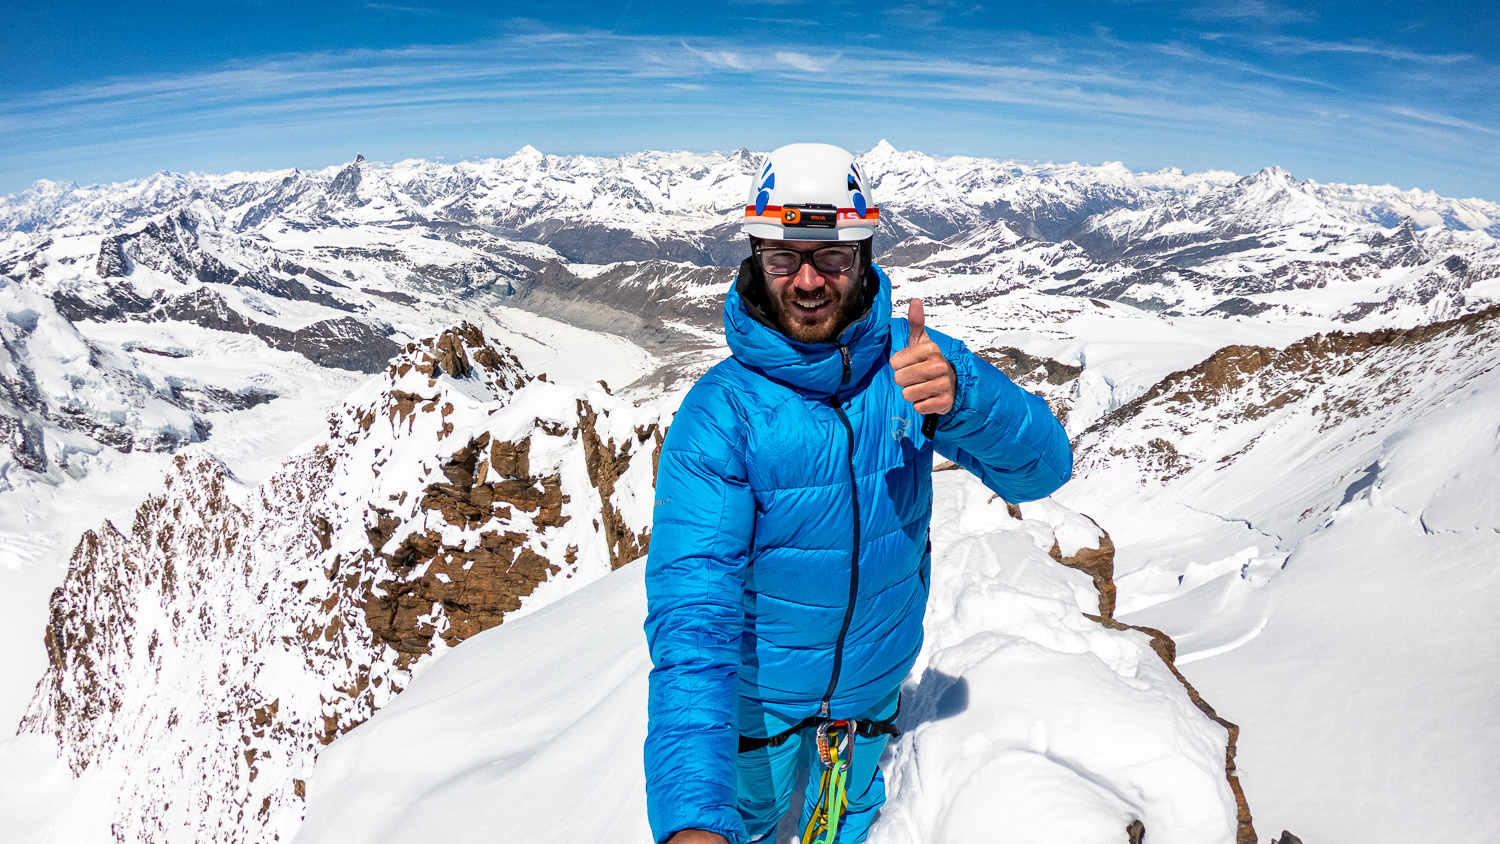
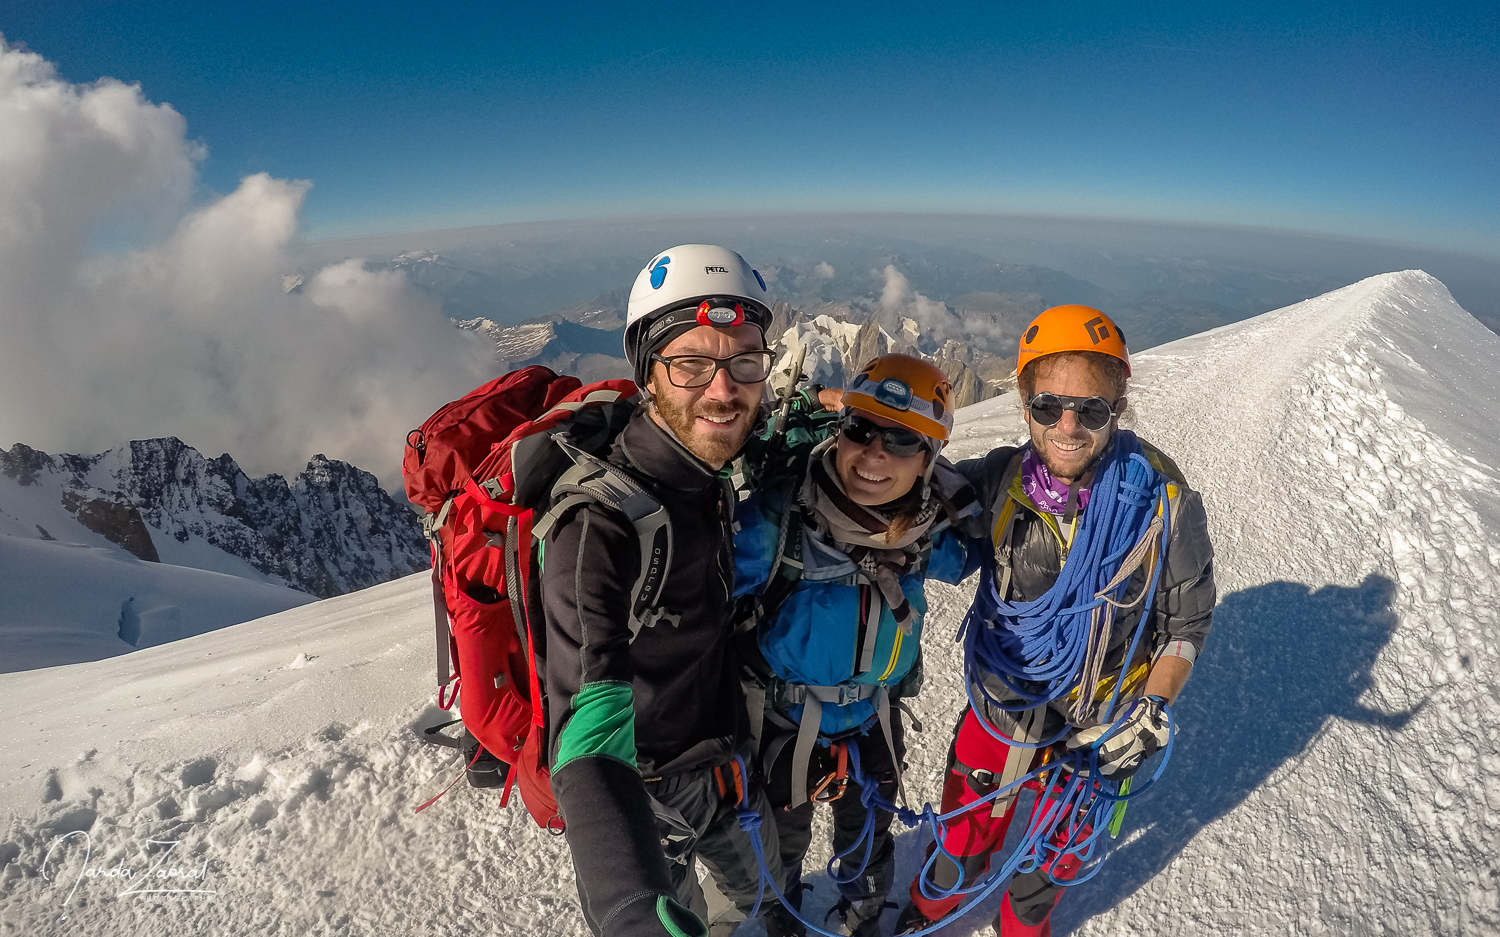
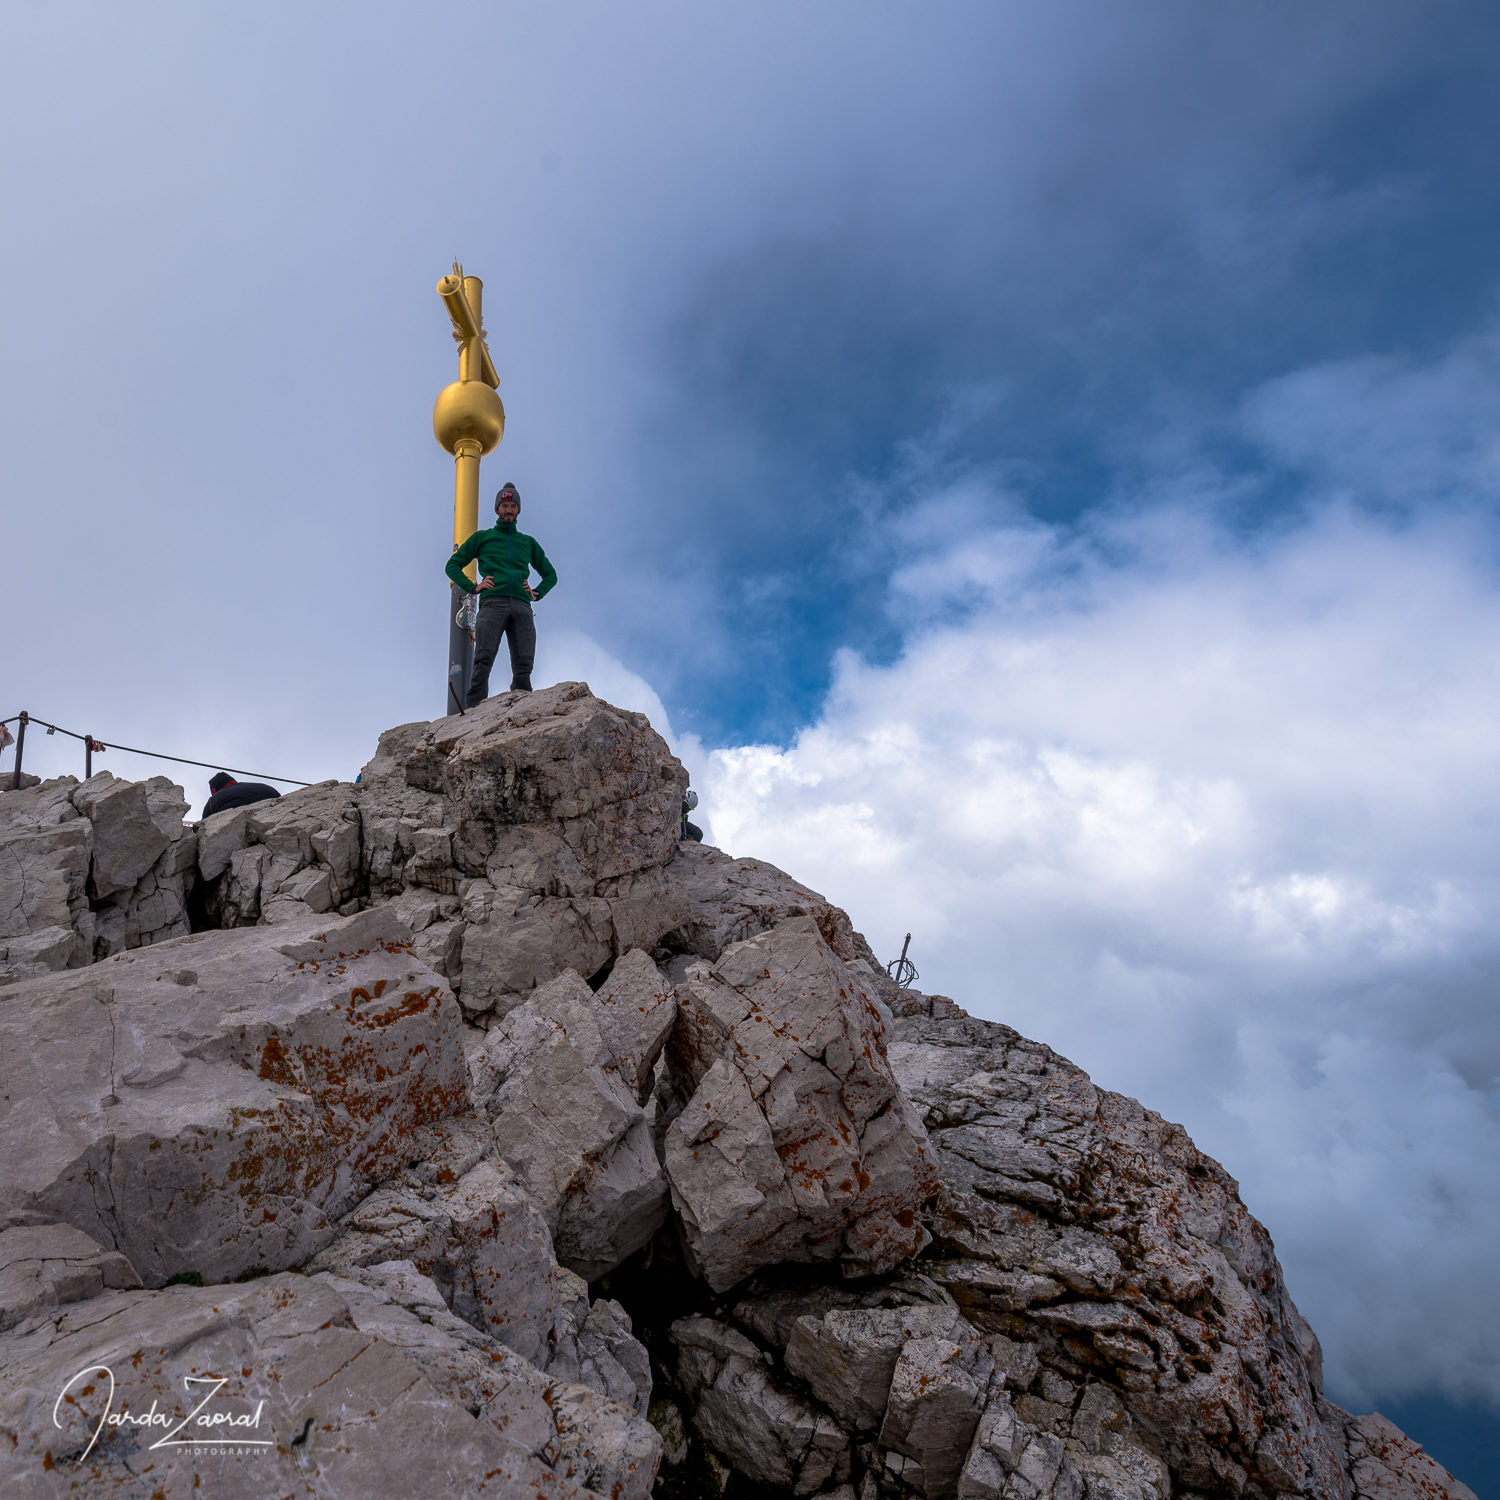
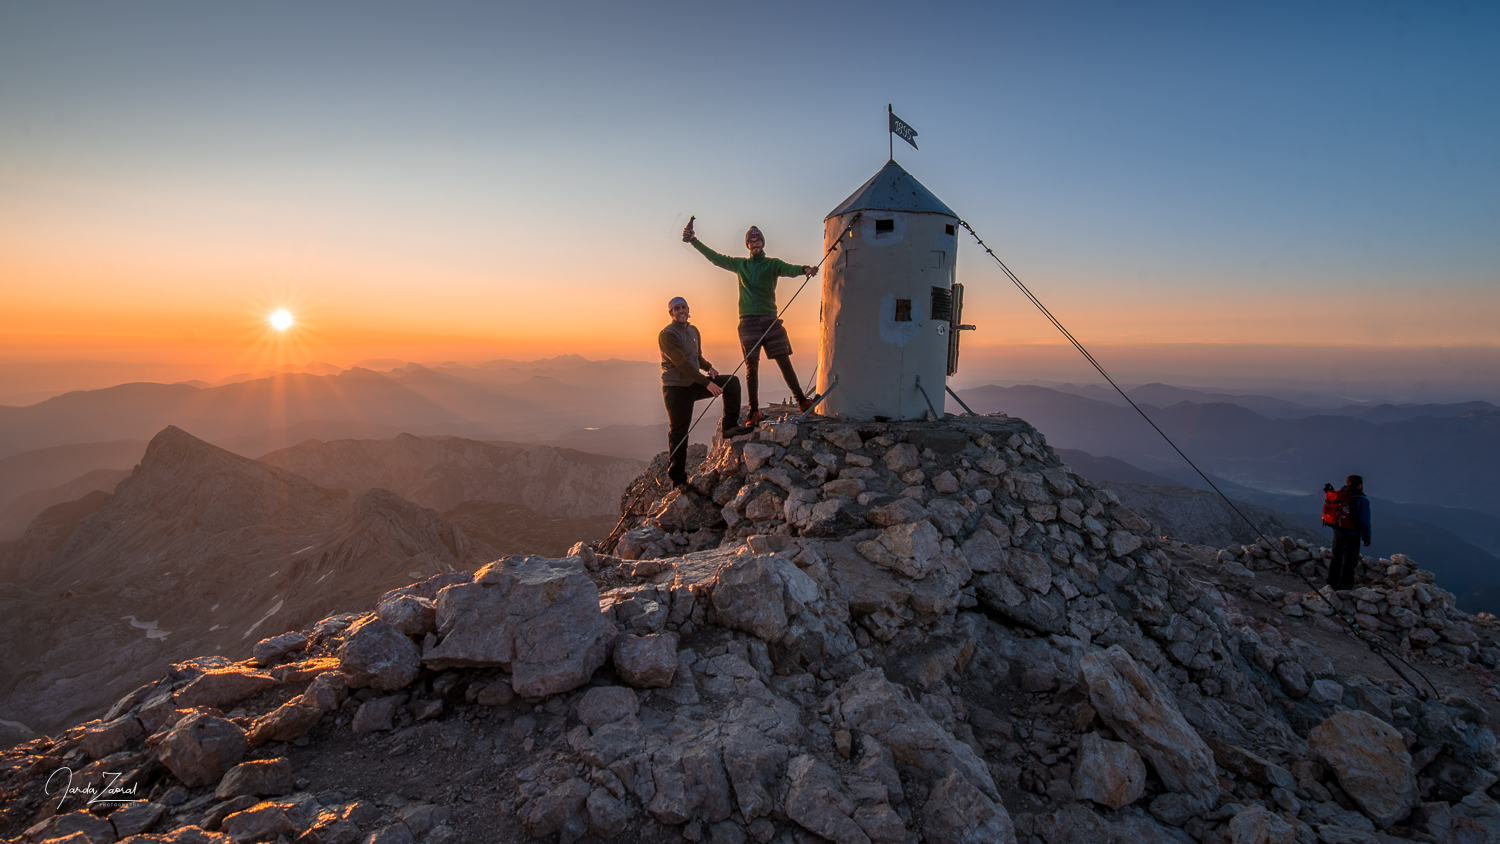
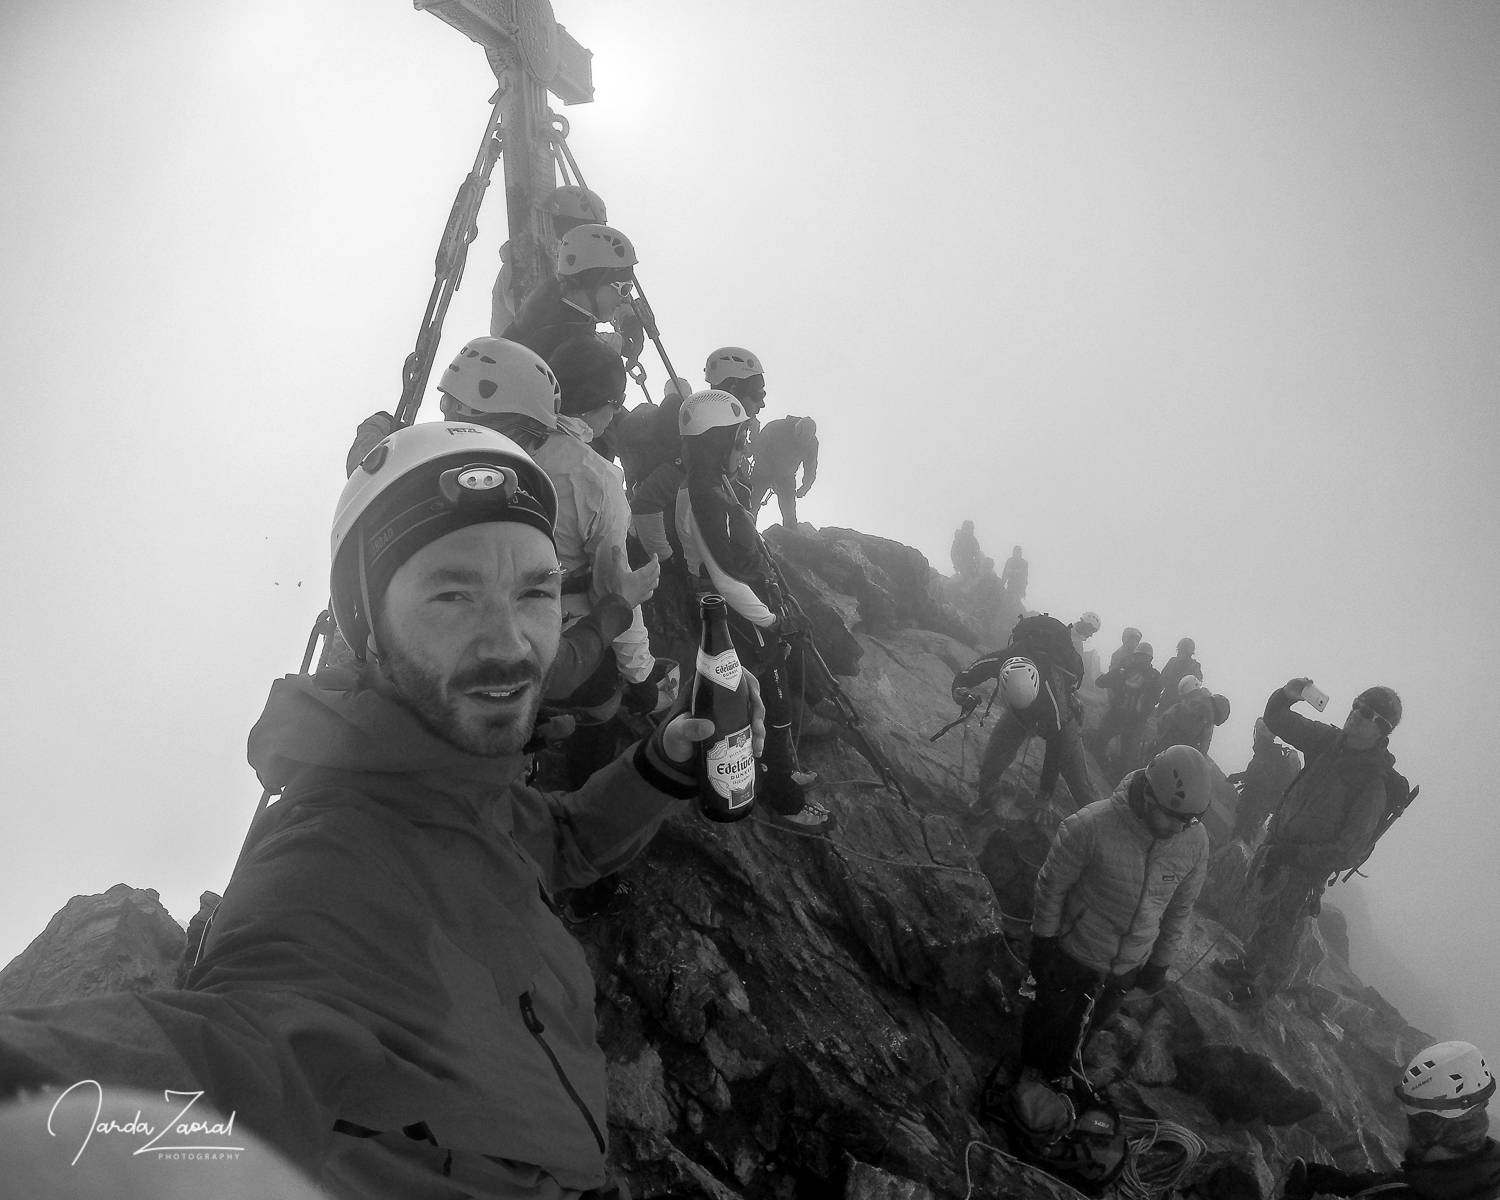
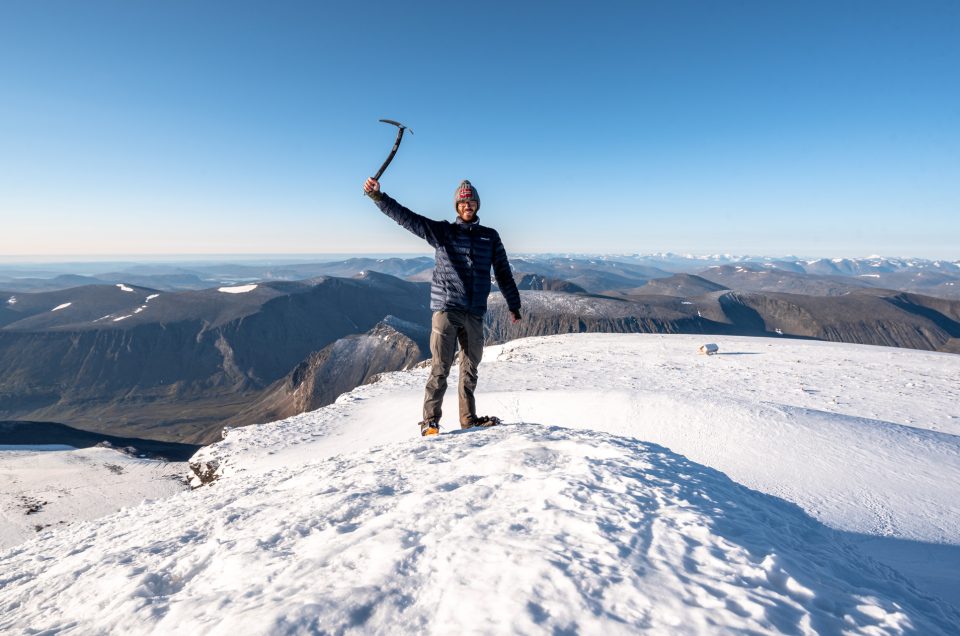
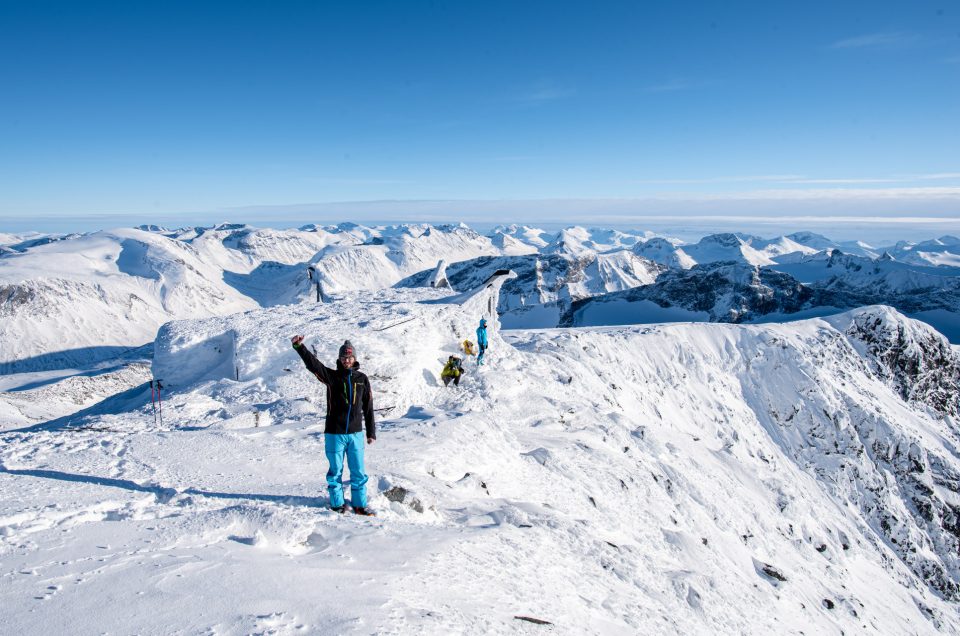
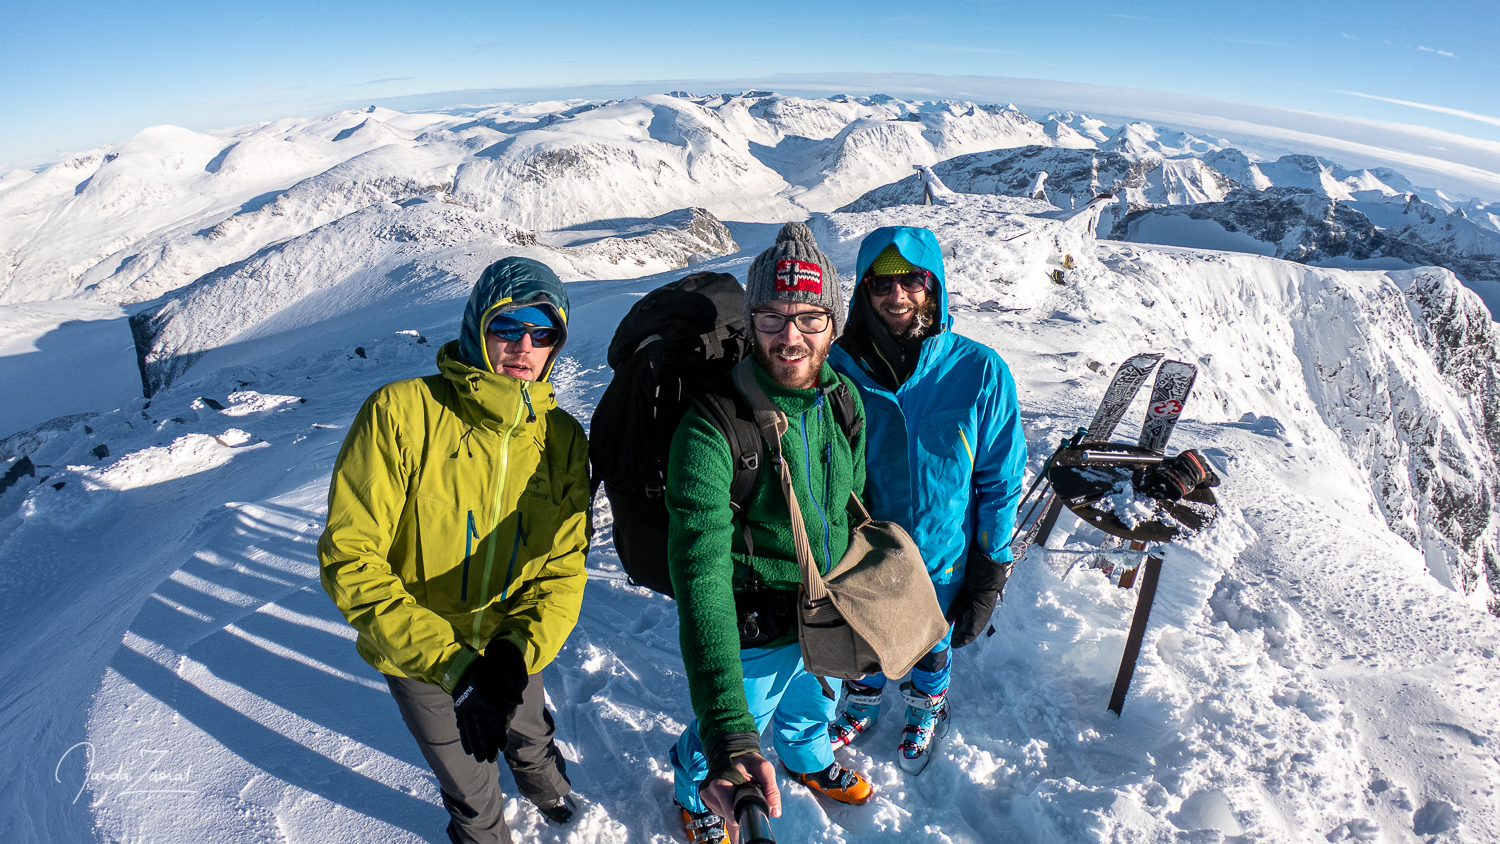
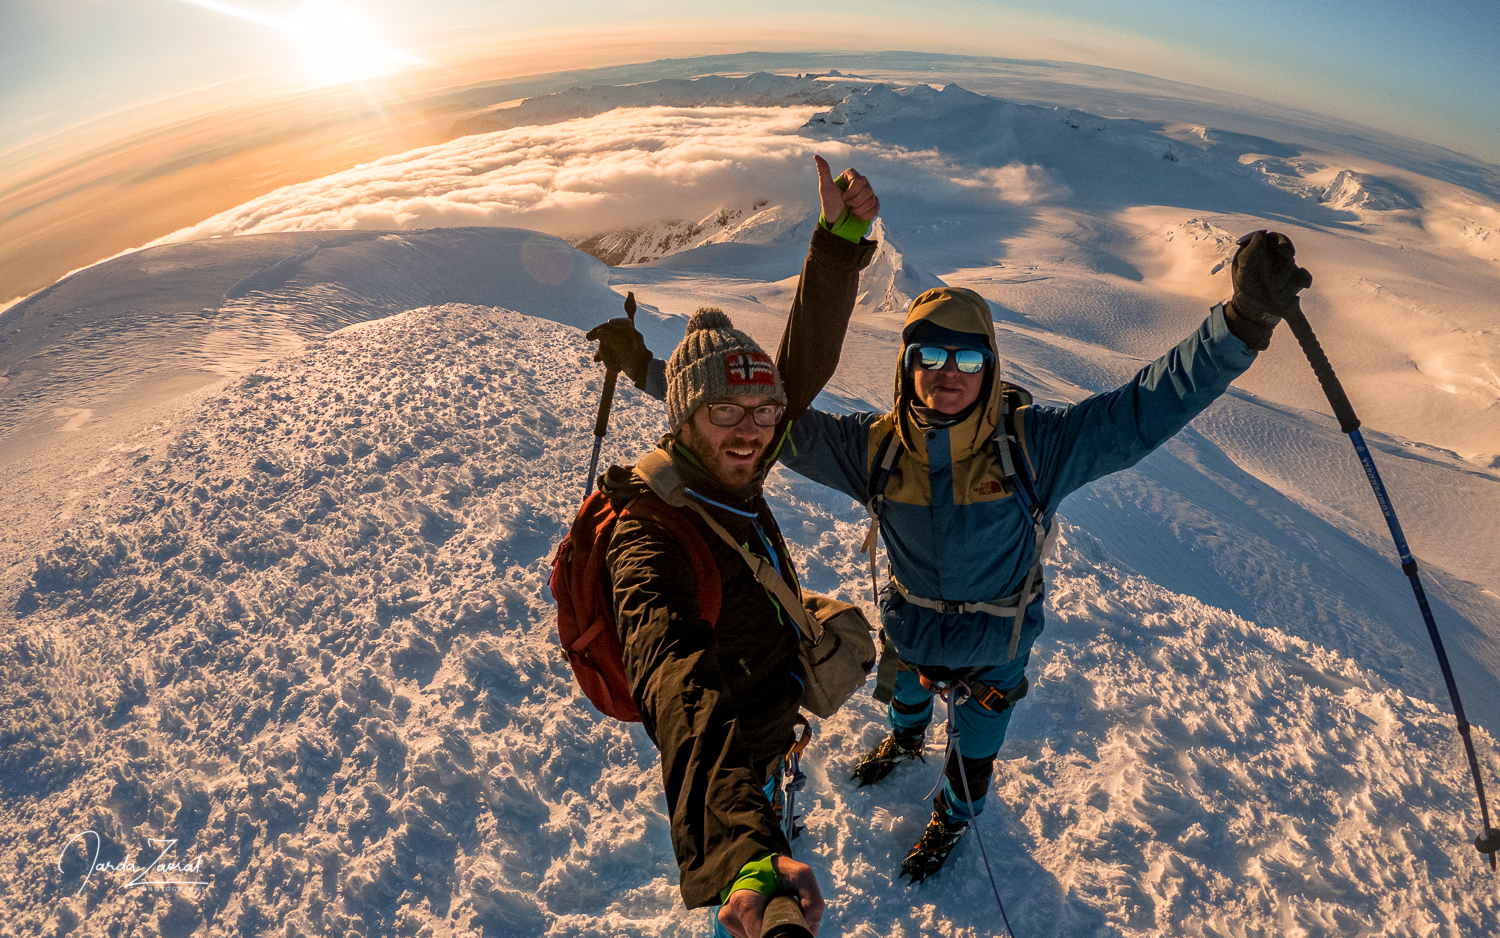
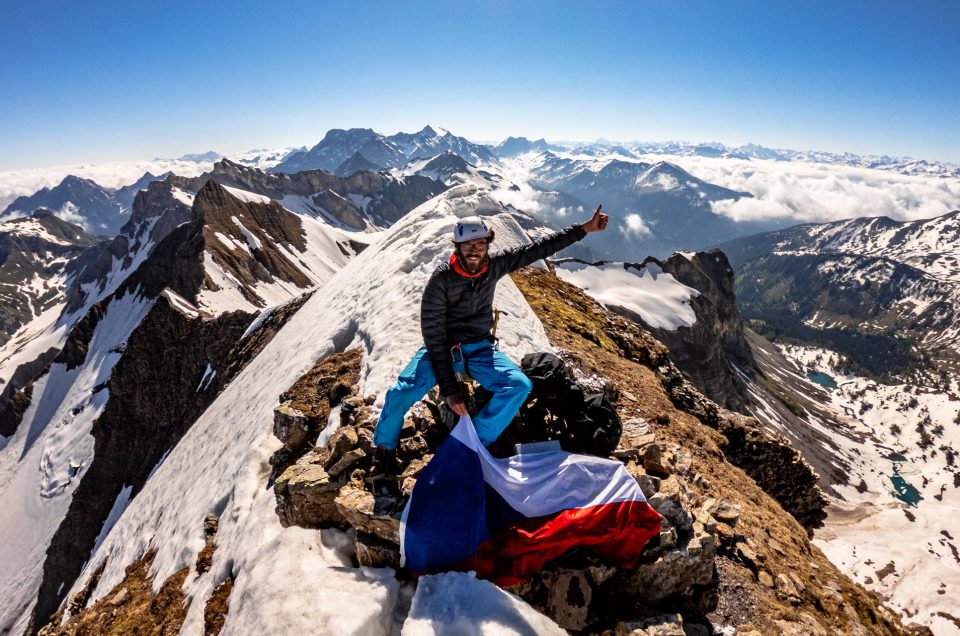
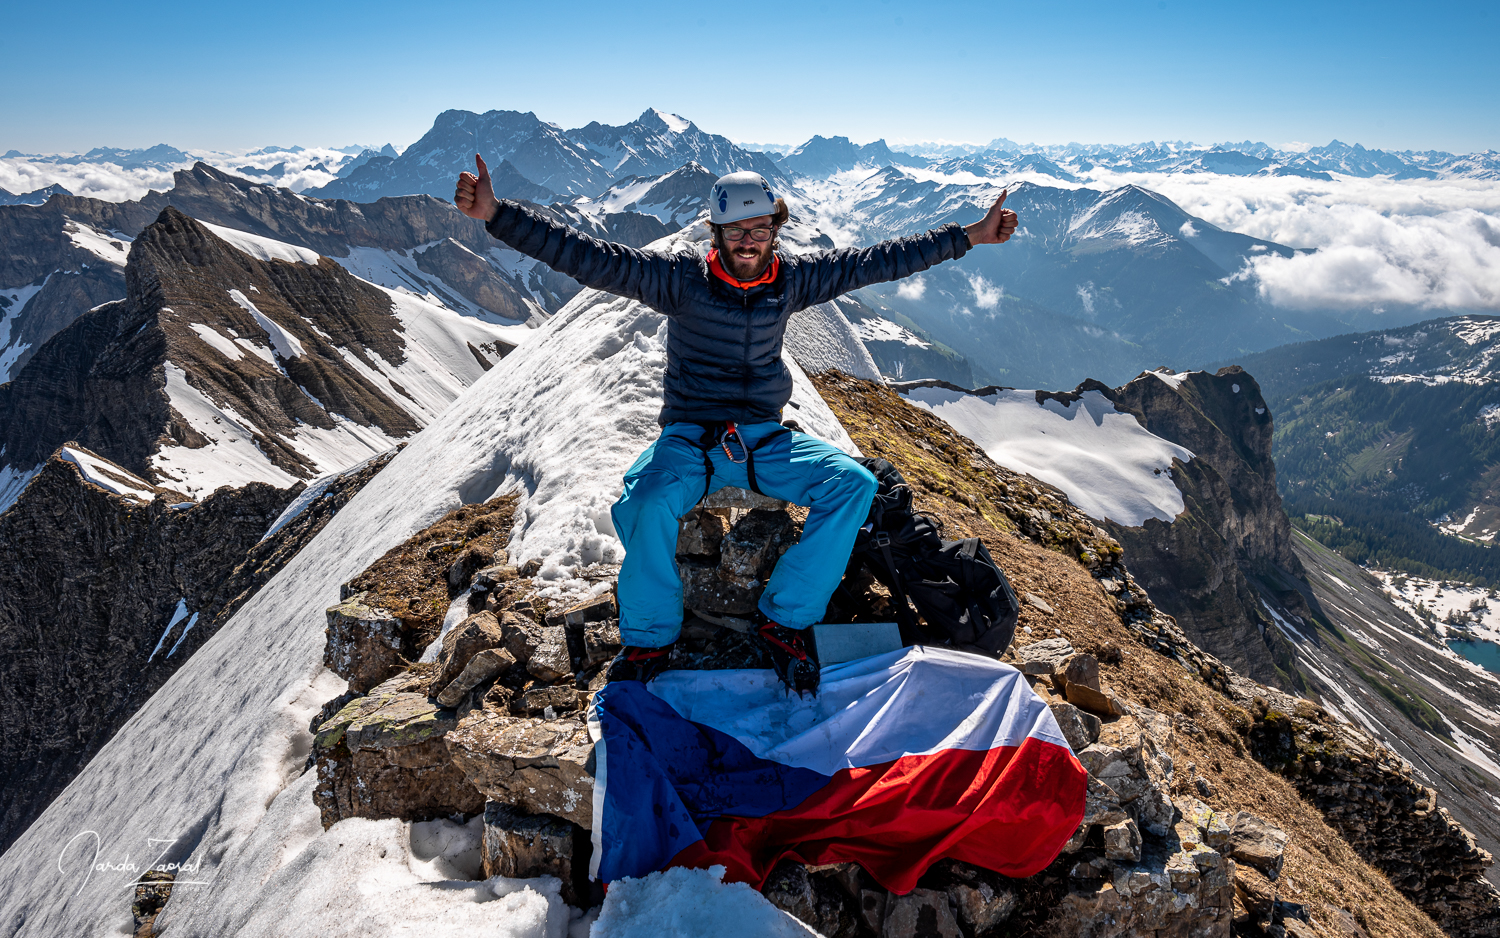
The final ridge was very narrow but it was still possible to pass it. After a few minutes I was finally standing on the top. The last mountain of the expedition was conquered.

In the end, the climb was not as challenging as I feared. I was actually glad that we made the climb on snow. In the summer, climbing on the breaking stones and slippery grass would probably be much tougher. This was actually confirmed by other climbers who climbed Grauspitz in summer.

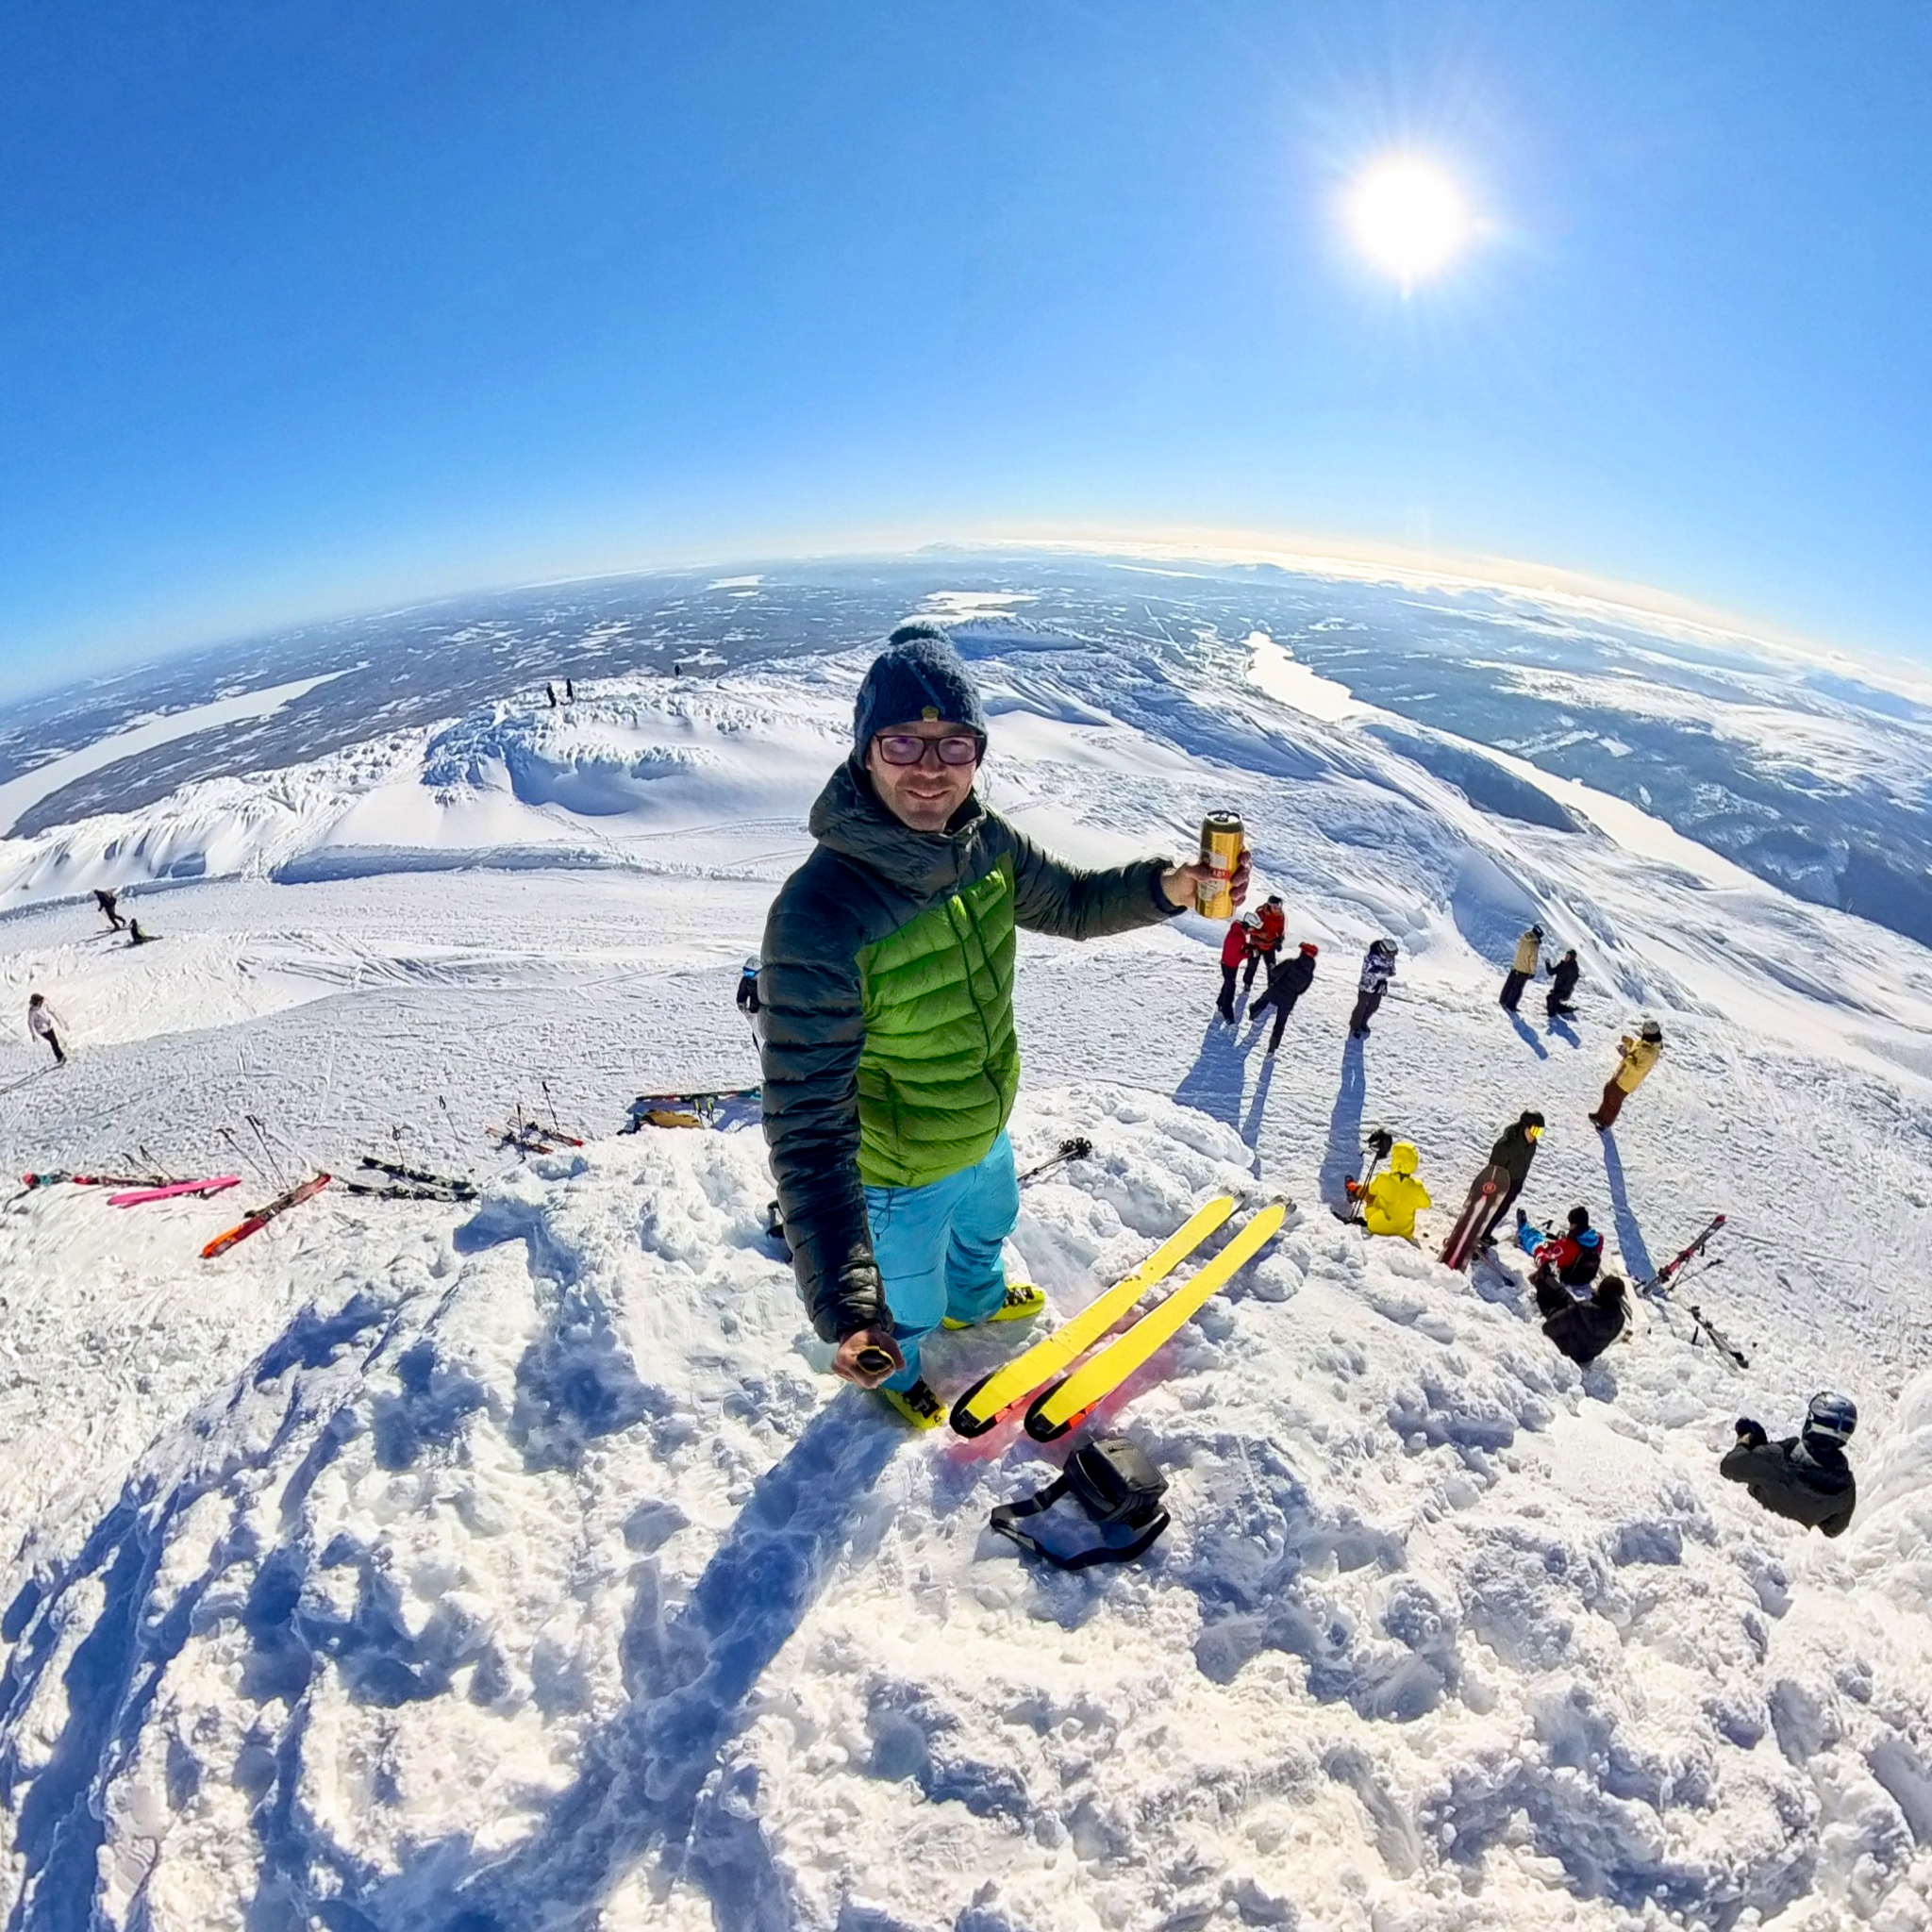
I opened the last peak beer and wanted to enjoy the moment of victory but half of it leaked out when I opened it. It even made my Czech flag dirty which I had prepared for the top photo. The life is not perfect. I enjoyed the moment anyway.
I wanted to stay on the peak longer but I couldn’t. Time was running out. My flight from Zürich was leaving in six hours. I had to catch the cable car latest in two and half hours so I had at least a theoretical chance to catch the plane back home.
Happiness is only real when shared
The journey back was crazy. First we ran back to our skis, then we took a quick downhill to Alp Ijes where I said goodbye to Petra and our mountain guide. “Thank you very much. I wouldn’t manage this without you” and had to continue further with my 20 kg backpack. I ran back to Fläscher Alp farm, added a sleeping bag and mat to my backpack and continued to the cable car. My whole body ached, I was very hungry and thirsty, but there was no time to take a break. The tourists I passed were shaking their heads when they saw me running with all the equipment.
I reached the cable car two minutes before its departure. I wanted to rest there but two older but nice and inquisitive ladies kept asking me questions in the cabin. They also didn’t believe that it was still possible to ski at these altitudes. I showed them photos from the peak and they kept on asking. In the end, I didn’t find time to drink or eat in the cable car. The next opportunity will be at the airport.
The rest of the journey by car to the airport was crazy. I’d rather not describe it. If the Swiss police read it on this blog they would send me a few fines. The important thing was that I caught the plane last minute.
Now I am back at home in Stockholm and I am finally sitting on our couch. My girlfriend is opening a bottle of champagne and says: “Congratulations to your World Record. You became the fastest to climb the highest mountain of every European country. You made it.” Until then, I honestly wasn’t happy about the completion of the expedition. I just had to hurry all the time. To the cable car, to the plane and to the train from the airport. But now I finally start to realize it. When I discuss all the experiences from my last days with Joanne, I am realizing how amazing this expedition was. There is definitely something about the quote from the movie Into the Wild: “Happiness is only real when shared.”
My tips for climbing the mountain Vorder Grauspitz:
- In winter conditions there is a big risk of avalanches. Before leaving to the mountains check the current situation on the website of Swiss Institute for Snow and Avalanche Research.
- Surprisingly, a winter ascent may be easier than in summer due to slippery stones and grass in summer.
- GPS navigation with you is a must.
- Chat with the employee of the cable car. He’s a very nice gentleman.
- Recommended accommodation in Switzerland: Haus Meierhüsli in village Malans